
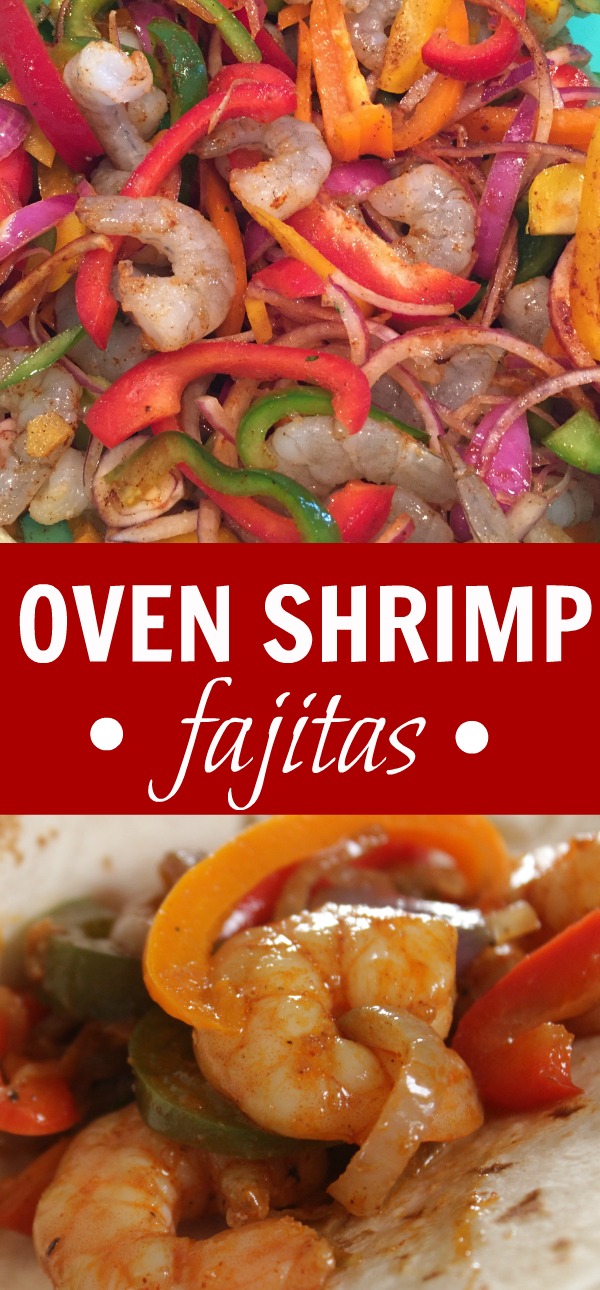
Mexican Shrimp Fajitas Recipe
We don’t go out to restaurants during Lent, but we also don’t give up good food.
I don’t eat meat during Lent. That means that Friday nights are pretty exciting in our house, because I get to plan a special “dinner” meal.
To avoid falling into a fish sticks rut, I planned a handful of meatless Friday meals ahead of time for our Easter season. One of my favorites is this Shrimp Fajitas recipe.
The recipe makes enough to feed 4 adults with gusto and can be doubled for a crowd.
The colors of bell pepper are there because each one has a different degree of sweetness, and it looks great. You can easily do this recipe with fewer colors, though.
If you double this recipe, use two cookie sheets and rotate them during cooking.
Guests at the table beg for the recipe before their first bite of fajita. It’s a family fave.
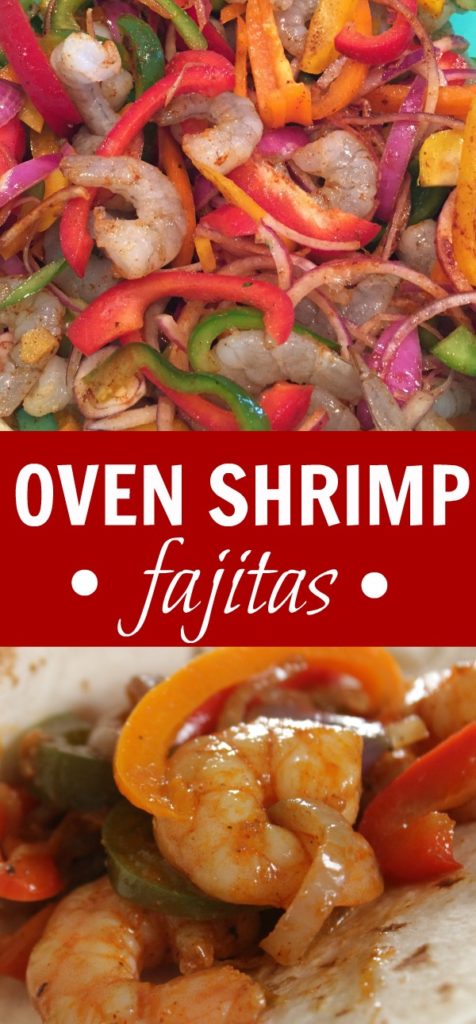
What Makes This Recipe Work
- Marinating the shrimp and veggies means that the shrimp will be soaked through with flavor. The spices and olive oil infuse the shrimp and peppers deeply during their 2 hours in the refrigerator.
- Baking at a high heat means that you’re unlikely to overcook the shrimp and turn them chewy and rubbery. Ten minutes at 450° is enough time for the shrimp to turn opaque, then we broil them for a couple minutes to brown the shrimp and get a little char on the edges of the peppers. Once your marinade time is done, it takes about 15 minutes from oven to table.
What to Know Before You Start
- You can find smoked paprika in the aisle with paprika. It adds a whole other dimension to fajita seasoning. If you don’t have it on hand, regular paprika will do.
- I use a mixture of chili powder, cumin, and garlic powder to make fajita seasoning. If you’re a fan of fajita seasoning from a packet, feel free to substitute for that here.
- Broilers vary WILDLY, so check after 90 seconds since my neighbor’s broiler burns everything while mine takes about 4 minutes to see any signs of color. Watch for spots of color on shrimp and some darker colors on the edges of the peppers. It will start to look, and smell like fajitas – you’ll know it when you smell it.
And then it’s ready when the peppers have started to get some color and you can smell it’s a Mexican Restaurant.
Here are my top 3 secrets to perfect Shrimp Fajitas:
- Use RAW shrimp, as pre-cooked shrimp get dry and rubbery in the hot oven
- Defrost frozen shrimp quickly under cold running water, as frozen is usually “fresher” than the ones from the seafood counter.
- Make sure to DRY shrimp before cooking, because shrimp releases a lot of liquid as it cooks and we want to roast it, not steam it.
Ingredients for Shrimp Fajitas
- 2 lbs. RAW, peeled, deveined shrimp with tails removed
- 1 small red onion, thinly sliced
- 4 bell peppers, thinly sliced, and I used one green, red, yellow, orange pepper
- 2 Tbsp extra virgin olive oil
- 1 tsp fajita seasoning blend (homemade or store-bought)
- 1/2 tsp smoked paprika
- 1 tsp chili powder
- 1/2 tsp garlic powder
- 1/2 tsp onion powder
- 1/2 tsp ground cumin
- 1 tsp sea salt
- black pepper – ¼ teaspoon
lime juice, for serving – fresh is best.
- flour or corn tortillas, for serving
- sour cream (optional)
- shredded cheese (optional)
- guacamole (optional)
- shredded lettuce (optional)
- salsa (optional)
I recommend McCormick chili powder for this recipe– it’s perfect, won’t get too bitter when exposed to higher heat for longer periods of time, and balances out all the other spices beautifully. Use fresh-squeezed lime juice– bottled lime juice just doesn’t compare.
Your fajitas will fall flat without its brightening influence. This handheld citrus squeezer is my personal favorite.
How to Make It
Action 1: Prepare shrimp and vegetables.
Thaw shrimp if you’re starting with frozen. Run frozen shrimp under cold water until they’re thawed and drain well.
Take care to make sure they’re not dripping wet– you want them to ROAST, not STEAM (yuck). Remove tails if necessary.
Slice peppers and onions into thin, even slices. Even slices are important because everything will cook more evenly that way.
Thin is also important– you want the veggies to get nice and soft with some charred edges, not remain crunchy and refuse to caramelize. Step 2: Prepare the marinade and coat all the ingredients:
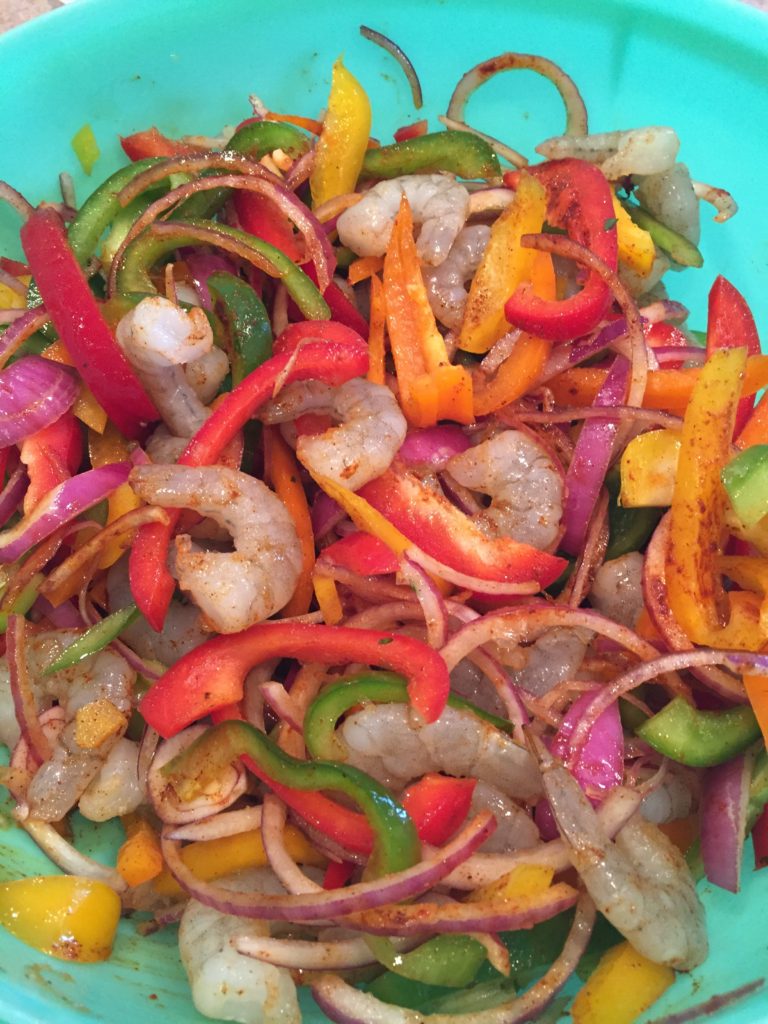
Place shrimp, peppers, and onions in a large bowl. Add the rest of the fajita ingredients except salt & pepper, mixing with two large spoons until shrimp & veggies are well-coated with fajita seasoning.
Add salt & pepper to taste. Feel free to use your hands for this.
Step 3: Put the bowl in the fridge.
Cover the bowl with plastic wrap or a plate and refrigerate the fajita ingredients for about 2 hours. This allows all the ingredients to mingle & marry in flavor.
When you’re ready to make fajitas, preheat the oven to 450°F. Remove bowl from fridge, scrape the sides of the bowl down since there will be spice mixture on them, and give everything another stir.
The shrimp will look quite a bit different after marinating, and there will be marinade in the bottom of the bowl. Spread fajita mixture onto a large baking sheet in an even layer.
Step 4: Prep your baking sheets and preheat your oven. Spray them with cooking spray.
Preheat your oven all the way. Do not add them to the oven until it’s completely preheated or you’ll end up steaming the veggies, not roasting them.
Step 5: Spread the mixture out in a single layer. Make sure all of it is in one layer and not piled up.
All pieces should be touching the baking sheet. Crowding will lead to steaming, spacing them out leads to caramelization and a better texture.
If you don’t have a lot of fajitas to make, I highly recommend investing in a cast iron pan. They retain heat much better than the sheet pan.
Your peppers and onions will be much more charred, not steamed like they are on the sheet pan. Cast iron isn’t very large though, so you may not be able to fit everything in it.
You can use it for half of them and use a sheet pan for the other half or invest in another pan. Whatever you decide to use, make sure all of the shrimp and veggies are touching it.
If needed, get out a second sheet pan and spread them out some more.
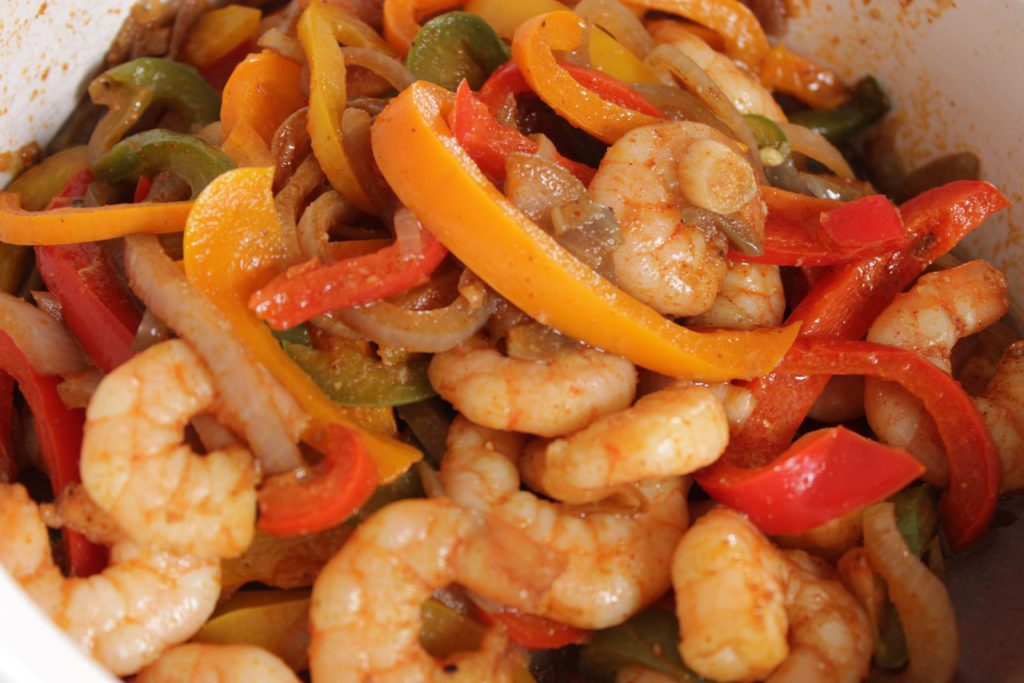
Step 6: Set your oven to 450 degrees F, and roast the dish for 10 minutes. Your peppers and onions should be cooked and your shrimp will be arched and pink.
It can be difficult to tell if they’re done because it’s such a short amount of time between done and overdone, less than 2 minutes.
Step 7: To add some color to your food, broil it for 2 to 4 minutes. You want them caramelized but not burnt.
You want the edges of the peppers to be dark without getting blackened but the shrimp to just be darker in color. Remove them from the oven as soon as they get the amount of color you’re looking for.
Some ovens have a weak broiler. If that’s the case, put them one rack closer to the burner when you change the setting to broil.
This last step isn’t mandatory but it takes the dish to the next level. Trust me, you’re going to impress anyone who eats them.
Remove from oven. Add fresh squeezed lime and toss.
Serve immediately.
Step 8: Serve Hot.
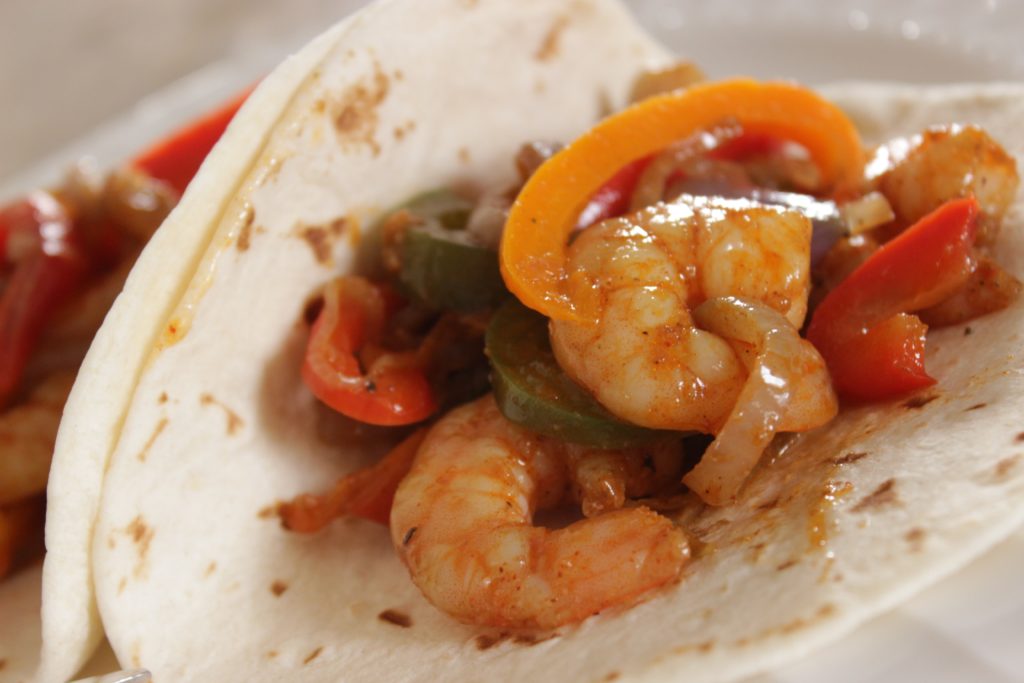
Serve the fajita filling with flour tortillas and fajita fixings such as sour cream, shredded lettuce, chunky salsa, shredded cheese and guacamole. Have everyone assemble their own fajitas.
Helpful Tips
- It’s good to give the shrimp at least 30 minutes to marinate but the 2 hours is ideal, though anything over four hours will affect the texture of the shrimp. Use this time to prepare all of your toppings and warm your tortillas.
- If you are using frozen shrimp, be sure to give it a pat down with paper towels to get off as much of the thawed ice crystals as possible. Too much liquid will steam the ingredients instead of roasting. Steamed ingredients do not develop as much flavor.
- Make sure you are cutting your peppers and onions to approximately 1/4 inch slices. If they are cut too thick they will not become tender during the 10 minutes roasting time. When cut to this thickness the edges of the peppers and onions will begin to caramelize giving them great flavor but they will still be tender in the middle.
- The recipe calls to squeeze the limes over the fajitas after removing from the oven and tossing. The heat will open up the lime and bring out more of the oils giving a great aroma and more of an authentic lime taste. Lime that is cooked with the shrimp and veggies in the oven will not be as vibrant.
- For best results you will need a large rimmed baking sheet that fits all of the ingredients in one layer.
Storage and Make-Ahead
- Shrimp fajita filling can be made ahead of time. Allow the filling to cool then transfer to an airtight container. It can be refrigerated up to 72 hours. Be sure to seal the container only after the ingredients have cooled. Sealing the container while ingredients are hot will result in condensation making your ingredients soggy.
- Tortillas can be warmed in a bundle wrapped in dampened paper towels in the microwave for about 30 seconds. Alternatively, if you have a gas range, hold each tortilla over the burner for 20 seconds a side. The charred areas from the burner will help the tortillas stay rolled after filling.
Shrimp fajita leftovers keep well in the refrigerator. To reheat, place shrimp, peppers, onion, and any remaining pan juices into a skillet.
Add a little olive oil, cover, and heat on medium for 2-3 minutes. Avoid the microwave for shrimp but I find shrimp turns out best when reheated in a skillet.
Microwaved shrimp gets a little rubbery.
Frequently Asked Questions
Can I make these in advance?
You can soak the shrimp and vegetables overnight but don’t let them soak longer than 12 hours. Acid will cause the shrimp to turn out a little mushy after 12 hours.
You can chop the vegetables, cover, and store in the refrigerator separately from the shrimp and add to the shrimp and marinade a few hours before roasting.
Can I freeze cooked shrimp fajitas?
I find that shrimp does not reheat as well from being frozen. Freezing and thawing causes the texture to change.
You can, however, freeze the ingredients prior to cooking. Place all of the marinated ingredients in a large zip-top freezer bag, remove excess air, seal, label, and store in the freezer.
Use within one month. Thaw overnight in the refrigerator and continue with directions for cooking.
Can I use pre-cooked shrimp?
You can but it’s not necessary. Simply add them during the last 3 minutes in the pan.
Skip the broil with pre-cooked shrimp. Roasting raw shrimp at 450 degrees for ten minutes doesn’t take that much more time and results in a more satisfying texture.
Pre-cooked shrimp will be softer and I find shrimp roasted in the oven that way to be dry and rubbery.
What size shrimp should I use?
I like to use large, at 21-25 shrimp to the pound, or extra-large shrimp, at 26-30 shrimp to the pound. If you use smaller shrimp they can easily become overcooked since shrimp cooks much faster than peppers and onions.
We want to give those veggies a chance to brown before removing from the oven. Smaller shrimp will likely be done before those veggies have the correct coloring.
Can I make these on the stovetop instead of the oven?
Absolutely. The oven makes this recipe easy-peasy, but if you’re more comfortable cooking shrimp fajitas on the stovetop that works too.
Cast iron is best since it will allow for better temperature control. Cook the peppers and onion first over medium-high heat until softened and starting to caramelize (about 4-5 minutes).
Push the veggies to one side of the pan and add the shrimp, cooking for about 2-3 minutes on each side. Repeat with remaining shrimp if you’re making enough to feed 4.
Do I have to use all four colors of bell pepper?
Using all four bell pepper colors does lend a little extra variety and complexity to the recipe, but fajitas can definitely still turn out great made with a combo of red and green peppers. Red and green is what I grew up eating, and I bet lots of others grew up with this combination as well.
Green peppers have a much more bitter taste compared to their counterparts (red, orange, yellow), so if you’re dead-set on using just one color I’d go with red since they’re the most versatile. As long as you’re using the total amount of bell pepper indicated in the recipe and slicing them thin, you can’t go wrong.
How do I know when the shrimp is done?
Cooked shrimp will be firm, completely pink in color, and curl into a C shape. If they curl into an O shape they’ve been overcooked which unfortunately lends them a very unappetizing rubbery texture.
Large shrimp are easier to cook since they’re easier to see in a tortilla and taste great, not to mention there’s a greater margin for error. Oven times may vary depending on your oven but large shrimp will take about 10 minutes in a 450 degree oven.
Broil the shrimp at the end if you’d like them to take on more color, just keep a keen eye on them since broiling can lead to overcooking. They’re done when the shrimp is pink in color and the edges of the pepper are starting to darken.
Crockpot Shredded Chicken Tacos is slow cooker chicken that’s just as easy for a weeknight taco night
Corn and Black Bean Salsa with Avocado is the perfect topping or side for any fajita night
Layered Taco Dip is a party-ready dip that disappears faster than anything else on the table
Categories Mexican Recipes
Broil on low for another 2-4 minutes, watching closely, until shrimp and veggies are lightly browned. Serve with tortillas and lots of fresh lime.
- Pat shrimp very dry before adding to marinade to help it roast and not steam.
- Shrimp fajitas are best after about 2 hours marinated and shouldn’t marinate much longer than 4 or they’ll get a little soft.
- Leftover sheet pan shrimp fajitas will reheat better in a skillet over gentle heat so they don’t get rubbery in the microwave.
- Marinated shrimp and veggie mixture can be frozen before cooking, not cooked fajita filling.
Mexican Shrimp Fajitas
Ingredients
- 2 pounds raw shrimp peeled and deveined, tails removed
- 1 small red onion sliced thin
- 1 green bell pepper sliced thin
- 1 yellow bell pepper sliced thin
- 1 red bell pepper sliced thin
- 1 orange bell pepper sliced thin
- 2 tablespoons extra virgin olive oil
- 1 teaspoon fajita seasoning blend
- 1/2 teaspoon smoked paprika
- 1 teaspoon chili powder
- 1/2 teaspoon garlic powder
- 1/2 teaspoon onion powder
- 1/2 teaspoon ground cumin
- 1 teaspoon sea salt
- 1/4 teaspoon black pepper
- Flour tortillas and fresh lime for serving
Instructions
- Thaw shrimp if frozen, remove tails, and pat very dry with paper towels.
- Slice peppers and red onion into thin strips.
- In a large bowl, combine shrimp, peppers, onion, olive oil, fajita seasoning, smoked paprika, chili powder, garlic powder, onion powder, cumin, salt, and pepper. Toss until evenly coated.
- Cover and refrigerate for 2 hours. Toss once more before cooking.
- Preheat oven to 450°F and spray two large baking sheets with cooking spray.
- Spread shrimp and vegetables in even layers on the baking sheets.
- Bake for 10 minutes.
- Broil on low for 2 to 4 minutes, watching closely, until shrimp and vegetables are lightly browned. Serve with tortillas and fresh lime.