
Chicken is the basis of my meal plan. It’s economical, easy to cook, and everyone in my family likes it.
It can be baked, cooked in the crockpot, cooked in the Instant Pot, sheet-panned – you name it. So, let’s talk chicken!
Now, my husband doesn’t care if we have the same three meals over and over – he’ll eat anything – but my two teenagers are incredibly picky eaters, so I’m always searching for easy and reliable meals that everyone enjoys. These are a few of my favorite baked and casserole chicken dinners that are reliable favorites in our home.
Chicken is so easy to cook and make into delicious weeknight meals. If you’ve got about 45 minutes on a Tuesday evening, one of these recipes would work well for dinner.
Baked and Casserole Chicken Dinners
Chicken Bacon Ranch Casserole. It’s a crowd-pleaser. There is never any of this casserole leftover. It checks all the kid-approval boxes: chicken, bacon, ranch, and baked cheese. This is the meal that I managed to make on a tiring Friday evening when I had zero energy, yet, it made me look like I spent more effort than I did. This casserole looks and tastes hearty but comes together effortlessly. Try this recipe: Chicken Bacon Ranch Casserole.
1) Easy Chicken Tetrazzini
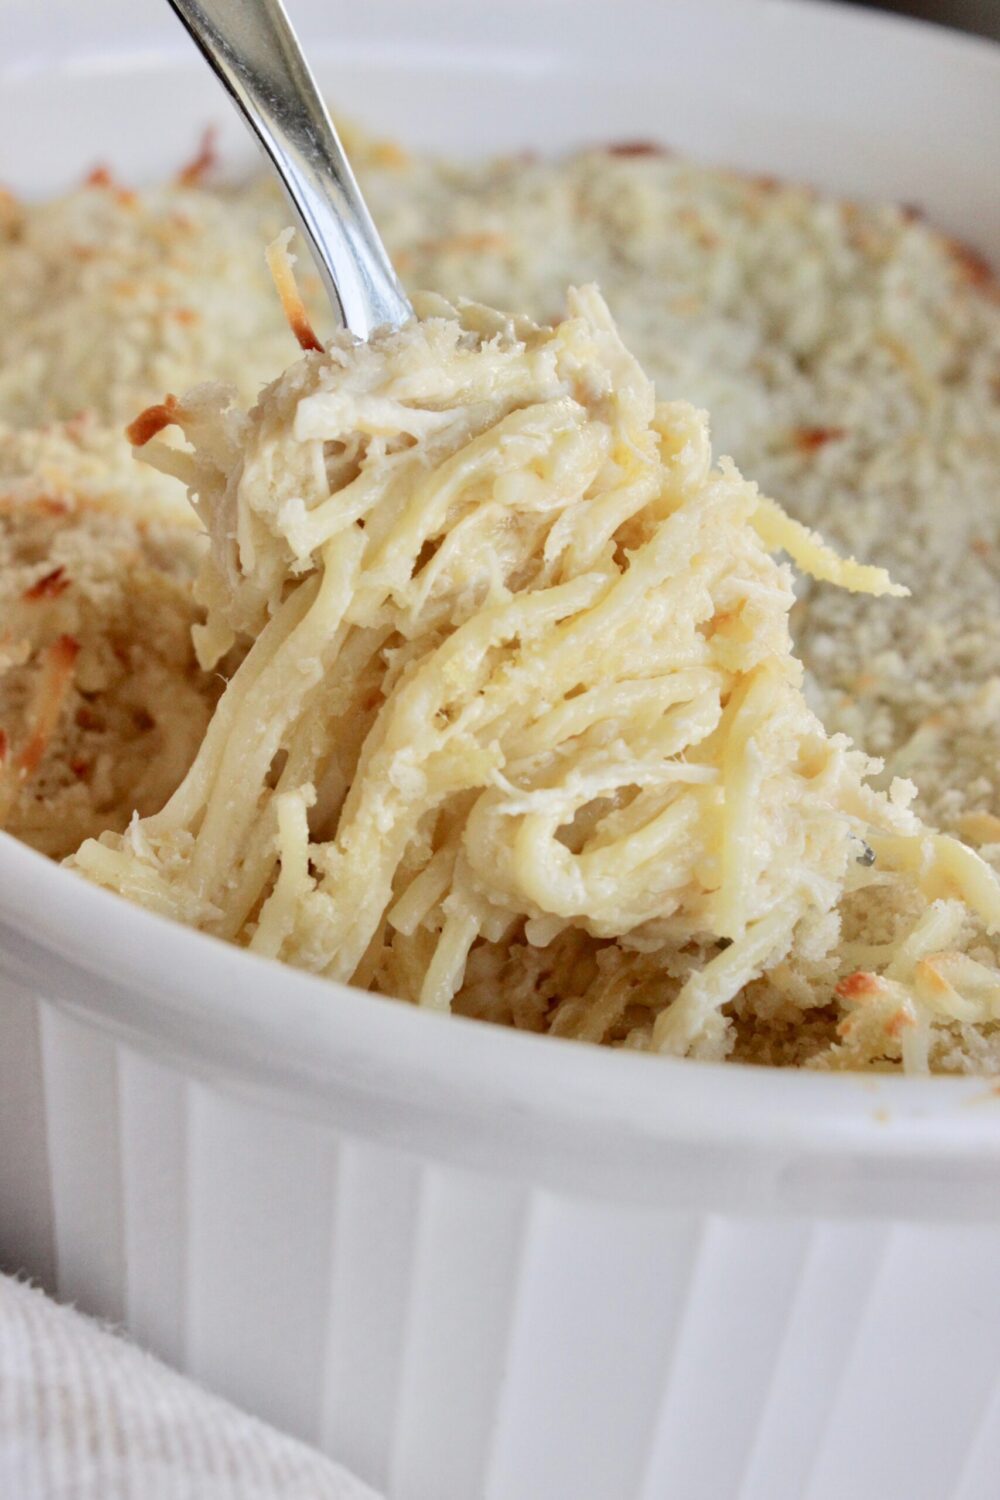
1) Easy Chicken Tetrazzini
Ingredients
- Ingredients
- 16 ounces thin spaghetti
- 4 cups cooked shredded chicken
- 2 10.5-ounce cans cream of chicken soup
- 2 cups sour cream
- 1/2 cup butter (melted)
- 1/2 cup milk
- 2 tablespoons Parmesan cheese
- 2 cups shredded mozzarella cheese
- 1/2 to 1 cup Panko breadcrumbs
- salt and pepper (to taste)
Cooking Instructions
- Instructions
- Preheat oven to 350°F and grease a 9×13 baking dish.
- Cook thin spaghetti 1 minute less than package directions. Drain and rinse with cold water.
- In a large bowl, combine melted butter, chicken, cream of chicken soup, sour cream, milk, salt, pepper, and Parmesan.
- Fold in drained spaghetti until evenly coated.
- Spread mixture in the prepared baking dish and top with mozzarella.
- Bake 30 minutes, until edges are bubbling and cheese is melted.
- Sprinkle Panko over the top and bake 10 more minutes, until golden and crisp.
- Let rest 5 minutes before serving.
Baked pasta + chicken + cheese + a creamy sauce = YUM. It’s easy to make, cut the prep time in half using a rotisserie chicken from the grocery store, delicious, AND it’s a winner as leftover for the next day’s lunch because it heats up so well.
Try this recipe: Easy Chicken Tetrazzini.
2) Chicken Bacon Fettuccine Alfredo Casserole
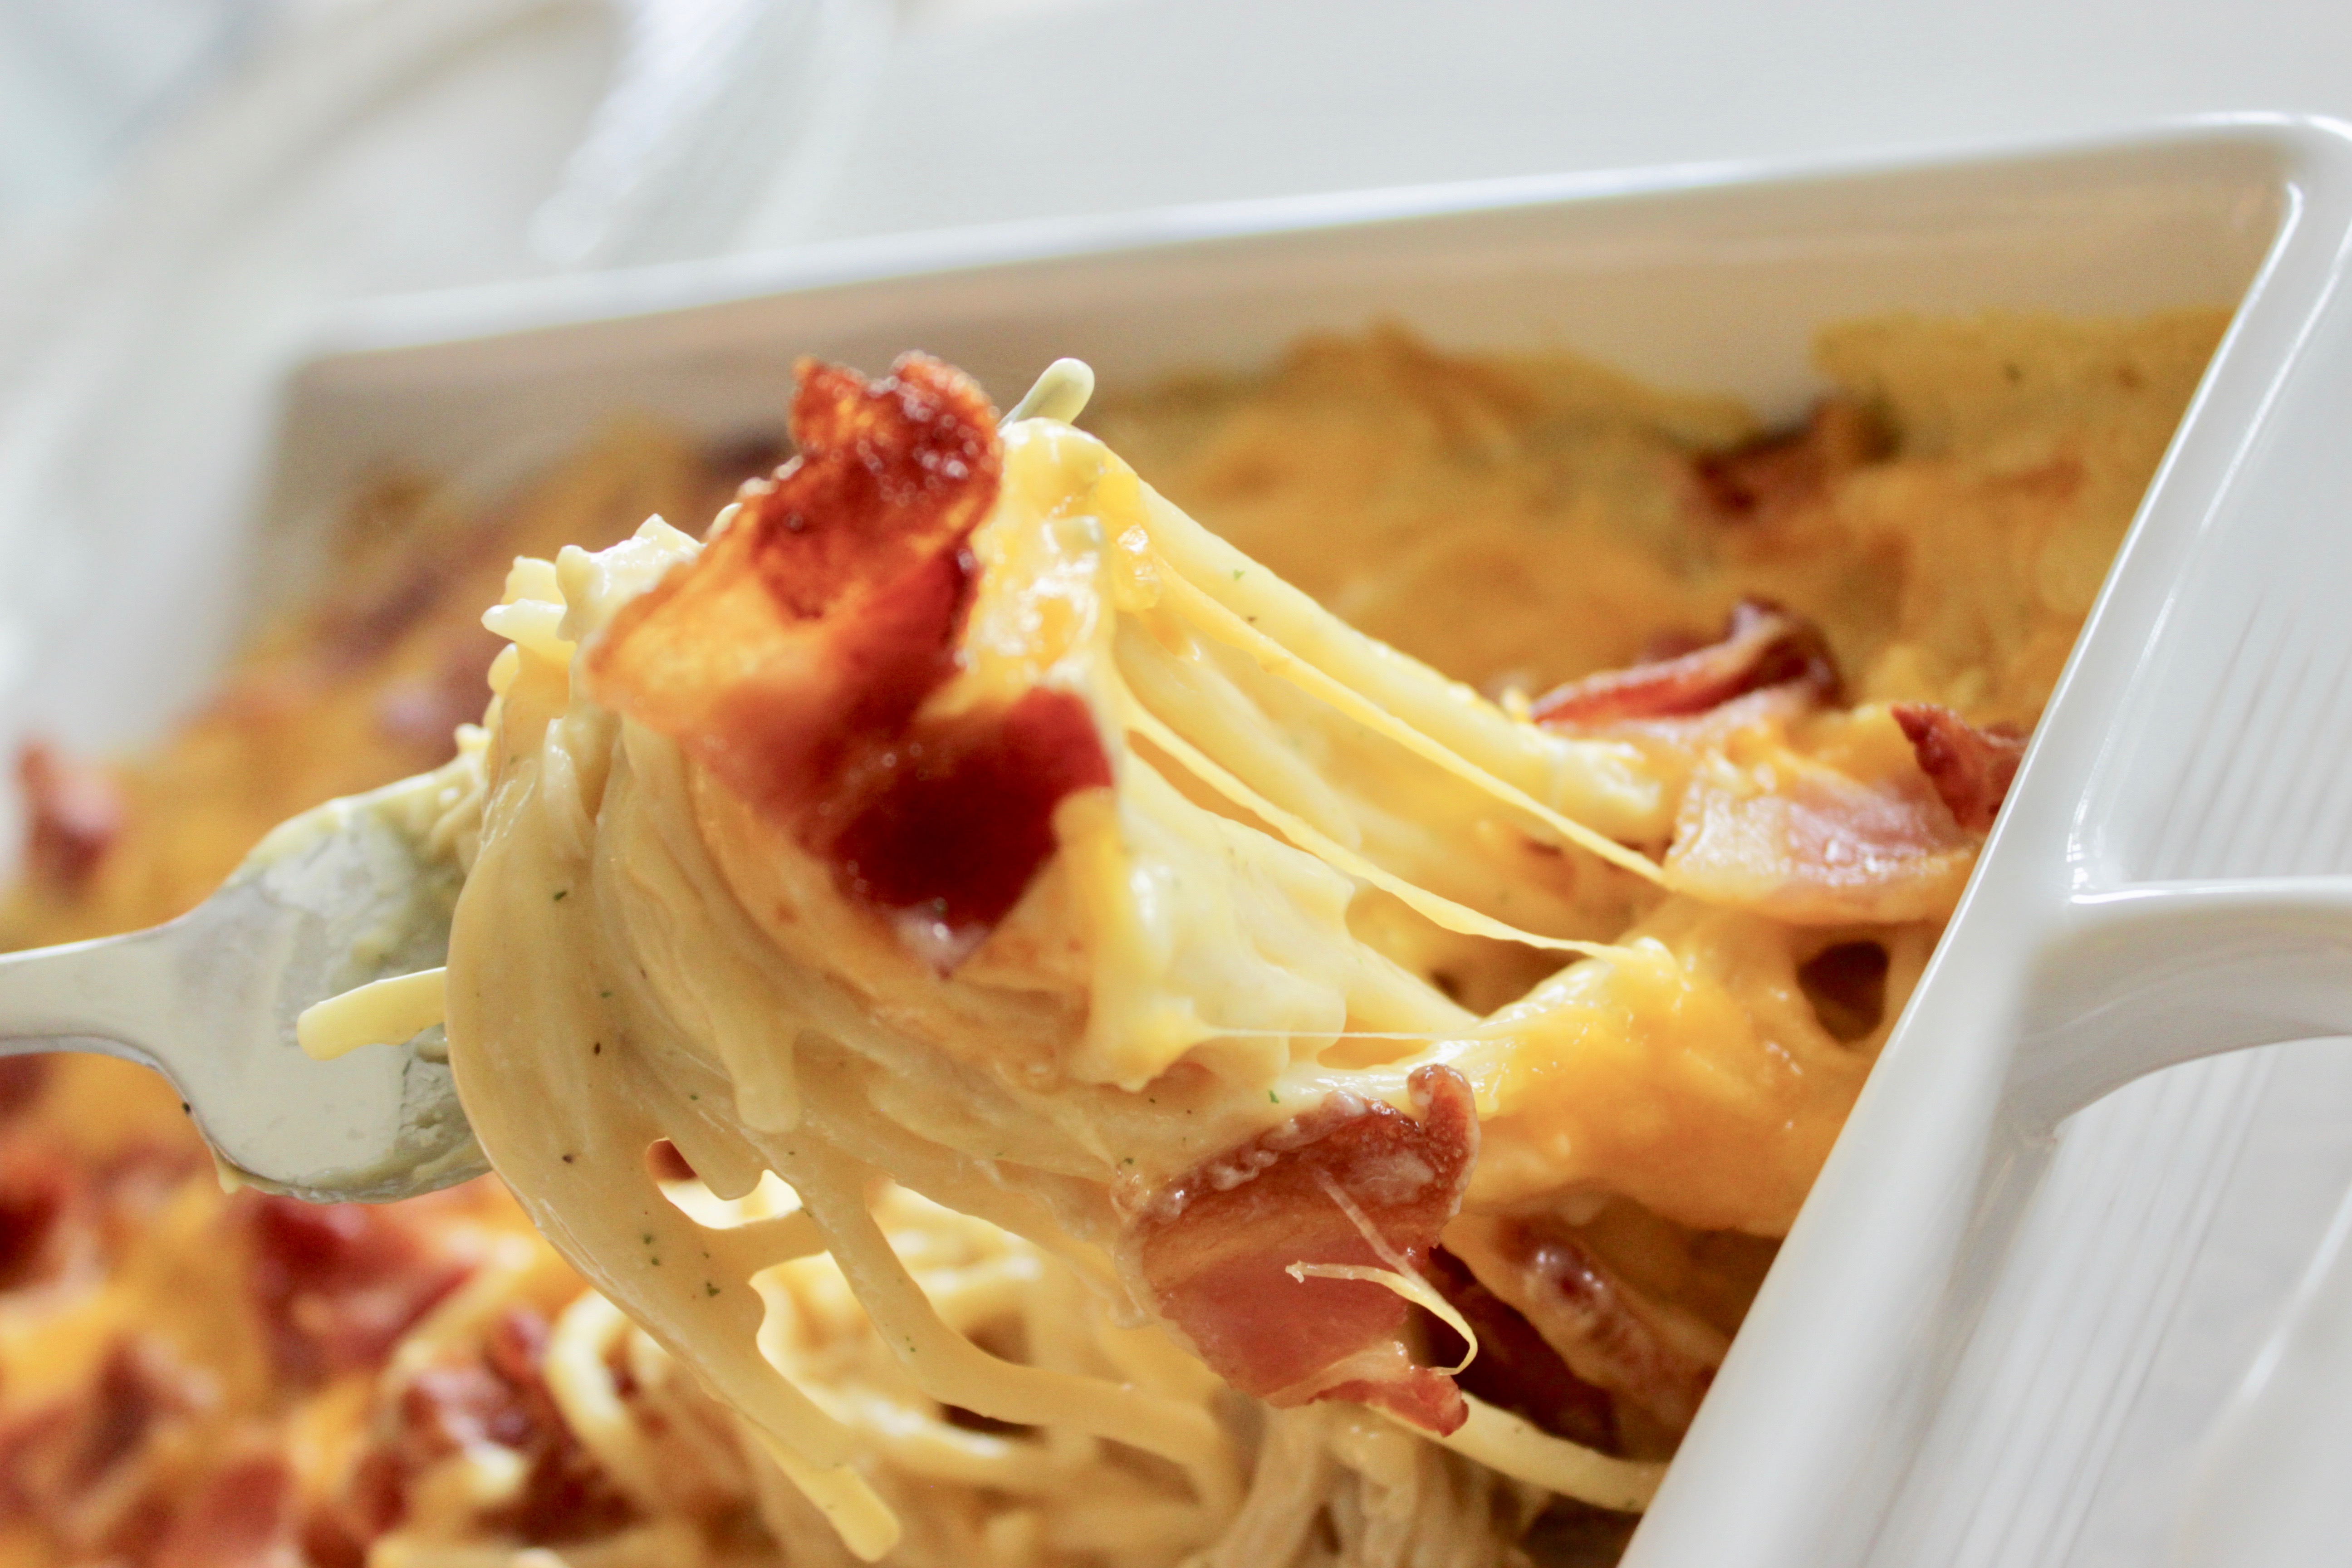
2) Chicken Bacon Fettuccine Alfredo Casserole
Ingredients
- Ingredients
- 1 can cream of mushroom soup
- 8 ounces cream cheese (softened)
- 4 ounces sliced mushrooms (drained)
- 1 cup whipping cream
- 1/2 cup butter (softened)
- 1/4 teaspoon garlic powder
- 1/2 cup grated Parmesan cheese (plus 2 tablespoons for topping)
- 1/2 cup shredded mozzarella cheese
- 3 cups cooked shredded chicken
- 1/2 pound bacon (cooked and chopped)
- 8 ounces fettuccine (cooked al dente)
- 1 cup panko breadcrumbs
- 2 tablespoons melted butter (for topping)
Cooking Instructions
- Instructions
- Preheat oven to 350°F and grease a 9×13 baking dish.
- Cook bacon until crispy, drain, and chop. Cook fettuccine to al dente, drain, and toss lightly with olive oil if needed.
- In a large saucepan over medium heat, combine cream of mushroom soup, cream cheese, mushrooms, whipping cream, butter, and garlic powder. Stir until smooth and glossy.
- Reduce heat to low and stir in Parmesan and mozzarella until melted.
- Add shredded chicken, half the bacon, and cooked fettuccine. Stir until evenly coated.
- Transfer to the baking dish.
- Mix panko with melted butter and Parmesan. Sprinkle over casserole with remaining bacon.
- Bake until hot, bubbling, and golden on top, about 30 to 35 minutes.
This one’s a bit more work but still easier than it looks. It’s another crowd-pleaser – chicken, bacon, AND fettuccine alfredo all baked into a casserole so you can serve a crowd and NOT stand at the stove!
Try this recipe: Chicken Bacon Fettuccine Alfredo Casserole.
This casserole is a weekly rotation at our house. My teens will eat it EVERY WEEK but I need variety.
3) Easy Chicken Casserole with Stuffing
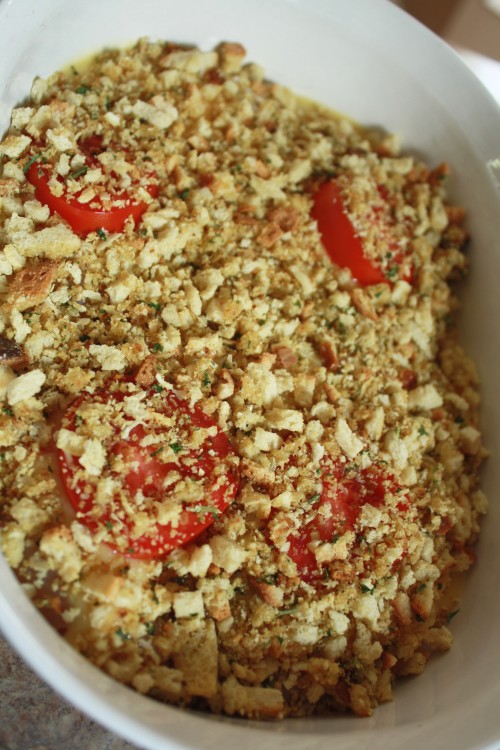
3) Easy Chicken Casserole with Stuffing
Ingredients
- Ingredients
- 4 skinless chicken breast halves
- 4 slices American or Swiss cheese
- 1 can cream of chicken soup
- 1/2 cup milk
- 4 thin slices tomato
- 2 tablespoons butter (melted)
- 1 cup Stovetop stuffing (crushed)
- hot cooked rice (for serving)
Cooking Instructions
- Instructions
- Preheat oven to 400°F and lightly grease a 3-quart oblong baking dish.
- Place chicken breast halves in a single layer in the dish.
- Lay one slice of cheese on top of each chicken breast.
- Stir cream of chicken soup and milk until smooth, then spread over the cheese layer.
- Place tomato slices on top of the soup layer.
- Crush stuffing and mix with melted butter. Sprinkle evenly over the tomatoes.
- Bake uncovered for 25 minutes, until chicken reaches 165°F and stuffing is golden. Serve with hot cooked rice.
Nothing like some Thanksgiving fare in the middle of the week. Layering on some chicken and stuffing and popping it in the oven until the top is crispy and golden-brown is super satisfying.
You could make your own stuffing from scratch but honestly, who has time for that on a school night? Grab some boxed stuffing and move on with your life.
4) Easy Italian Pasta & Chicken Dish
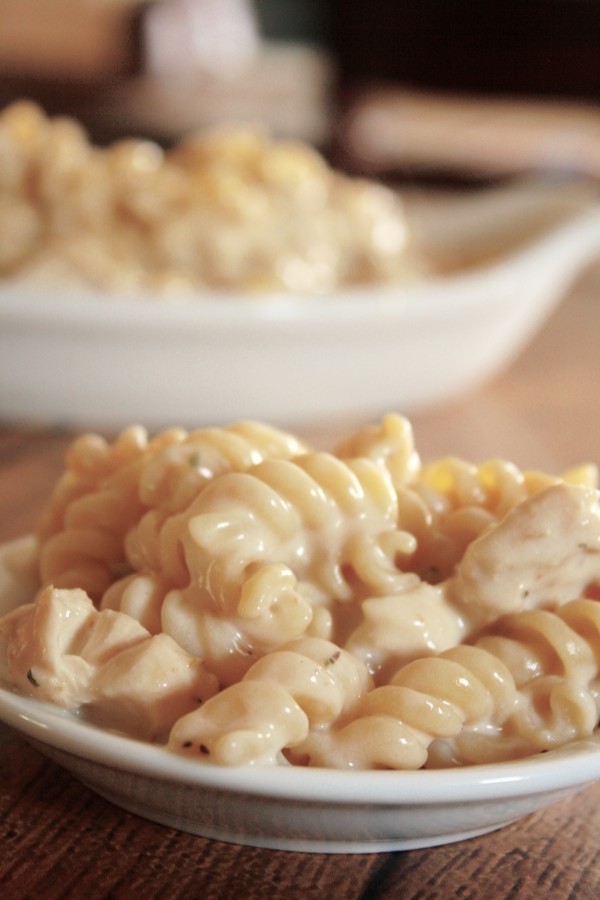
4) Easy Italian Pasta & Chicken Dish
Ingredients
- Ingredients
- 2 chicken breasts (cooked and diced)
- Montreal Chicken seasoning (to taste)
- 16 ounces rotini pasta
- 16 ounces Alfredo sauce
- 1 cup milk
- 1/2 teaspoon Italian seasoning
- salt and pepper (to taste)
- 1 cup shredded mozzarella cheese
Cooking Instructions
- Instructions
- Cook rotini in salted water according to package directions until al dente. Drain, rinse with cold water, and set aside.
- Season chicken breasts with Montreal Chicken seasoning and cook through by your preferred method. Rest 5 minutes, then dice into 3/4-inch cubes.
- In a large skillet over medium heat, whisk together Alfredo sauce and milk until combined.
- Add Italian seasoning, salt, and pepper. Simmer gently for about 5 minutes, stirring occasionally.
- Add cooked rotini and diced chicken to the sauce. Toss to coat.
- Cook on low for about 10 minutes, stirring occasionally, so the pasta absorbs some sauce.
- Add shredded mozzarella and stir until melted through. Serve immediately.
All the goodness of chicken and pasta tossed with olive oil and Italian seasonings. Throw together this recipe in NO TIME.
Serve it up with some salad and garlic bread and dinner will be done before your husband notices how quick dinner was. Keep it a secret.
5) Crack Chicken Instant Pot Recipe
5) Crack Chicken Instant Pot Recipe
Ingredients
- Ingredients
- 1 pound bacon (diced)
- 4 boneless skinless chicken breasts (cut in half if thick)
- 1 packet Hidden Valley Buttermilk Ranch seasoning
- 8 ounces cream cheese (cubed)
- 1/2 cup chicken broth
- 1 cup shredded cheddar cheese
- mayonnaise (optional)
- green onions (chopped, for serving)
Cooking Instructions
- Instructions
- Set the Instant Pot to saute on high. Add diced bacon and cook 8 to 10 minutes, until cooked through and starting to crisp. Remove bacon with a slotted spoon and leave drippings in the pot.
- Add chicken pieces to the bacon drippings and sear for about 2 minutes per side, if desired.
- Pour in chicken broth and scrape the bottom of the pot thoroughly to loosen browned bits. Stir in ranch seasoning.
- Nestle chicken into the broth, place cream cheese cubes on top, and add the cooked bacon back to the pot.
- Secure the lid, set valve to sealing, and cook on manual high pressure for 15 minutes. Let pressure release naturally for 5 minutes, then quick release remaining pressure.
- Remove chicken and shred with two forks. Stir cream cheese into the sauce until fully melted and incorporated.
- Return shredded chicken to the pot. Stir in cheddar cheese and optional mayonnaise.
- Stir in green onions right before serving.
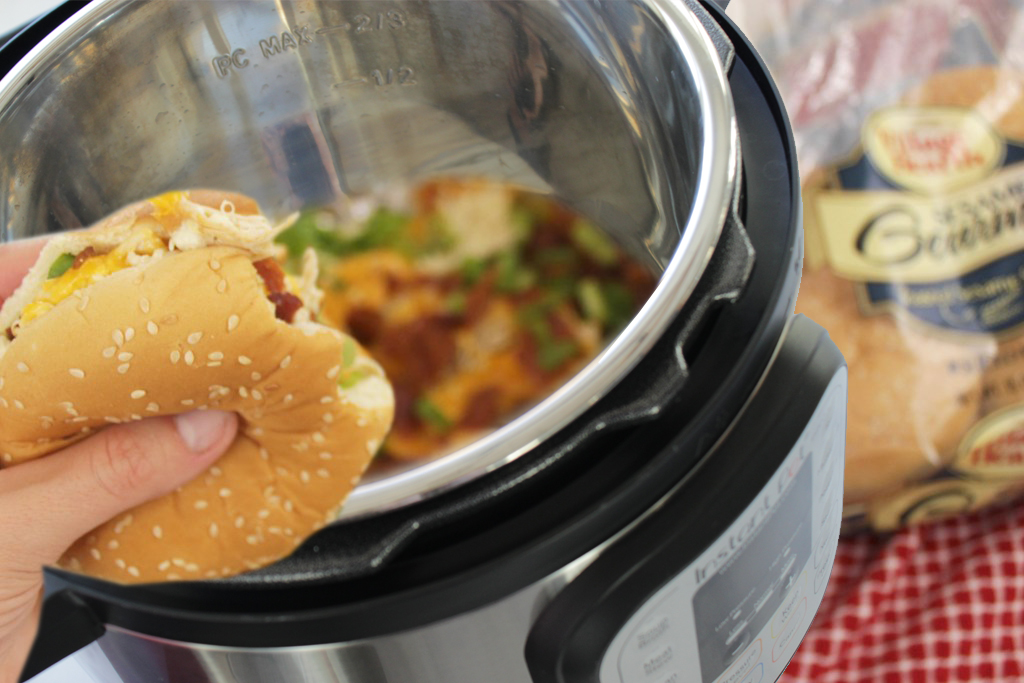
Cream cheese, bacon, ranch seasoning, chicken…what’s not to love?! Throw it all together and let your electric pressure cooker do its thing for just 15 minutes.
The chicken will be so tender that you’ll be able to shred it right out of the pot. Serve it over rice, on a bun, in a tortilla…you name it.
6) Crescent Roll Crack Chicken Recipe

6) Crescent Roll Crack Chicken Recipe
Ingredients
- Ingredients
- 1 tube Pillsbury Crescent Rolls (8 count)
- 8 crispy chicken fingers
- ranch dressing (enough for a thin line on each crescent)
- 4 slices cooked bacon (cut in half)
- 8 slices cheddar cheese (cut into 1-by-3-inch strips)
- 2 tablespoons butter (melted)
Cooking Instructions
- Instructions
- Preheat the oven to 375°F. Line a baking sheet with parchment paper or spray it lightly with cooking spray.
- Separate crescent dough into 8 triangles on a clean surface.
- Add a thin 3-inch line of ranch dressing down the center of each crescent triangle.
- Place one chicken finger at the wide end of each triangle. Add a half-slice of bacon and a strip of cheddar cheese.
- Roll from the wide end toward the tip, tucking the tip underneath on the baking sheet. Press sides gently to close.
- Brush the tops with melted butter.
- Bake for 12 to 15 minutes, until deep golden brown and no longer doughy on the bottom.
- Let rest about 2 minutes before serving because the cheese inside is very hot.
All the goodness of Crack Chicken wrapped up in flakey crescent rolls. Pop them in the oven until crispy and golden-brown and enjoy.
This is an easy-to-grab recipe that is perfect for a quick dinner or maybe even on a game night. This is an easy grab n’ go recipe that even teens will devour!
I cannot rave enough about these. They are SO easy and delicious.
Even our pet Gigi begs for these by standing right underneath the cooling rack waiting patiently. Gigi is an amazing pet, and everything revolves around food.
7) Huli Huli Pressure Cooker Chicken

7) Huli Huli Pressure Cooker Chicken
Ingredients
- 4 boneless skinless chicken breasts (cut into 1/2-inch cubes)
- 1/3 cup chicken or vegetable broth
- 1/3 cup pineapple juice (reserved from canned pineapple)
- Pineapple chunks (reserved for garnish)
- 1/2 cup soy sauce
- 1/2 cup brown sugar
- 3 tablespoons tomato paste
- 2 teaspoons fresh grated ginger
- 1 tablespoon minced garlic
- 1/2 teaspoon black pepper
- Sliced green onions (for garnish)
- Cooked white rice (for serving)
Cooking Instructions
- Add chicken cubes and broth to the Instant Pot insert. Secure the lid, set valve to sealing, and cook on manual high pressure for 15 minutes.
- Carefully quick release the pressure, then open the lid after the float valve drops.
- Whisk pineapple juice, soy sauce, tomato paste, brown sugar, ginger, and garlic in a bowl until combined.
- Switch the Instant Pot to sauté. Pour the sauce over the chicken and stir to coat. Cook 5 to 7 minutes, stirring often, until the sauce bubbles, reduces, and coats the chicken.
- Stir in black pepper and taste. Add a small splash of soy sauce if you want to balance the sweetness.
- Shred the chicken directly in the pot with two forks, then stir it back into the sauce.
- Serve over white rice with green onions and reserved pineapple chunks.
Huli huli chicken is a Hawaiian style chicken dish that is coated with a deliciously tasty glaze with a strong ginger soy flavor. We have eaten this recipe several times before, but I love making it in the pressure cooker because it’s foolproof tender goodness.
We love this served with white rice and fresh sliced pineapple. We were in such a rut the past two weeks of the same dinner after dinner, and this brightened our Wednesday night.
8) The Best Marinade for Chicken Drumsticks
8) The Best Marinade for Chicken Drumsticks
Ingredients
- 2 garlic cloves (minced)
- 1/2 cup olive oil
- 1 can or bottle beer (or substitute 3/4 cup apple cider vinegar)
- 1 teaspoon sea salt
- 1/2 teaspoon black pepper
- 1/2 teaspoon cumin
- 1/2 teaspoon paprika
- 1/4 teaspoon cayenne pepper
- 9 chicken drumsticks
Cooking Instructions
- Whisk garlic, olive oil, beer, sea salt, black pepper, cumin, paprika, and cayenne together in a bowl or zip-top bag.
- Add chicken drumsticks and turn to coat every piece with marinade.
- Cover or seal and refrigerate at least 8 hours or overnight, turning occasionally so the marinade touches all sides.
- Remove drumsticks from marinade and pat lightly dry before cooking.
- Grill over medium heat, turning often, until the skin is browned and the chicken reaches 165°F internally.
- Rest a few minutes before serving.
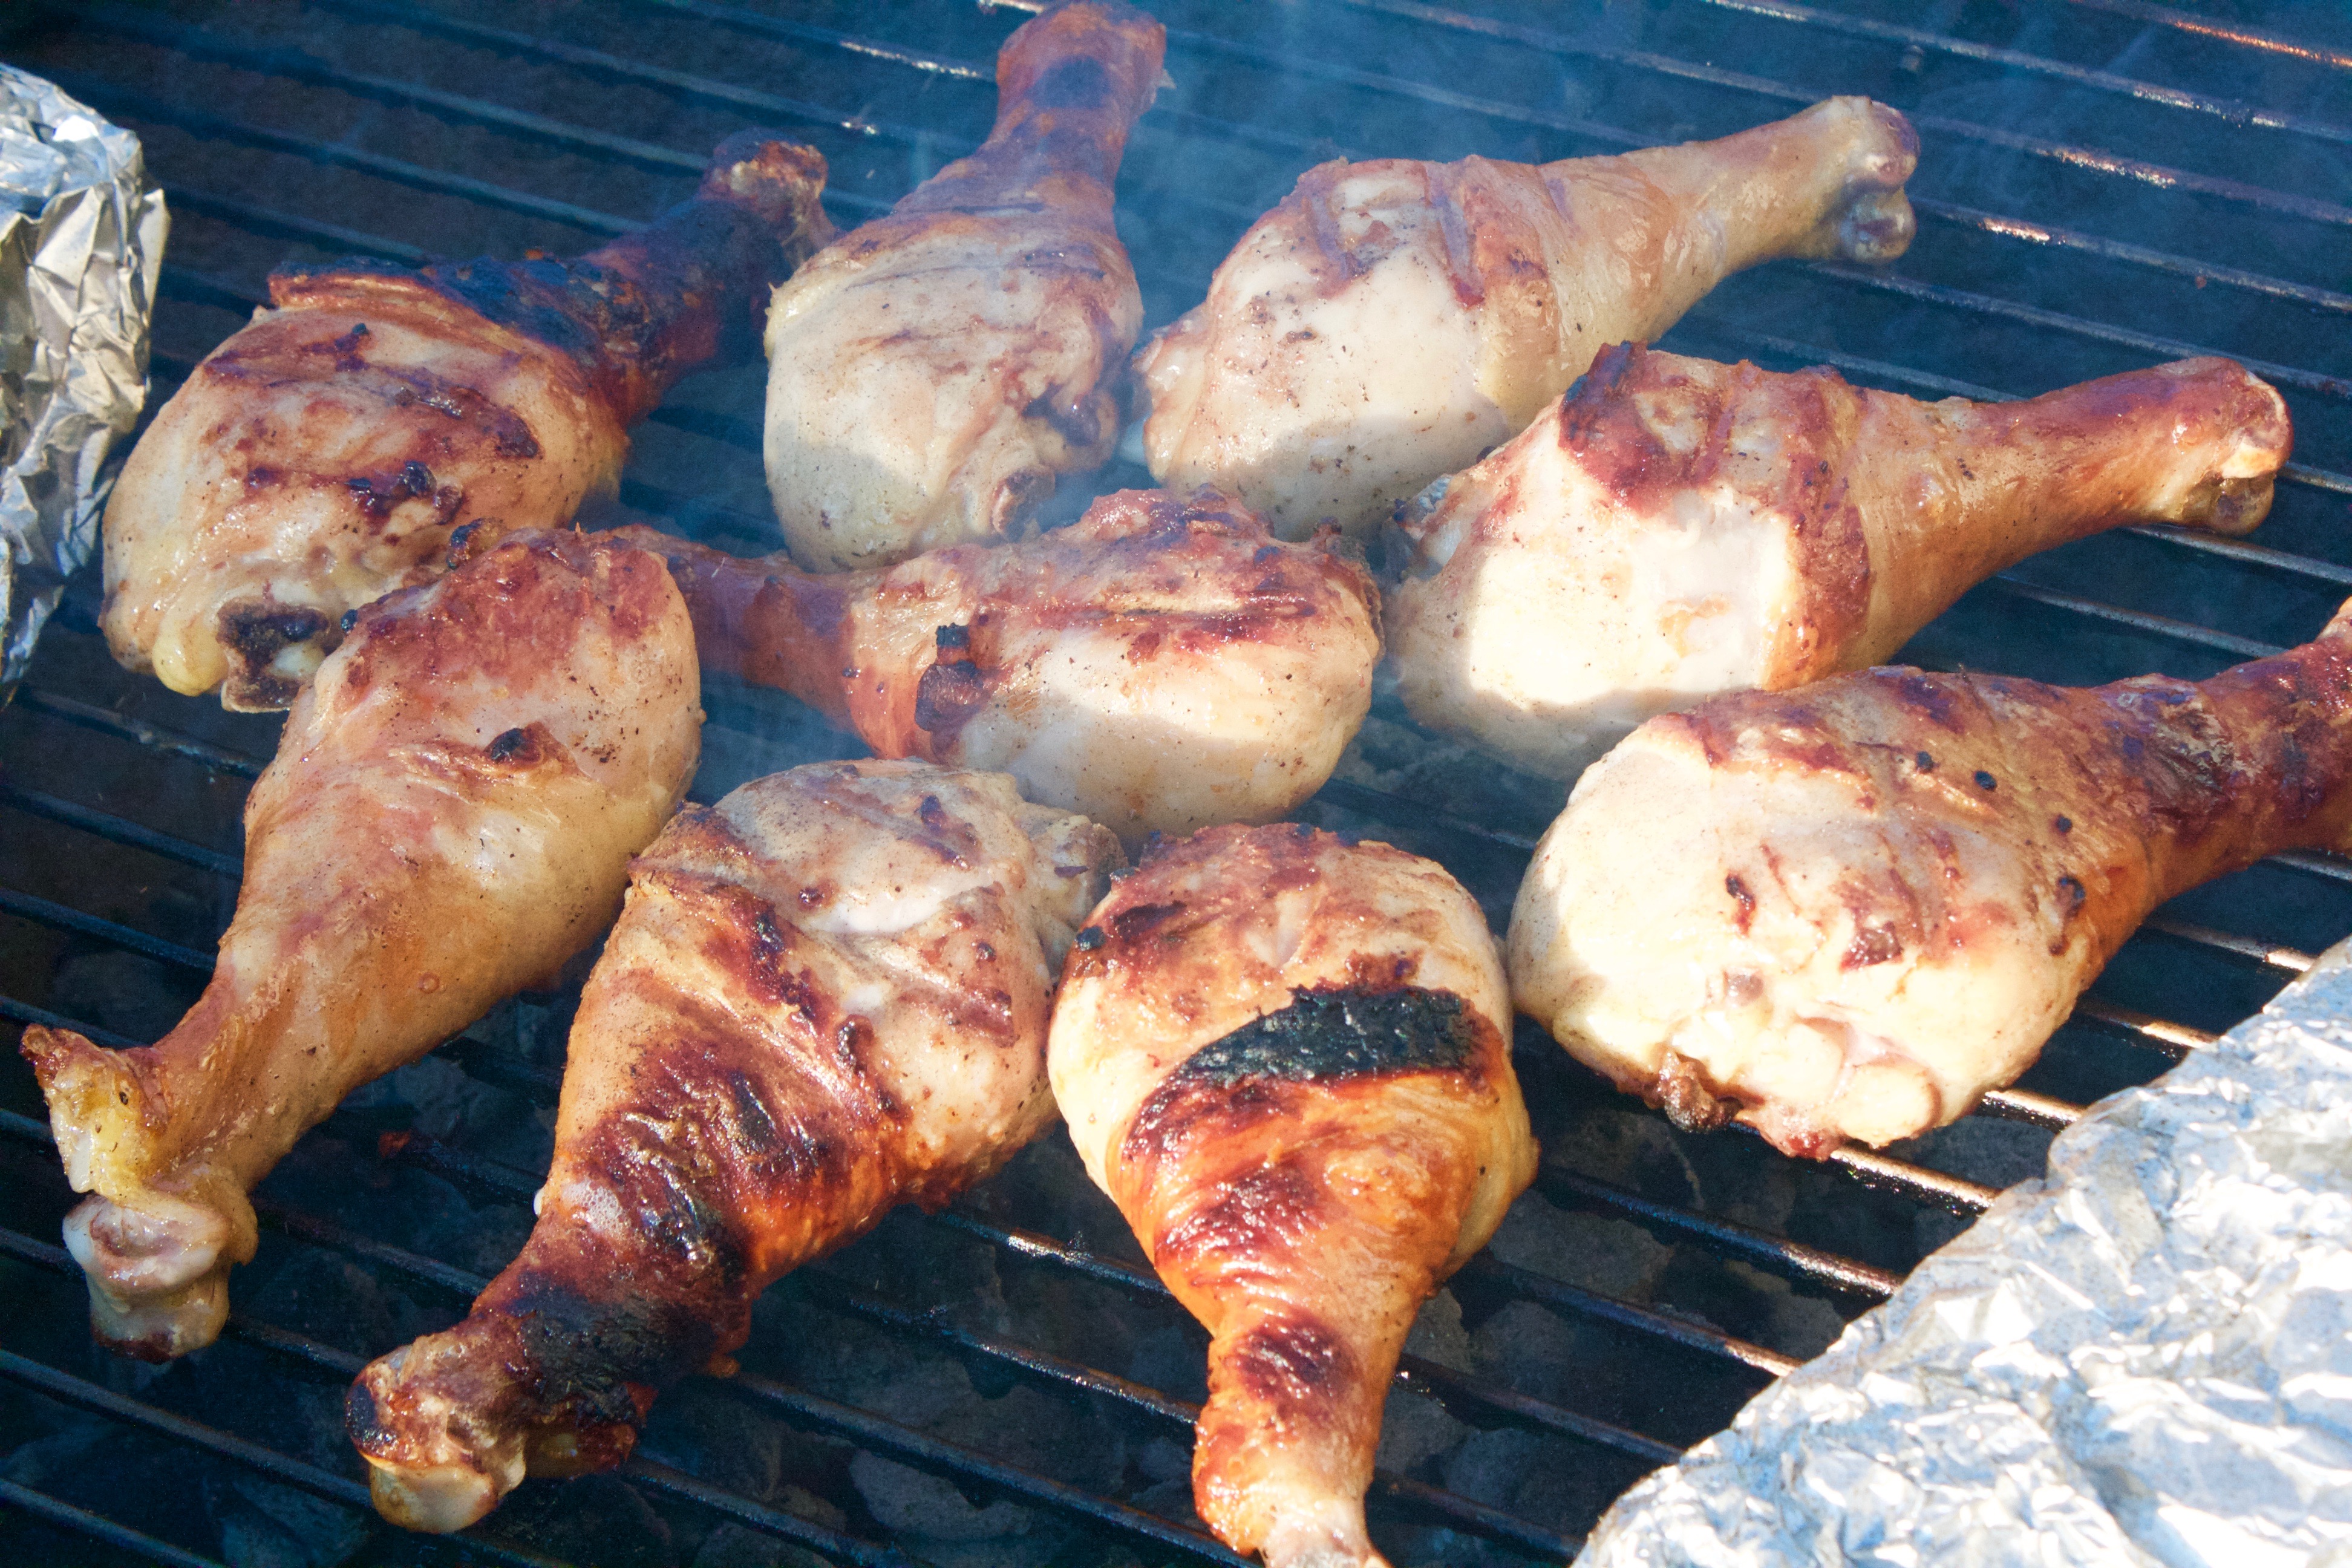
Chicken legs/drumsticks are one of the cheapest cuts of meat, and this marinade is amazing. It’s savory, a little sweet and super tasty.
You can grill them if you’re lucky enough to be outside, or you can pop them in the oven if you’re unlucky enough to have Iowa weather. My teenagers vie for the last chicken leg.
9) Chili’s Chicken Crispers Copycat Recipe

9) Chili’s Chicken Crispers Copycat Recipe
Ingredients
- Ingredients
- 10 chicken tenderloins
- 1/2 cup plain flour (for coating)
- 1 egg (beaten)
- 1/4 cup buttermilk
- 3/4 cup chicken broth
- 1 1/2 teaspoons salt
- 1/2 teaspoon black pepper
- 1 cup self-rising flour
- 6-10 cups vegetable oil (for frying)
- 2/3 cup mayonnaise
- 1/4 cup honey
- 2 tablespoons Dijon mustard
- 1 pinch paprika
- 1 pinch salt (for honey mustard)
Cooking Instructions
- Instructions
- Stir together the mayonnaise, honey, Dijon mustard, paprika, and pinch of salt. Set the honey mustard aside for dipping.
- Heat the fryer or a heavy pot of oil to 350°F.
- Whisk together the beaten egg, buttermilk, chicken broth, salt, and black pepper for about 30 seconds.
- Whisk in the self-rising flour and let the batter sit for about 5 minutes.
- Coat each chicken tenderloin lightly in plain flour, then dip into the batter and let excess drip off.
- Fry the chicken crispers in batches for 7 to 9 minutes per tenderloin, until golden and cooked through. Do not crowd the fryer.
- Drain on paper towels and serve hot with the honey mustard dipping sauce.
Chicken crispers are a must-have item on Chili’s menu, and this recipe will save you a fortune over buying them. This recipe makes enough to have chicken crispers, a side of fries and a salad.
That’s a whole meal and a heck of a lot cheaper than buying them. Add dipping sauce and you’re golden.
My 18 year old proclaims these are better than the ones from the restaurant.
Crockpot and Slow Cooker Chicken
10) Crockpot Hawaiian Chicken Recipe
10) Crockpot Hawaiian Chicken Recipe
Ingredients
- Ingredients
- 20 ounces chicken tenderloins (cut into 1- to 2-inch pieces)
- 1/2 cup pineapple juice
- 1/4 cup brown sugar
- 1 ounce soy sauce (about 2 tablespoons)
- white rice (for serving)
- sesame seeds (optional)
Cooking Instructions
- Instructions
- Cut chicken tenderloins into 1- to 2-inch pieces and place in the slow cooker.
- In a measuring cup or small bowl, stir together pineapple juice, brown sugar, and soy sauce until mostly dissolved.
- Pour sauce over chicken. Cover and cook on low for 6 hours.
- Serve chicken over cooked white rice and spoon extra sauce from the slow cooker over the top.
- Sprinkle with sesame seeds if desired.
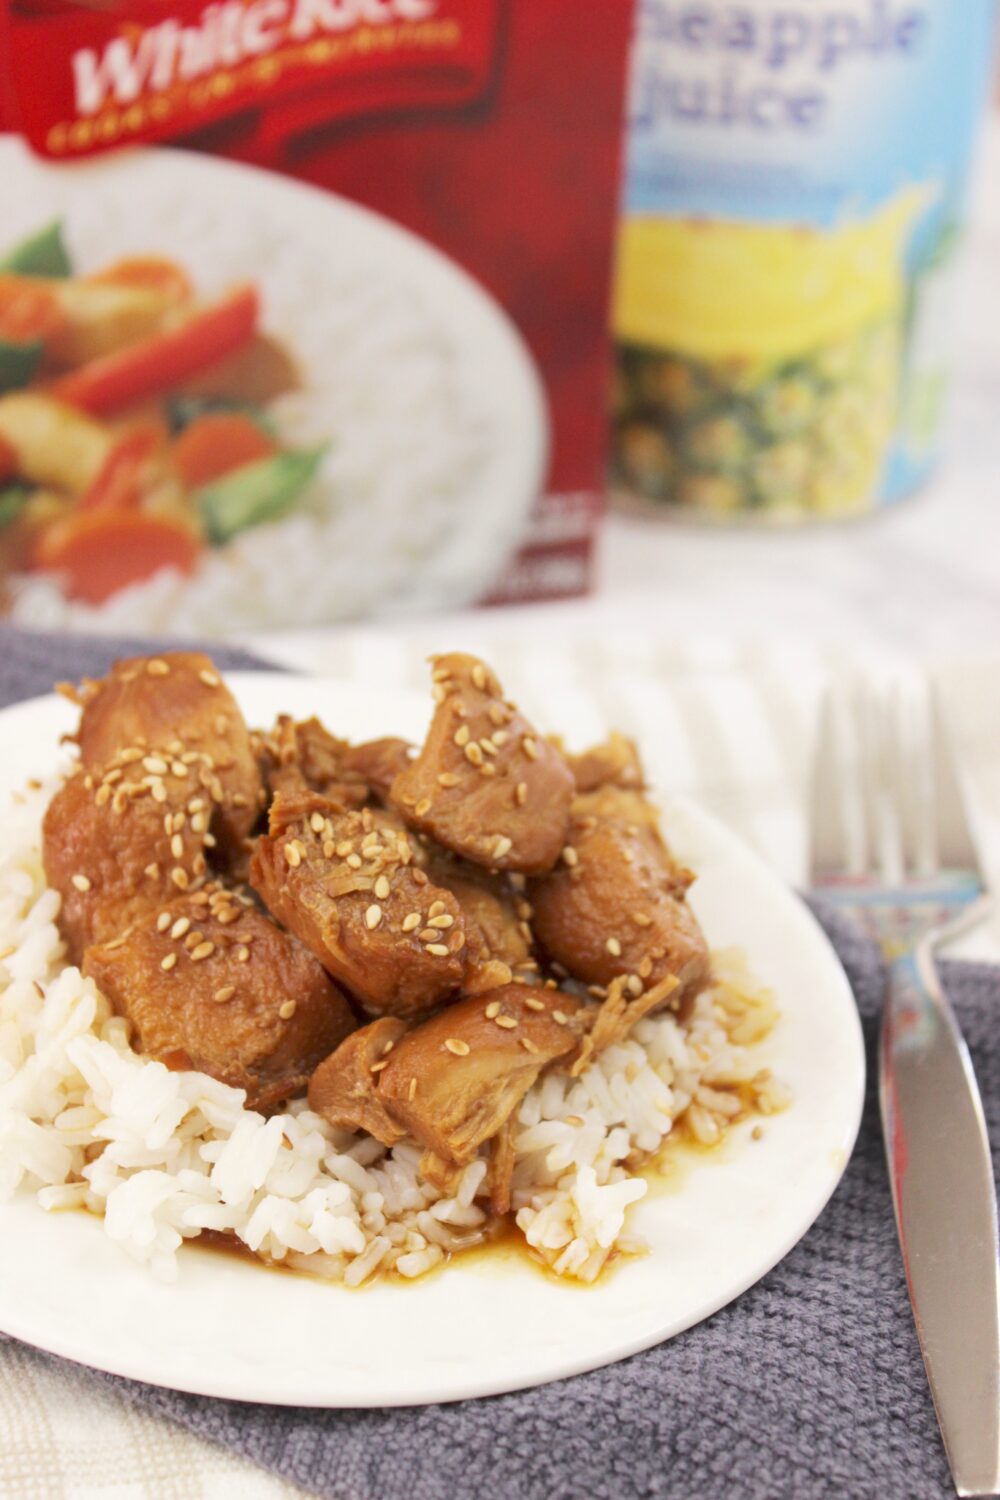
Another recipe where you throw everything into a crockpot in the morning and walk away. This recipe is delicious and requires minimal effort.
The pineapple juice and soy sauce create a sweet and tangy glaze and it’s delicious when served over rice.
This recipe is so easy to make and tastes like you spent hours making it, which is NEVER. You’ll be in heaven when you bite into this amazing sweet and savory chicken that tastes like you’re eating food that was pulled directly off of the grill.
When I know that my energy will be depleted by 5pm, which happens more often than I would like, I’ll make this crockpot recipe before dropping the kiddos off at school in the morning. It’s my #1 go-to meal when I’m running on empty.
11) Crockpot Shredded Chicken Tacos
11) Crockpot Shredded Chicken Tacos
Ingredients
- 1 1/2 to 2 pounds boneless skinless chicken thighs or breasts
- 1 packet taco seasoning (about 1 ounce, or 2 tablespoons homemade taco seasoning)
- 1 jar salsa (16 ounces, medium or mild, or 1 can Rotel plus 1/2 cup chicken broth)
- Juice of 1/2 lime (optional but recommended)
- Fresh cilantro (optional)
- Flour or corn tortillas (for serving)
- Toppings of choice (such as shredded cheese, sour cream, lettuce, pico de gallo, avocado, jalapeños, and hot sauce)
Cooking Instructions
- Place chicken in the bottom of the slow cooker in as close to a single layer as possible.
- Sprinkle taco seasoning evenly over the chicken.
- Pour salsa, or Rotel plus broth, over the chicken until mostly coated.
- Cook on Low for 4 to 6 hours, until chicken pulls apart easily with a fork. Check breasts closer to 4 hours and thighs closer to 5 to 6 hours.
- Shred the chicken directly in the slow cooker with two forks.
- Replace the lid and let the shredded chicken rest in the sauce for 10 minutes so it absorbs the liquid.
- Squeeze lime juice over the chicken, stir, taste, and adjust seasoning if needed. Stir in cilantro if using.
- Serve in warm tortillas with your favorite toppings.
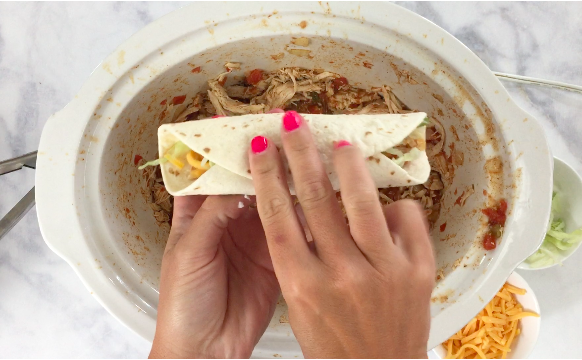
Simply season the chicken and add it and salsa to the crockpot and cook away. Later, you’ll shred the chicken and have a taco bar where each member of the family can create their own tacos with “you do it yourself” toppings.
This is key with our two teens because they have COMPLETELY opposing ideas of what belongs on a taco.
12) Crockpot Chicken Sandwiches (Crack Chicken)
12) Crockpot Chicken Sandwiches (Crack Chicken)
Ingredients
- Ingredients
- 4 boneless skinless chicken breasts (about 2 pounds)
- 8 ounces cream cheese (softened)
- 1 packet ranch dressing mix
- 8 strips bacon (cooked and crumbled)
- 2 cups shredded cheddar cheese
- green onions (for serving)
- hamburger buns (toasted if desired)
Cooking Instructions
- Instructions
- Place chicken breasts in a single layer in a 4-quart or larger slow cooker. Set softened cream cheese on top.
- Sprinkle the ranch packet over everything. Cover and cook on low for 6 hours.
- While chicken cooks, cook bacon until crisp, then cool and crumble.
- Shred the chicken into the cream cheese sauce with two forks or a hand mixer on low.
- Add shredded cheddar and crumbled bacon. Cover and let sit on warm for 15 minutes, until cheese melts.
- Stir to combine, scatter green onions over the top, and serve hot on buns.
Shredded chicken + cream cheese + ranch + cheddar + bacon all piled high on a bun = HEAVEN. I like to make these into little sandwiches that are perfect for sharing.
You can easily make a ton of them to make it stretch if you’re feeding a crowd at one of our get-togethers over the weekend. Many people ask me for this recipe after having it.
13) Slow Cooker Crack Chicken Pasta

13) Slow Cooker Crack Chicken Pasta
Ingredients
- 5 cups shredded rotisserie chicken
- 1 can cream of chicken soup (10.5 ounces)
- 8 ounces Velveeta (cubed)
- 2 cups chicken broth
- 1 cup water
- 1 packet Hidden Valley Buttermilk Recipe Ranch dry seasoning
- 3 cups uncooked penne or mostaccioli pasta
- 1 1/2 cups mild cheddar cheese
- 1 cup bacon pieces
Cooking Instructions
- Shred or dice rotisserie chicken until you have about 5 cups.
- In a 4-quart slow cooker, combine chicken, ranch packet, cream of chicken soup, chicken broth, water, and cubed Velveeta.
- Cover and cook on High for 3 hours.
- Add uncooked pasta and stir well.
- Cover and cook on High for 20 more minutes.
- Stir again, replace the lid, and continue cooking until pasta is tender, checking every 10 to 15 minutes.
- Stir in mild cheddar cheese and bacon pieces.
- Let sit a few minutes so the sauce thickens.
- Serve warm.
Another one with ranch, cream cheese, and bacon. It’s a meal that will satisfy your heart’s desires and has absolutely NO fussing over a stove when everyone comes to dinner hungry.
Creamy, hearty, and delicious. My 15 year old requested that we make this “every Thursday.”
14) Buffalo Chicken Crock Pot Sandwiches
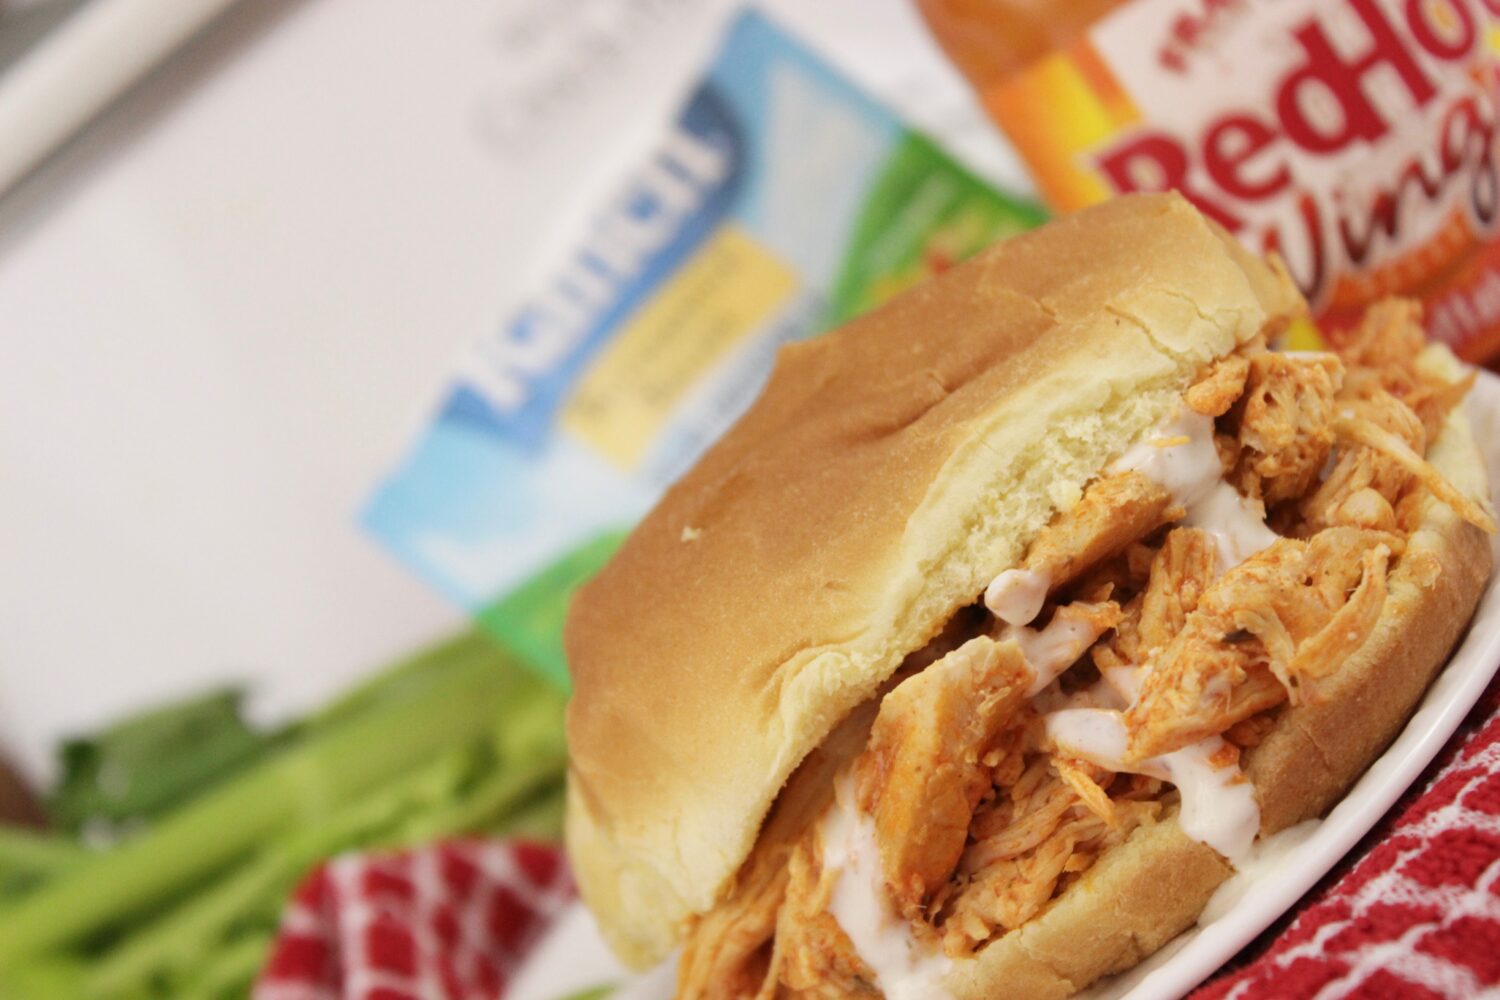
14) Buffalo Chicken Crock Pot Sandwiches
Ingredients
- Ingredients
- 4 boneless skinless chicken breasts
- 12 ounces Frank’s Buffalo Sauce
- 8 ounces cream cheese (full-fat preferred)
- 1 packet Hidden Valley Ranch Seasoning
- 6 hamburger buns (toasted if desired)
- blue cheese, ranch, celery, or red onion (optional toppings)
Cooking Instructions
- Instructions
- Lay the chicken breasts flat in the bottom of the slow cooker.
- Pour the full bottle of buffalo sauce over the chicken. Place the block of cream cheese on top and sprinkle the ranch seasoning over everything.
- Cover and cook on low for 6 to 7 hours or on high for 3 to 4 hours, until the chicken is tender.
- Shred the chicken directly in the slow cooker with two forks. Stir until the cream cheese and sauce become a uniform creamy orange coating.
- Taste and add a pinch of salt or a splash more buffalo sauce if desired.
- Toast the buns, pile the shredded buffalo chicken on top, and serve immediately with optional toppings.
Pulled chicken + buffalo sauce + ranch = yum, yum, yum. Serve it on a hoagie roll or sub.
You can also adjust the spiciness of the sandwiches depending on who you’re trying to please. My husband is a sucker for anything with a hint of buffalo.
15) Crock Pot Chicken Fajitas

15) Crock Pot Chicken Fajitas
Ingredients
- Ingredients
- 2 pounds boneless skinless chicken breasts
- 3 bell peppers (sliced)
- 1 large yellow onion (sliced into half-rings)
- 1/2 cup salsa
- 3 tablespoons fajita seasoning
- 2 tablespoons olive oil (divided)
- 1 lime (juiced)
- 3 cloves garlic (minced)
- 1 teaspoon salt
- 8-10 flour tortillas (for serving)
Cooking Instructions
- Instructions
- Place sliced bell peppers and onion in the bottom of the slow cooker. Drizzle with 1 tablespoon olive oil and toss lightly.
- In a small bowl, combine fajita seasoning, remaining olive oil, minced garlic, and lime juice into a loose paste. Coat chicken breasts on all sides.
- Place seasoned chicken on top of the vegetables and pour salsa over everything.
- Cover and cook on low for 4 to 5 hours or high for 2 to 3 hours, until chicken reaches 165°F and shreds easily.
- Remove chicken to a cutting board and shred with two forks. Return to the slow cooker and stir with peppers, onions, and cooking liquid.
- Taste and adjust salt and lime juice. Broil filling 3 to 5 minutes on a foil-lined sheet pan if you want extra caramelization.
- Warm tortillas and serve with desired toppings.
Chicken, peppers, onions, and spices cook in the Crock Pot for a few hours leaving them ready to shred and pile into tortillas with your favorite fajita toppings. Sour cream, cheese, guacamole, salsa, yum!
You’ll love the aroma this recipe fills your kitchen with, like a Mexican restaurant.
See what I mean? These kid-friendly slow cooker chicken recipes are perfect for hectic weeknights when the last thing you want to do is spend a lot of time in the kitchen.
Chicken Soups and Chilis
16) White Chicken Chili
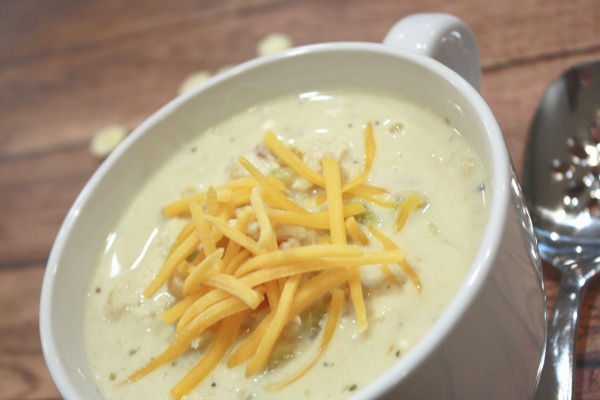
16) White Chicken Chili
Ingredients
- Ingredients
- 1.5 pounds boneless chicken (cubed)
- 1 medium yellow onion (chopped)
- 1.5 teaspoons vegetable oil
- 1.5 teaspoons garlic powder
- 2 15-ounce cans great northern beans (drained and rinsed)
- 2 4-ounce cans chopped green chiles (undrained)
- 14 ounces chicken broth
- 1 teaspoon salt
- 1/2 teaspoon pepper
- 1 teaspoon ground cumin
- 1 teaspoon dried oregano
- 1/4 teaspoon cayenne pepper
- 1 cup sour cream
- 1/2 cup heavy whipping cream
Cooking Instructions
- Instructions
- Heat oil in a large pot over medium-high heat. Add cubed chicken and chopped onion and cook about 15 minutes, until chicken is white with no pink and onion is soft.
- Stir in garlic powder near the end of the saute so it does not scorch.
- Add drained beans, undrained green chiles, chicken broth, salt, pepper, cumin, oregano, and cayenne. Stir to combine.
- Bring to a boil, then reduce heat to medium-low and simmer uncovered for 30 minutes, stirring occasionally.
- Remove from heat. Stir in sour cream and heavy whipping cream until smooth.
- Taste and adjust seasoning. Serve hot with cheddar, tortilla chips, jalapenos, cilantro, lime, or avocado.
Great northern beans, shredded chicken, and green chilis make up this deliciously creamy White Chicken Chili recipe. It’s ready in less than an hour, and I’ve been making this recipe for years, it’s a definite sign of fall for us.
Serve with a dollop of sour cream and top with shredded cheese and crushed tortilla chips. Also perfect to have left-over for the next days lunch.
17) Copycat Panera Chicken and Wild Rice Soup

17) Copycat Panera Chicken and Wild Rice Soup
Ingredients
- Ingredients
- 1 rotisserie chicken (meat pulled and shredded)
- 2 boxes Uncle Ben’s 5-Minute Long Grain and Wild Rice (use about 1 1/3 boxes with seasoning packets)
- 2 tablespoons butter
- 2 stalks celery (diced)
- 1 carrot (diced)
- 1/3 cup onion (diced)
- 3 cloves garlic (minced)
- 64 ounces chicken broth
- 1 cup heavy whipping cream
- 2 tablespoons all-purpose flour (optional, for thickening)
- 1/4 cup cold water (optional, for thickening)
Cooking Instructions
- Instructions
- Prepare the wild rice according to package directions, including the seasoning packet. Shred the rotisserie chicken while the rice cooks.
- Melt butter in a large soup pot over medium heat. Add celery, carrot, and onion and cook 5 to 8 minutes, until softened.
- Add the minced garlic and cook for 1 minute, stirring constantly.
- Pour in the chicken broth and bring to a gentle simmer. Add the shredded chicken and cooked wild rice.
- Simmer for 20 minutes so the flavors meld.
- During the last 10 minutes, stir in the heavy cream. If using the optional thickener, whisk flour with cold water and stir it in with the cream.
- Keep at a gentle simmer until thickened and heated through. Serve warm.
This recipe for Chicken and Wild Rice Soup tastes just like Panera’s version and will save you from spending $12 for a bowl. Loaded with chicken, wild rice and veggies swimming in a thick, creamy broth.
Make a big batch on Sunday and you’re set with lunches for most of the week.
18) Chicken Noodle Soup Recipe
18) Chicken Noodle Soup Recipe
Ingredients
- Ingredients
- 1 tablespoon butter
- 1 large onion (diced)
- 3 cups cooked shredded chicken
- 3 14.5-ounce cans chicken broth
- 2 cans cream of mushroom soup
- 8 ounces spaghetti noodles (broken into 2-inch pieces)
- 1 teaspoon poultry seasoning
- 2 teaspoons lemon pepper
- 2 cups milk
- 5 ribs celery (diced, optional)
- 6 medium carrots (diced, optional)
Cooking Instructions
- Instructions
- Melt the butter in a large pot over medium-low heat. Add the onion and cook 5 to 7 minutes, until soft and translucent. Add celery and carrots here if using.
- Add the shredded chicken, chicken broth, cream of mushroom soup, broken spaghetti, poultry seasoning, and lemon pepper. Stir until the soup is fully incorporated into the broth.
- Increase heat to medium-high and bring to a full boil, stirring occasionally so the noodles do not stick.
- Reduce heat to medium-low and simmer for 45 minutes, stirring about every 10 minutes.
- After 45 minutes, stir in the milk. Return to a low simmer for a few minutes without boiling hard.
- Taste and adjust seasoning with salt if needed. Serve warm.
A favorite for sick days or just a grey and rainy day. Takes about 45 minutes to prepare, made with pantry staples, chicken, carrots, celery, onions, egg noodles, broth, etc.
Nothing like the canned version.
Chicken Salads and Sandwiches
19) Best Ever Chicken Salad

19) Best Ever Chicken Salad
Ingredients
- Ingredients
- 3 cups cooked shredded chicken
- 1/3 to 1/2 cup mayonnaise
- 10 seedless red grapes (halved)
- 2/3 cup chopped walnuts (toasted if desired)
- 2 teaspoons Dijon mustard
- salt and black pepper (to taste)
- croissants or crackers (for serving)
Cooking Instructions
- Instructions
- Cook and shred the chicken if needed, then let it cool to room temperature.
- In a large mixing bowl, stir together 1/3 cup mayonnaise and Dijon mustard until smooth.
- Add the shredded chicken and toss to coat.
- Add the halved grapes and chopped walnuts. Stir gently so the grapes do not break down.
- Check the consistency and add more mayonnaise 1 tablespoon at a time if the salad looks dry.
- Season with salt and black pepper to taste.
- Cover and refrigerate for at least 2 hours before serving.
- Serve cold on croissants, with crackers, in lettuce cups, or on toasted sourdough.
This is our favorite recipe for Chicken Salad. Great for sandwiches or serve in lettuce cups!
This one’s a fan-favorite because it’s the perfect combination of creamy but not too mayonnaise-y. It’s nothing like any other chicken salad you’ve ever had.
Serve in croissants, on top of crackers, or just eat it right out of the bowl. Bonus points because it’s EASY to make, easy to pack up, and easy to clean up afterwards.
20) Sheet Pan Oven Quesadillas
20) Sheet Pan Oven Quesadillas
Ingredients
- 8 large flour tortillas (10-inch burrito size)
- 1 tablespoon olive or vegetable oil
- 1/2 onion (diced)
- 1 1/2 pounds ground beef
- 1 packet taco seasoning (1 ounce or about 3 tablespoons)
- 1 teaspoon ground cumin
- 1/2 teaspoon smoked paprika
- Salt and pepper (to taste)
- 1 cup shredded cheddar cheese
- 1 cup shredded Colby Jack cheese
- 2/3 cup sliced green onions
- Sour cream (salsa, and guacamole, for serving)
Cooking Instructions
- Preheat oven to 425°F.
- Heat oil in a large skillet over medium heat. Add diced onion and cook until soft and translucent, about 5 minutes.
- Add ground beef and cook, breaking it up, until no pink remains and the meat has browned, about 5 to 7 minutes. Drain fat.
- Stir in taco seasoning, cumin, and smoked paprika. Taste and adjust salt and pepper. Remove from heat.
- On a 13×18-inch sheet pan, arrange 6 tortillas around the edges with about half of each hanging over the sides. Place 1 tortilla in the center to cover the bottom.
- Spread seasoned beef evenly over the tortillas. Top with cheddar, Colby Jack, and green onions.
- Place the last tortilla in the center on top, cutting if needed to cover gaps. Fold overhanging tortilla edges over the filling.
- Place a second sheet pan on top and bake 20 minutes.
- Remove the top pan and bake 15 more minutes, until golden and crisp.
- Rest briefly, slice into squares, and serve with sour cream, salsa, and guacamole.
Oh, quesadillas, how do I love thee. Making them in the oven, though, is genius.
You know how making quesadillas can be tedious? You can’t really make them all at once, you have to keep flipping them, and by the time everyone is eating, they aren’t crispy and melty any more?
Well, instead, load them up on a sheet pan, pop them in the oven, and voila: crispy, melty perfection. Bonus points for the fact that nobody’s standing over your shoulder asking if hers is ready yet.
I’ve been using these recipes time and time again this year. From crockpot meals to 30 minute casseroles, these are the ultimate solutions to getting a delicious chicken dinner on the table.
I promise there’s something in here you’re going to love.
These recipes make dinnertime simple. Grab a few or all of them, print them out and have them handy so you can whip up an easy, delicious, and filling meal that will keep dinner-time from being stressful.
Chicken Dinner Questions, Answered
Should I stock breasts or thighs for these recipes?
You can use whichever works for you in these recipes. Generally speaking, thighs are less expensive per pound and will withstand the rigors of long, slow-cooker cooking without drying out, but chicken breasts work wonderfully for casseroles and shredded chicken for sandwiches.
My general rule of thumb is to buy a ton of chicken, like double what we need, when it’s on sale and freeze it. I empty the chicken into gallon-size freezer bags, press them flat, and keep them in the freezer.
Saves me tons of time and effort when I’m rushing around trying to get to school on time.
Which of these work with a rotisserie chicken?
Almost all of them. Rotisserie chicken is the BEST when it comes to saving time because it is perfect for making into sandwiches or tossing into casseroles and soups.
If you’re looking to save money, buy a rotisserie chicken on Sunday and freeze half for later!
You can use a store-bought rotisserie chicken in place of cooked chicken for the tetrazzini or the stuffing casserole, or in chicken salad or this wild rice soup. It cuts the time down to twenty minutes.
However, I would NEVER suggest using rotisserie chicken or any pre-cooked chicken in a crockpot recipe. There’s no need to cook it, and it ends up really dry.
Kinda defeats the purpose of crockpot cooking, huh?
What’s the safest way to thaw chicken on a weeknight?
Leave the chicken in the bag, seal tightly, and submerge in cold water to defrost faster (change water once). Should take about an hour for a pound of chicken.
Moms of the past loved to leave the meat out on the counter to thaw, but you just can’t do that anymore. That said, nearly all of my slow cooker recipes will cook fine if you add the chicken while it’s still partially frozen.
Just make sure to cook on low.
How do I keep chicken dinners from feeling repetitive?
My family loves chicken. We have it twice a week without fail.
How do you avoid repetition? By switching between casseroles, crockpot dishes and soups.
If you call it chicken TACO night one night, chicken CASSEROLE night another night, chicken SOUP night yet another night…your family won’t realize they’re eating chicken over and over.