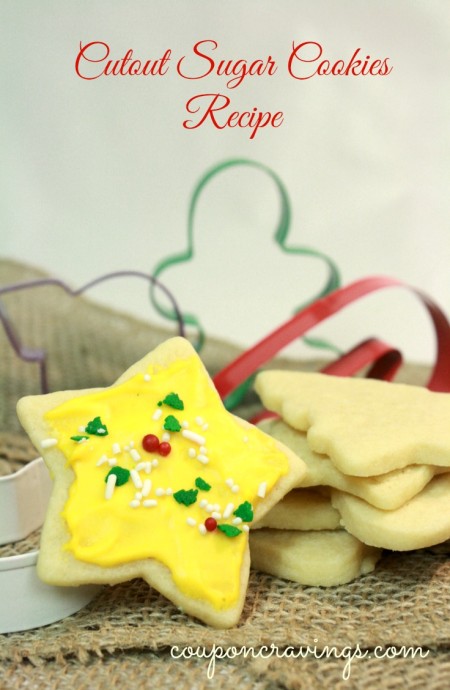
Christmas Cookies Recipes: Easy Cutout Christmas Cookies
For years, my top holiday baking tradition has been making these cutout Christmas cookies, and they have a secret ingredient that most people don’t guess. Orange juice! Just a few tablespoons blended into the dough makes a nice sugar flavor and adds brightness to the dough without giving it a citrus flavor. The dough has a nice soft and chewy texture that holds a nice clean edge while passing through a cookie cutter. Every December, people ask about these cookies.
Usually I prepare this recipe in two steps – preparing the dough on one day, and then baking and frosting on another day. This isn’t because the recipe is challenging. It is more because the dough really benefits from time to cool in the fridge, and frosting is applied best when you take your time and don’t rush. This will help keep things manageable during the busy holiday season.
Why This Dessert Works
- Orange juice in the dough — it sounds unusual, but it lifts the sweetness and keeps the cookies from tasting flat
- The dough rests overnight — cold, firm dough rolls out evenly without sticking or puffing, giving you crisp shapes
- Baked at 400°F for only 7–8 minutes — they look underdone when you pull them, which is exactly right; they firm up as they cool
- The frosting comes together in minutes — butter, powdered sugar, a splash of milk, and it’s ready to spread or pipe
- The recipe scales well — the yield is generous, and dividing the dough into quarters makes it easy to work in batches
What to Know Before You Start
Before you grab your mixing bowl, read this to avoid the two most frequent cutout cookie blunders.
The dough has got to chill. It should spend at least two hours in the fridge, but overnight is even better. If the dough is warm, it’s going to be stick, it’s going to rip when you try to roll it, and it’s going to spread in the oven. Chill the dough and it will roll out easily, keep its shape when cut, and will bake perfectly flat. This is an important step, please don’t skip it.
They will look underdone. Pull the cookies out at 7 to 8 minutes even when the edges are barely golden and the middles look soft. That’s the right call. The cookies continue to set as they cool on the pan. If you wait for them to lookdone in the oven, they’ll be firm and dry by the time they are room temperature.
Use flour on your surface, but don’t go overboard. If you use too much flour when rolling, the cookies will become tough. Use just enough flour to keep things from sticking, and move quickly so the dough stays cold.
Make the frosting as close to when you plan to use it as possible. Buttercream will dry out quickly if it sits in a bowl. Make it fresh, frost the cookies once they’ve cooled, and if you’re doing multiple colors, divide and dye one batch at a time.
Timing Plan: Day 1: Make the dough and put it in the refrigerator. Day 2: Roll it out, cut, bake, and cool. Frost that day or the next. Unfrosted, baked cookies will keep for several days at room temp in an airtight container.
Ingredients You’ll Need
For the Cookie Dough
- 2 cups butter, softened — this is a rich dough; use real butter, not margarine, and let it truly soften so it creams properly
- 2 cups sugar — standard granulated; nothing fancy needed
- 2 eggs — room temperature if you remember to set them out
- 5 cups flour — all-purpose; spoon it into the measuring cup and level it off rather than scooping directly, which packs in too much
- 4 tablespoons Sunny D orange juice — this is the thing. Sunny D specifically has a sweeter, milder citrus flavor that blends into the dough. Regular orange juice works too, but use fresh-squeezed or a no-pulp variety
- 2 tablespoons vanilla extract — yes, tablespoons; it’s not a typo, and yes it makes a difference
- 2 teaspoons baking powder — just enough lift to keep the cookies from being dense without puffing up and losing their shape
For the Frosting
- 2/3 cup butter, softened — again, real butter; it gives the frosting body and a clean finish
- 4 cups confectioners sugar — sift it if yours tends to clump
- 2 tablespoons milk — adjusts the consistency; add a touch more if it seems stiff, less if it’s too loose
- 1 teaspoon vanilla extract
- Food coloring — gel food coloring gives more vibrant color without thinning the frosting the way liquid drops can
How to Make Cutout Christmas Cookies
Step 1: Make the Dough
Using a premium mixer, mix softened butter, eggs, and sugar in a large bowl for 2 minutes and on medium speed so that you get a smooth and creamy finish that is light and fluffy. The end result should be pale, light, and fluffy. Avoid a mixture that is grainy.
Combine the flour, orange juice, vanilla extract, and baking powder. Mix on low speed until everything is combined. The dough will be soft, but should hold together and cleanly pull away from the sides of the mixing bowl. If it is sticky, add flour a tablespoon at a time.
Split the dough into 4 parts and make a disc out of each. Wrap in plastic and place in the fridge for at least 2 hours. Letting it rest overnight is actually better. The dough becomes firmer and is easier to work with.
Step 2: Roll and Cut
Once you’re ready to bake, preheat the oven to 400°F. Grab a disc of dough from the fridge, and then let it sit for around 5 minutes. You need to soften it just enough to get it ready to work with. You may need to break it apart with your hands, and that’s completely normal.
On a lightly floured surface, roll the dough to around 1/4-inch thickness. Cut out shapes with your cookie cutters and move them to a baking sheet lined with parchment paper or a silicone baking sheet. This is the single most important piece of equipment in the entire recipe, so listen and line the pan. Uncoated pans get the bottoms too brown too quickly and you will have crispy edges on a cookie that is otherwise soft.
They don’t spread much but do need room so space the cookies about 2 inches apart.
Step 3: Bake
Bake for 7 – 8 minutes at 400 °F. The cookies are done when the edges have barely settled and the center looks slightly under-baked. That is right. Let them rest for 5 minutes. Afterwards, you can shift them to a cooling rack.
After the cookies are fully cooled (and I mean fully), they’ll become soft and slightly chewy in the middle, but firm enough to frost them without them crumbling. If your cookies are coming out dry or are cracking when you pick them up, that means your oven was too hot or you baked them for too long.
Step 4: Make the Frosting
Get the butter to room temperature. Cream the butter using a stand mixer on a medium speed until the butter is smooth. Add the confectioner sugar and the required amount of milk. Cream the mixture on a medium-high setting for about 2 to 3 minutes until the mixture is fluffy and creamy. When the mixture is creamy enough, add the required amount of vanilla and blend for another 30 seconds.
To create frosting in different colors, separate them into smaller bowls and then add a different color gel food coloring to each bowl. For more control over the intensity of the food coloring, use a toothpick that’s dipped into the gel. Start light and add more until you reach the color you want.
Frost cookies right away. The frosting is known to crust over with time, especially in warm kitchens. Letting frosting sit is not a good idea, mix it, frost, and move on.
Helpful Tips
Always Use Parchment or a Silicone Mat
This is a tip worth repeating. A silicone baking mat is the best investment any cookie baker can make. With these mats, the bottom of the cookie is insulated just enough so it won’t overbake while the top is finishing. They are similar to how parchment paper works, which is a great option if you do not have mats yet.
For a good reusable option, I go for the AmazonBasics Silicone Baking Mat 2-pack. They wash easily, fit half-sheet pans, and last for years.
Don’t Skip the Chilling Step
Ever wonder why your cutout cookies melted into blobs? Here’s why: Warm butter = warm dough = spreading in the oven. On the flip side, cookies dough that is cold will keep its shape. Wrap your dough and chill it in the fridge for at least 2 hours. If your working in a warm kitchen, after cutting cookies I’d recommend putting the entire pan in the fridge for 10 minutes to keep the cookies dough cold.
Work with One Disc at a Time
Store the other three discs in the fridge while rolling the first disc. The discs start to warm up after a short time being out of the fridge, and a colder dough is much easier to work with. If a disc becomes too soft when you are cutting out shapes, wrap it up, and for 10 minutes before you continue.
Re-roll Scraps Once
You are allowed to combine and re-roll your dough scraps one time. If you re-roll them a second time, the dough becomes too tough and the cookies won’t be very good. If you still have scraps after your second roll, just bake them as plain rounds. They will still taste good, just not as nice.
For Piped Frosting Details
To outline or add details instead of just spreading frosting, take a zip-lock bag and cut off one of the bottom corners. No need to use an actual piping bag. If you want the mix to be a little bit stiffer than what you would use for spreading, be sure to hold back one teaspoon of milk when you are mixing.
Cookie Cutters and Decorating Tools
Clean cut shapes make an impression! And if your cutters are looking old, and are starting to dull, a new set of cutters will make something look more polished and professional. A great set of Christmas cookie cutters is one that has a variety of sizes so that you can have a versatile collection without having to own dozens of individual cutters.
Variations and Substitutions
No Orange Juice on Hand?
Use regular orange juice or even apple juice in the same amounts. The orange flavor isn’t what you’re tasting in the baked cookie — it’s largely the acidity in orange juice that’s enhancing the other ingredients. You can also use lemon juice, which will add a bit of a different brightness to the dough.
Want Royal Icing Instead of Buttercream?
Buttercream is simpler and requires no extra ingredients, but royal icing is the choice for flooding cookies and getting a smooth, firm finish. Royal icing is made with meringue powder or egg whites, and because it dries completely, you can stack frosted cookies without them sticking together. If this is the look you are going for, it makes sense to do the extra step.
Add Sprinkles Before Baking
To have sprinkles baked into the cookies instead of on top of the frosting, simply press the sprinkles into the cut-out dough. The sprinkles will stay in place while the cookies bake, and the sprinkles will get a nice toasty color, which looks great on sugar cookies that you won’t be frosting.
Almond Extract Instead of Vanilla
If you want to give your cookies that bakery-style sugar cookies taste, swap half of the vanilla for almond extract. Instead of 2t vanilla, you would use 1t vanilla and 1t almond extract. This will give your cookies a much different taste. If you decide to do this, you can also use almond extract in the frosting.
Storage, Make-Ahead, and Freezing
Storing Baked Cookies
For up to five days, unfrosted baked cookies can be stored in a sealed container at room temperature. With this particular dough, I appreciate that the cookies remain soft and don’t dry out very much.
Frosted cookies are the most delicious when consumed in the first 2-3 days. The fresh buttercream will soften the cookie underneath. It will still be good, but the cookie will be a bit squishier than before.
Make-Ahead Options
Dough: If tightly wrapped, dough can be refrigerated for up to 3 days. Dough can also be frozen for 2 months. Wrap each disc in plastic and place them all in a zip-lock freezer bag. For rolling, thaw overnight in the fridge.
Baked cookies without frosting: Place them in a single layer on a baking sheet and freeze them. Once the cookies are frozen, transfer them to a ziplock freezer bag. To enjoy, let them thaw at room temperature for about 1 hour. Frost the cookies after they have thawed.
Frosted cookies: You can freeze cookies with icing, but do so with caution! First freeze them in a single layer. Then, you can stack them with freezer paper between layers. Once you defrost them, the icing may not look as fresh.
Shipping Cookies as Gifts
These will ship as long as you put a good amount of buttercream on top, let the frosting set, and then pack them up carefully. Layer parchment paper and pack them with some pressure and the cookies shouldn’t move around too much. I have previously sent these cookies and they arrive in perfectly good condition. Flat shapes travel safer than more fragile shapes.
Frequently Asked Questions
Why do my cutout cookies spread and lose their shape?
Most of the time it’s about what’s happening with the dough temperature. If the butter wasn’t completely chilled after mixing, or if the dough warmed up while rolling, the fat in the dough melts before the cookie sets in the oven, causing the edges to spread. To prevent this, ensure the dough is cold before placing it on the pan, and if your kitchen is warm, chill the cut cookies on the pan for 10 minutes before baking.
Can I make this dough without a stand mixer?
Using a hand mixer is completely fine. It is possible to cream the butter and sugar by hand with a wooden spoon, but it is tough to do so as the dough is stiff. If you are doing this with kids and want to avoid using a mixer, make sure the butter is very soft (almost at room temperature). This will allow the butter to be more manageable.
My cookies came out hard. What went wrong?
You may have overbaked them, or rolled the dough too thin. The ideal baking temperature for these cookies is **400°F** for **7-8 minutes**. If you know your oven runs hot, check your cookies at the **6-minute** mark. Cookies that are thinner than others will bake and dry out even faster, so try to maintain a uniform thickness of **1/4 inch**. Finally, also ensure that you measured the flour properly. An excessive amount of flour will create a dry and stiff dough.
Do I need to use Sunny D specifically?
No. Sunny D is just what I had when I first made these so I just kept using it. Normal orange juice, whether freshly squeezed or from a carton, will do the same thing. The brand of juice is not important, the key is having a few tablespoons of a slightly acidic liquid in the dough.
Can I make the frosting ahead of time?
Buttercream can be kept in the fridge in an airtight container for one week. Before using the buttercream, make sure it’s back to room temperature and re-beat it. Keep in mind that cold buttercream is stiff and won’t spread easily. However, if you can, make the frosting as fresh as possible, as it will be easier to work with. Ideally, make it right before you plan on decorating.
How thick should I roll the dough?
The target thickness for these is 1/4 inch. Cookies that are rolled thinner than this bake more quickly and tend to be more crispy. Cookies that are rolled thicker will be softer, but you run the risk of them being under-baked and doughy in the center. If you bake cutout cookies a lot, you can buy a pair of rolling pin guides (the rings that clip onto the ends of a rolling pin) to make this easier.
Serving Ideas
While the concept of these cookies is quite self-explanatory, as in, you bake them, then you eat them, I’d like to share a couple of ways I like to serve and enjoy them:
- Cookie exchange: The recipe makes a large batch, which makes it practical for bringing to a cookie swap. Bake the day before, frost the morning of.
- With kids: Cut out and bake the cookies yourself, then set up a decorating station with pre-made frosting, small bowls of sprinkles, and let them go. The cookies are sturdy enough to handle little hands and heavy frosting.
- Gift boxes: Layer in a flat gift box with parchment between rows. A mix of shapes and colors looks better than all one type.
- With hot cocoa: The soft, buttery texture is particularly good with a warm drink. These aren’t crunchy dunkers — they’ll soften immediately — but they hold up just fine alongside a cup.
Related Recipes
If you’re making a baking list for the holidays, consider adding these:
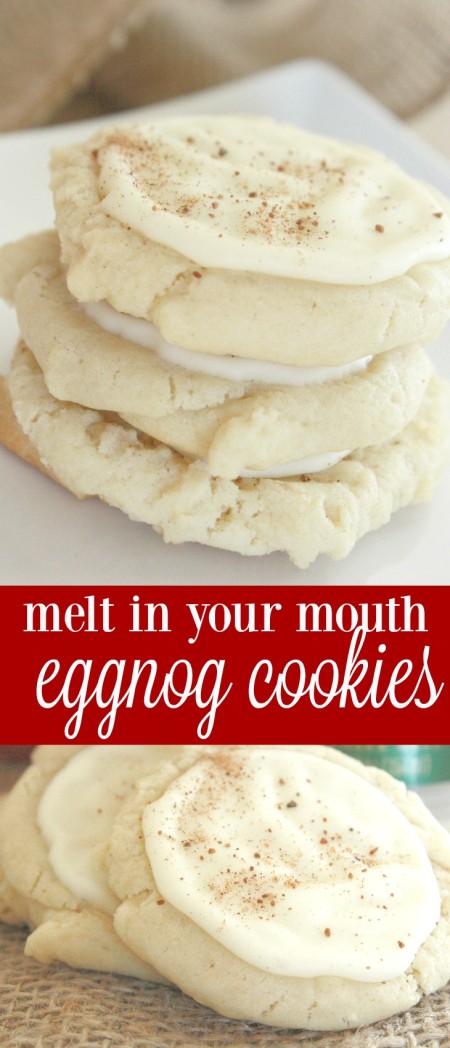
Eggnog Cookies are soft and moist and contain real eggnog which makes them extra special. They are one of my favorites to bring to cookie exchanges because they are unique and travel really well.
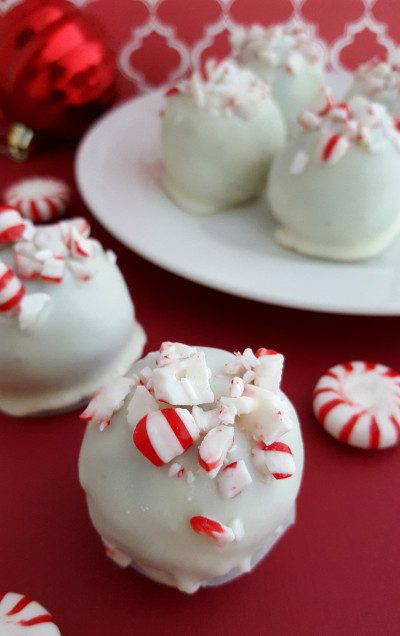
The mixture of cream cheese and Oreos, with the addition of crushed peppermint candies and easy-to-melt white chocolate, can create a no-bake dessert that will impress everyone who sees it on a holiday dessert tray.
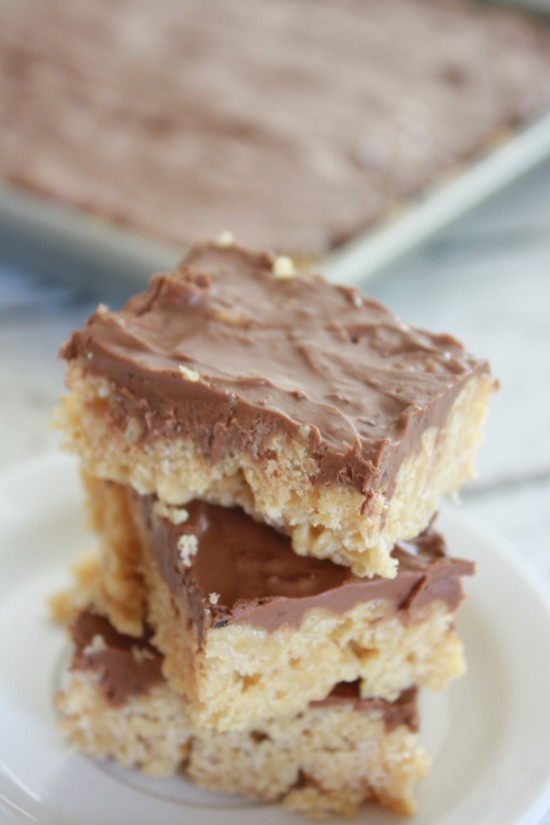
Chocolate Scotcheroos are Rice Krispies bars with a layer of chocolate and butterscotch topping. They’re great to make with kids, easy to store when made in advance, and always a hit at parties.
White Chocolate Popcorn Crunch is an easy holiday snack mix that is made in about 15 minutes. Great to give in bags or set out at parties.
Easy Cutout Christmas Cookies Recipe

Easy Cutout Christmas Cookies
Ingredients
- 1 cup butter softened
- 1 cup sugar
- 2 eggs
- 1 teaspoon vanilla extract
- 2 tablespoons orange juice
- 3 cups all-purpose flour
- 1 teaspoon baking powder
- 1/2 teaspoon salt
- Powdered sugar for rolling if needed
- Butter for frosting
- Powdered sugar for frosting
- Milk for frosting
- Food coloring and sprinkles optional
Instructions
- Cream butter and sugar together until light.
- Beat in eggs, vanilla, and orange juice.
- In a separate bowl, whisk flour, baking powder, and salt.
- Add dry ingredients to wet ingredients and mix until dough forms.
- Cover and refrigerate overnight.
- Preheat oven to 400°F.
- Roll chilled dough on a lightly floured surface and cut into shapes.
- Place cookies on parchment-lined baking sheets.
- Bake 7 to 8 minutes, until set but not browned.
- Cool completely.
- Mix frosting ingredients until smooth and tint with food coloring if desired.
- Frost and decorate cooled cookies.