
Oreo Cookie Balls Recipe: Peppermint Oreo Truffles
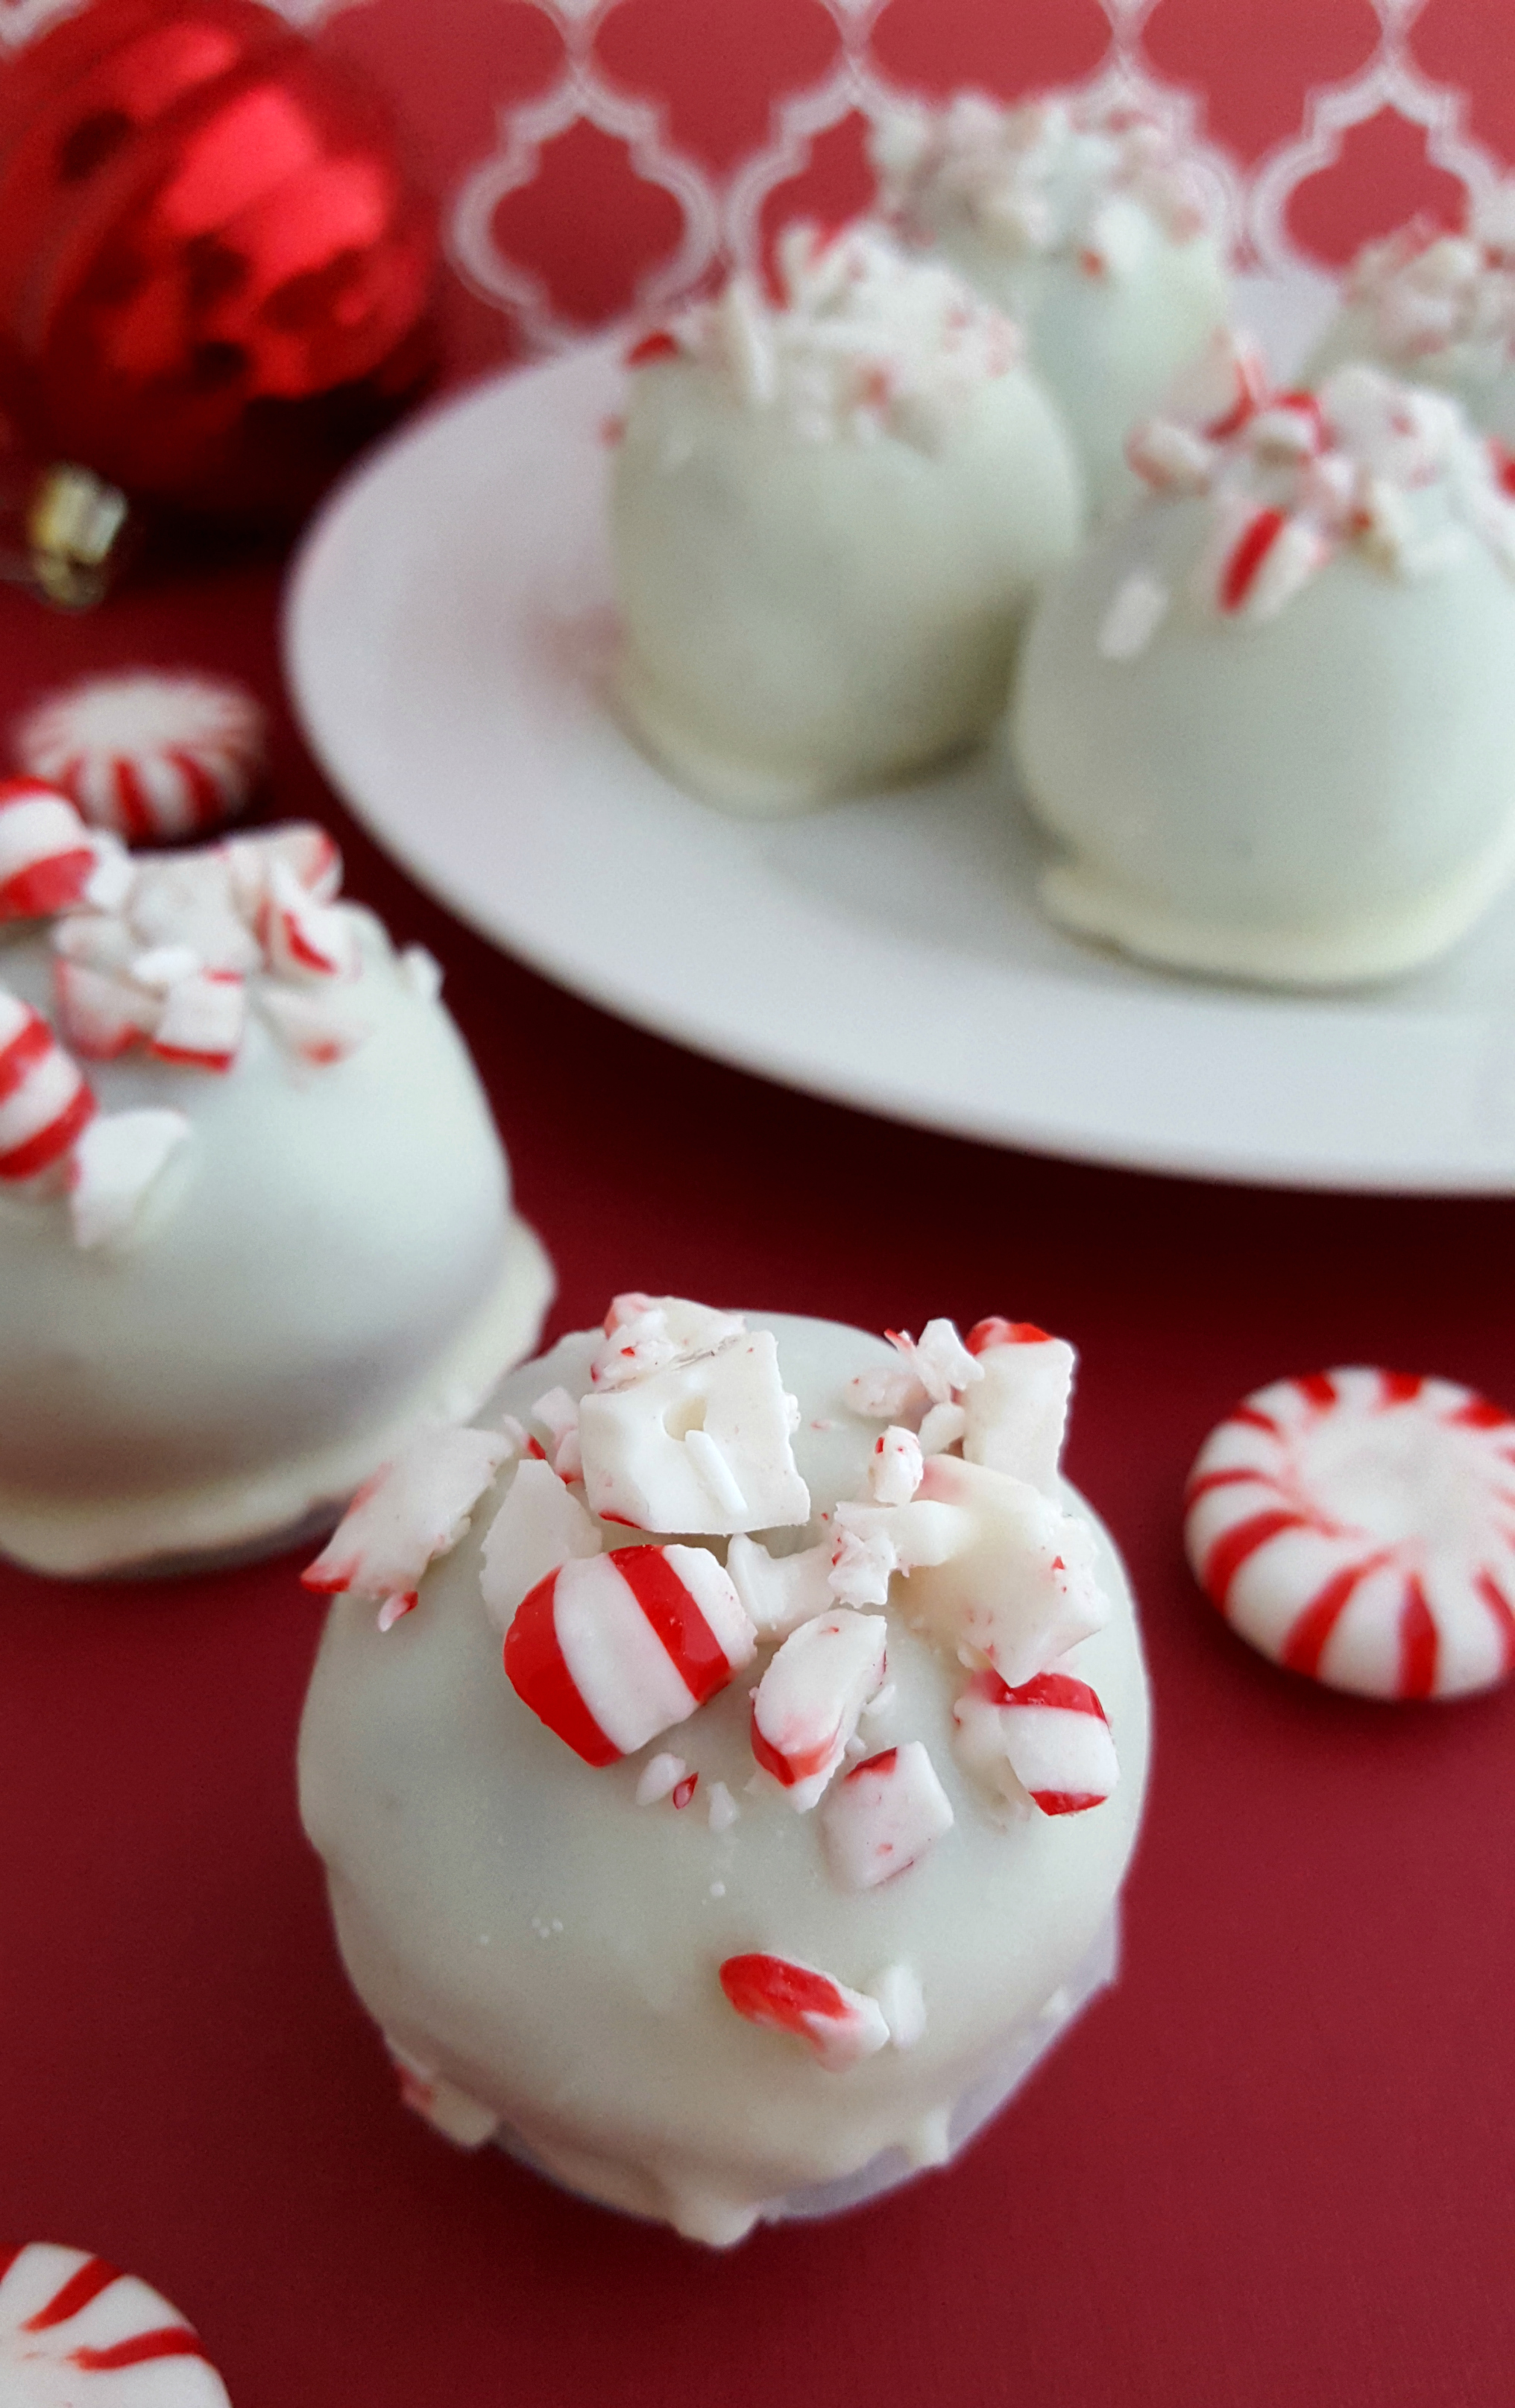
The peppermint Oreo truffles seem to stand out from the rest in the dessert platter. They are made from five ingredients, no baking required, and white chocolate and peppermint are simply addictive. People who enjoy the regular Oreo balls can consider themselves warned. This is going to be the version you make every December.
Approximately 60 minutes are required for this entire process, including 30 minutes to allow the chocolate to set in the freezer. Depending on the size of the balls, you can make anywhere from 30 to 50 chocolate truffles, which can be stored in the refrigerator for 5 days, but also keep frozen for months. That makes them an excellent holiday treat to make in advance!
Why This Dessert Works
- Only 5 ingredients — Oreos, cream cheese, peppermint extract, crushed candy canes, and white chocolate. That’s it.
- No baking required — The whole thing comes together with a mixer, your hands, and a microwave.
- Peppermint is balanced, not overwhelming — Half a teaspoon of extract plus candy cane pieces gives you that cool mint hit without tasting like toothpaste.
- The coating stays clean and smooth — Chilling the balls before dipping is the move. Cold truffles + melted chocolate = a nice even shell with no crumbling.
- Make-ahead friendly — These actually get better after a day in the fridge once the flavors have a chance to settle in together.
- Bite-size and travel-ready — They hold up well on cookie platters, in tins, and at parties.
What to Know Before You Start
Some factors that can differentiate between polished truffles and truffles that look like a craft project gone sideways include:
You need the cream cheese to be fully softened to room temperature. The cream cheese should definitely not be slightly cold or warmed up in the microwave. If your cream cheese is cold, you will have lumps of cream cheese in your Oreo mixture instead of a smooth blend. Take the cream cheese out of the fridge 30-45 minutes before you start.
Balls should be frozen before dipping for a minimum of 30 minutes. This is NOT OPTIONAL! If the truffles are not cold and firm, the warm chocolate will melt them a little, and the black Oreo dust will blend in with the white coating and create a giant muddy mess. Cold truffles = clean white coating.
It’s best to avoid overheating white chocolate. It tends to be more temperamental than dark and milk chocolate. Melt it in the microwave in 30-second intervals, stirring in between each interval, and stop the moment it is smooth. Once it seizes up and gets grainy, there’s nothing you can do to save it — you’ll need to start over. The best rule to follow is low and slow.
Using a candy dipping tool or fork enhances efficiency and cleanliness during dipping. By using a candy dipping tool or fork, you can knock off the excess chocolate without smashing the truffle or pulling crumbs back into your bowl.
It’s important to sprinkle the candy cane pieces right away. The chocolate will cool off quickly, and this is especially true in cool kitchens. For this reason, have your crushed candy canes right next to you. Right after you set each truffle down, sprinkle some of the crushed candy cane pieces.
Ingredients
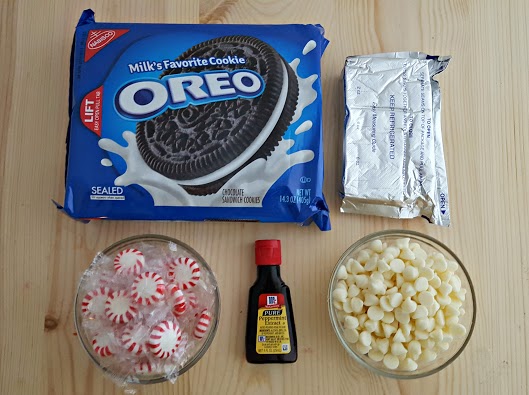
Here’s what goes into the peppermint Oreo truffles and the importance of each component:
1 package (15.25 oz.) Oreo Cookies — original
For this, you’ll want the standard Oreos, not Double Stuf or Thins. The standard Oreos have the ideal cookie to filling ratio, and the filling is what helps the mixture bind together. You’ll be processing the whole cookie (filling included), so don’t bother trying to scrape it out. It’s extra work for no gain.
You can get even more pepperminty by using Peppermint Oreos when they are in season and cutting the peppermint extract back to half. However, the original Oreos + extract + crushed candy cane will give you control over how minty the end result is.
8 oz. cream cheese, softened
Cream cheese block varieties are better than tub varieties (which have stabilizers and additional water that can cause the mixture to be too soft) and reduced fat (which doesn’t set as firmly). Philadelphia works well as it is the standard here. Make sure to bring it to room temperature completely so that it can be beaten smoothly without lumps.
½ cup + 2 tablespoons crushed peppermint candies or candy canes
For the candy cane topping, you will need 2 tablespoons, and the other half cup goes into the truffle mixture. You can buy crushed candy cane pieces, so you don’t have to deal with the mess, or you can place whole candy canes in a zip lock and smash them with a rolling pin. Either option works. Try to have a combination of really fine particles with some bigger pieces. For the topping, it looks a lot better to have a mix of big and small particles than to have all uniform tiny pieces.
½ teaspoon peppermint extract
A little goes a long way. Just half a teaspoon will give a significant mint flavor that won’t be overbearing or medicinal. If you are mint sensitive, try starting with ¼ teaspoon. Pure peppermint extract will be stronger, so you may need a bit more if using imitation.
16 oz. white chocolate chips or white almond bark
Here is where people start making claims. Melting smoother and tasting better Ghirardelli and Nestle’s white chocolate chips may be better, but working with them can be more difficult than almond bark due to heat sensitivity. Almond bark white chocolate like Candiquik can be easier to melt and sets firmer quickly which is beneficial if you’re dipping over 40 truffles. It may not taste as rich, but the difference really is minor once you put a candy cane on top.
For a quicker setup and cleaner dip, use almond bark. For the best taste, use quality white chocolate chips and take your time when melting.
How to Make Peppermint Oreo Truffles
Step 1: Crush the Oreos
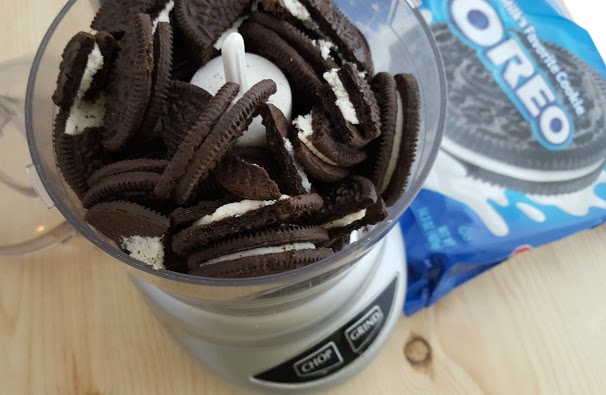
Add the full package of Oreos to a food processor and pulse them until you have a nice, even crumble. You want them to look like dark sand. No HUGE chunks left. If you don’t have a food processor, then you can put the cookies in a zip-lock and crush them with a rolling pin, but the food processor is a lot faster and gives you more even crumbles.
You don’t need to remove the filling; it mixes seamlessly with the crumbs and helps the mixture to hold together when the cream cheese is added.
Step 2: Mix the truffle filling
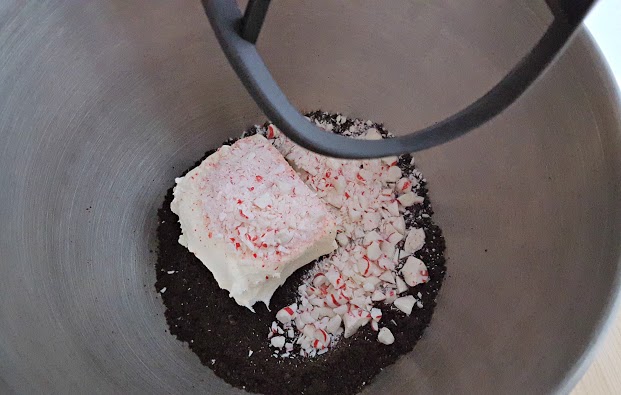
In a stand mixer with the paddle attachment, or a hand mixer, combine the Oreo crumbs, softened cream cheese, ½ cup of the crushed peppermint candies, and the peppermint extract, and beat until fully mixed. The mixture will be thick and sticky and very dark. And that’s exactly what you want.
Sample the mixture now. If you prefer a stronger peppermint taste, add another ¼ teaspoon of the extract and mix again. This is the last chance to make any change before adding the chocolate.
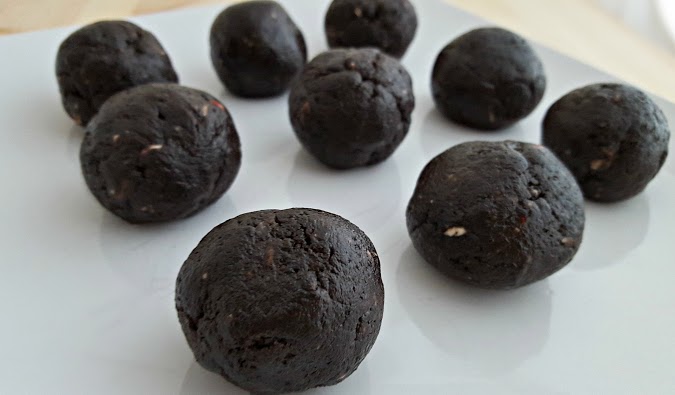
Step 3: Roll the balls and freeze
Take a baking sheet and line it with some parchment paper or a silicone baking mat. With your hands, form the mixture into balls. For the larger truffles, aim for a size similar to a nickel. This will yield around 30–35 truffles. If you want to go smaller, about a dime will suffice, which will yield approximately 50–55 truffles.
The mixture will stick to your fingers. It is best to work quickly. If your hands get overly warm and the balls become soft, place the bowl back into the refrigerator for 10 minutes and then continue.
After rolling all the balls, place the tray into the freezer for a minimum of 30 minutes. We want the balls to become very firm before we dip them. This is the step that prevents the dark Oreo crumbs from smudging into the white chocolate coating.
Step 4: Melt the white chocolate
As the truffles finish freezing, you can start melting the white chocolate. Do this in 30-second intervals and stir in between every round. It usually takes about 2-3 rounds. Once the chocolate is fully melted, smooth, and consistent, you will want to stop heating because overheating can cause the chocolate to clump and seize. Once this happens, there’s no going back.
The chocolate needs to thin enough to coat easily the treat but it shouldn’t be so thin that it won’t build up a shell. If its too thick put it into the microwave for another 15 seconds and stir.
Step 5: Dip and decorate
For each truffle, submerge it into the melted white chocolate. Using a candy dipping fork (or a regular fork), coat it and then lift it out, tapping the fork on the edge of the bowl a few times to remove excess chocolate. Place it back on the prepared baking sheet.
Before the chocolate hardens, quickly sprinkle some of the reserved crushed peppermint on top. The chocolate sets quickly, so make sure you have your candy cane pieces on hand. If you allow the chocolate to fully set before adding the topping, the topping will not adhere.
Continue melting the chocolate until fully smooth. If the chocolate begins to cool and become thick, put it in the microwave for another 15 seconds and stir again.
Step 6: Chill and set
Once all truffles have been dipped, place them in the refrigerator for at least 10 minutes to allow the chocolate to fully set and harden. After that, they can be eaten, or put into a storage container to be kept in the refrigerator until you’re ready to enjoy them.
Helpful Tips
Get a candy dipping fork
This isn’t a gimmick tool. A candy dipping fork allows you drop the truffle into the chocolate, submerge it, lift it out, and tap off the excess without having to press fingers into the coating, or drag crumbs back into the bowl. It speeds up the entire dipping process and the finished truffles look a lot cleaner. This type of set is inexpensive and great for anything you dip in chocolate… strawberries, cake pops, you name it.
Don’t skip the freezer step
Keep in mind the melted chocolate will not hold up the truffles that are room temperature or even cold from the fridge. The heat from the chocolate will soften the exterior of the truffles, cause the Oreo crumbs to bleed into the white coating, and the balls may lose their shape. The good news is freezing them for 30 minutes will prevent all of these issues. If you are working in batches, you can keep the truffles that are undipped in the freezer while you dip the others.
If your white chocolate is streaky or grainy
This is called seizing, and it occurs when white chocolate is overheated or comes into contact with even the slightest amount of water. Once it seizes, there’s no going back and it cannot be smoothed out to be used for dipping. You will need to start over with new chocolate and exercise more caution with heat, as well as any moisture (be sure to dry your bowl and utensils thoroughly before melting).
Add a little coconut oil to thin the coating
If your melted white chocolate is thicker than you’d like, stir in about ½ to 1 teaspoon of coconut oil (or vegetable shortening). This will thin it out a bit and help the chocolate coating to drip off more cleanly, resulting in less chocolate pooling at the bottom of each truffle on the pan.
Rolling gets easier with cold hands
The mixture can be sticky, and the warmer your hands get the stickier it can become. If it is your turn to roll some truffles and the mixture is getting too sticky, you can rinse your hands under some cold running water, dry off your hands, and it will be easier to roll the truffles. Another option for coating your hands is to lightly spray your palm with some cooking spray. Some people find this works, too.
Variations and Substitutions
Use Peppermint Oreos
When Peppermint Oreos are available in stores (typically in November to January), you can substitute those for regular Oreos and decrease the peppermint extract to ¼ teaspoon. The mint flavor in the Oreo filling is quite strong, so you don’t want to go overboard.
Dark chocolate coating instead of white
The white chocolate is traditional here and candy cane pieces pop (the red and white peppermint pieces stand out beautifully), but dark chocolate is, quite frankly, more delicious when paired with peppermint. You could use semi-sweet chocolate chips, dark chocolate bark, or any other kind of dark chocolate. The coating will hide the candy cane bits a bit more, but trust me, the flavor combo of dark chocolate + Oreo + mint is to die for!
Skip the peppermint for classic Oreo balls
To make the classic version without the mint, just omit the peppermint extract and crushed candy canes. You get rich, fudgy Oreo truffles that can be enjoyed any time of year. For that version, see the classic Oreo truffles recipe.
Drizzle instead of full dip
If you’re looking for a different kind of presentation, you can roll the truffle mixture into balls, freeze them, and instead of dipping them, drizzle some melted white chocolate over them. With a striped look, this method is quicker than full dipping but the truffles taste the same. Simply place them on a pan lined with parchment paper, and drizzle the chocolate using a spoon or a piping bag.
Storage, Make-Ahead, and Freezing
Refrigerator
You can store peppermint Oreo truffles in an airtight container in the fridge, where they’ll keep for up to 5 days. If you are able to prepare them ahead of your intended serving, you’ll be glad you did! In fact, the flavors really do deepen after the first day! Just be sure to place parchment paper between the layers of the container so the candy cane topping doesn’t stick to the truffles.
Freezer
They are very simple to freeze. First, put them on a lined baking sheet in a single layer, freeze them until they are fully frozen, then move them to a freezer bag or an airtight container. They last for 2 months. When you want to serve them, take them out to thaw. You can do this in the fridge for a few hours, or if you put them on the counter for 20 to 30 minutes, they will also thaw. Do not put them in the microwave. The chocolate coating will melt in some spots but not in others.
You can get ahead of the holiday cookie rush by making this recipe. Make these in November, freeze them, and take them out in December for guests, holiday gifts, and cookie platters.
Make-ahead strategy
Truffle balls can be rolled and left un-dipped for a month. You can dip them in chocolate the day before you need them or the morning of. Once dipped, give them a little chill in the fridge, and they are all set. When preparing multiple treats during the holidays, this is the best method.
Serving Ideas
These truffles feel perfect on a Christmas cookie platter with peanut butter blossoms, snickerdoodles, and sugar cookies. They also do great as a solo snack with some simple holiday decorations, maybe a sprig of fresh rosemary or some whole candy canes.
They are also good for gifts! You can put twelve of them into a small box lined with tissue paper, or you can put them into a clear cellophane bag and tie a ribbon around the top to keep them all together. They are candy shop quality and no one has to know that they took you less than an hour to make!
For the dessert table at a party, use a shallow bowl or a tiered stand. If it’s warm in the kitchen, keep them in the fridge until guests start eating. Then bring them out tray by tray.
FAQ
Can I use Double Stuf Oreos?
I recommend against it. The combined filling makes the mixture wetter, meaning it will be more difficult to roll into firm balls. For this recipe, the standard Oreo cookie has the perfect filling to cookie ratio. If you only have Double Stuf, you can attempt it, but the truffles may take a longer time to freeze and they may lose their shape more easily when it comes to dipping.
Can I make these without a food processor?
Certainly. Add the bag of Oreos to a large zip-lock plastic bag, seal it, and crush the cookies using a rolling pin until they become fine crumbles. This may take a couple of minutes of work, but it does actually get the job done. The cookie crust does not have to be done to perfection, so roughly even is close enough. Then continue on to the "fold" step of the recipe as normal.
Why is my white chocolate seizing up?
Two reasons why this could be happening is overheating and moisture. Also, white chocolate is more sensitive to heat than dark chocolate because it has more cocoa butter. You want to melt it in 30 second intervals and stir in between. If you are using a double boiler, make sure that your bowl and any utensils are completely dry, because even a drop of water could cause the white chocolate to seize. Once white chocolate has seized, you will have to start fresh because there is no reliable fix once it has seized.
Can I use peppermint oil instead of extract?
Yes, but remember that peppermint oil is more concentrated than extract. If you’re substituting, only use a few drops. Start with about 2 or 3 drops, taste the mixture to see if you need to add more. You don’t want the mixture to taste too medicinal. If you have peppermint extract, use that instead, it will be easier to measure and adjust.
How do I get a smooth, even coating without a candy fork?
Take a normal dinner fork, drop the truffle in, roll it around to coat it, then go ahead and lift it out with the fork, and tap the fork’s handle on the bowl to get off the excess. It takes some time and will leave some dip marks where the fork prongs are, but it works! If you’re dipping smaller truffles, you can use toothpicks to keep them steady.
Do these need to stay refrigerated?
These truffles need to be kept chilled due to the cream cheese. They can be left out at room temperature for a few hours during a party, but they should be returned to the fridge for storage. Please do not leave them out overnight.
Related Recipes
If you enjoyed these peppermint Oreo truffles, you may want to try these other recipes:
- Classic Oreo Truffles — the original version without peppermint, great any time of year
- Christmas Sugar Cookies — a holiday staple that holds up well on a cookie platter alongside truffles
- Peppermint Bark — another easy no-bake Christmas candy with white and dark chocolate layers
- Easy Chocolate Fudge — another freezer-friendly make-ahead treat for holiday gifting
- No-Bake Cookies — when you want something chocolate and you need it fast

Peppermint Oreo Truffles
Ingredients
- 1 package Oreo cookies 15.25 ounces
- 8 ounces cream cheese softened
- 1/2 teaspoon peppermint extract
- Crushed candy canes
- White chocolate or white almond bark for coating
Instructions
- Crush Oreos into fine crumbs.
- Mix Oreo crumbs with softened cream cheese and peppermint extract until fully combined.
- Roll mixture into small balls and place on a parchment-lined pan.
- Chill until firm.
- Melt white chocolate or almond bark.
- Dip chilled truffles in melted coating and place back on parchment.
- Sprinkle with crushed candy canes before coating sets.
- Chill until firm before serving.