
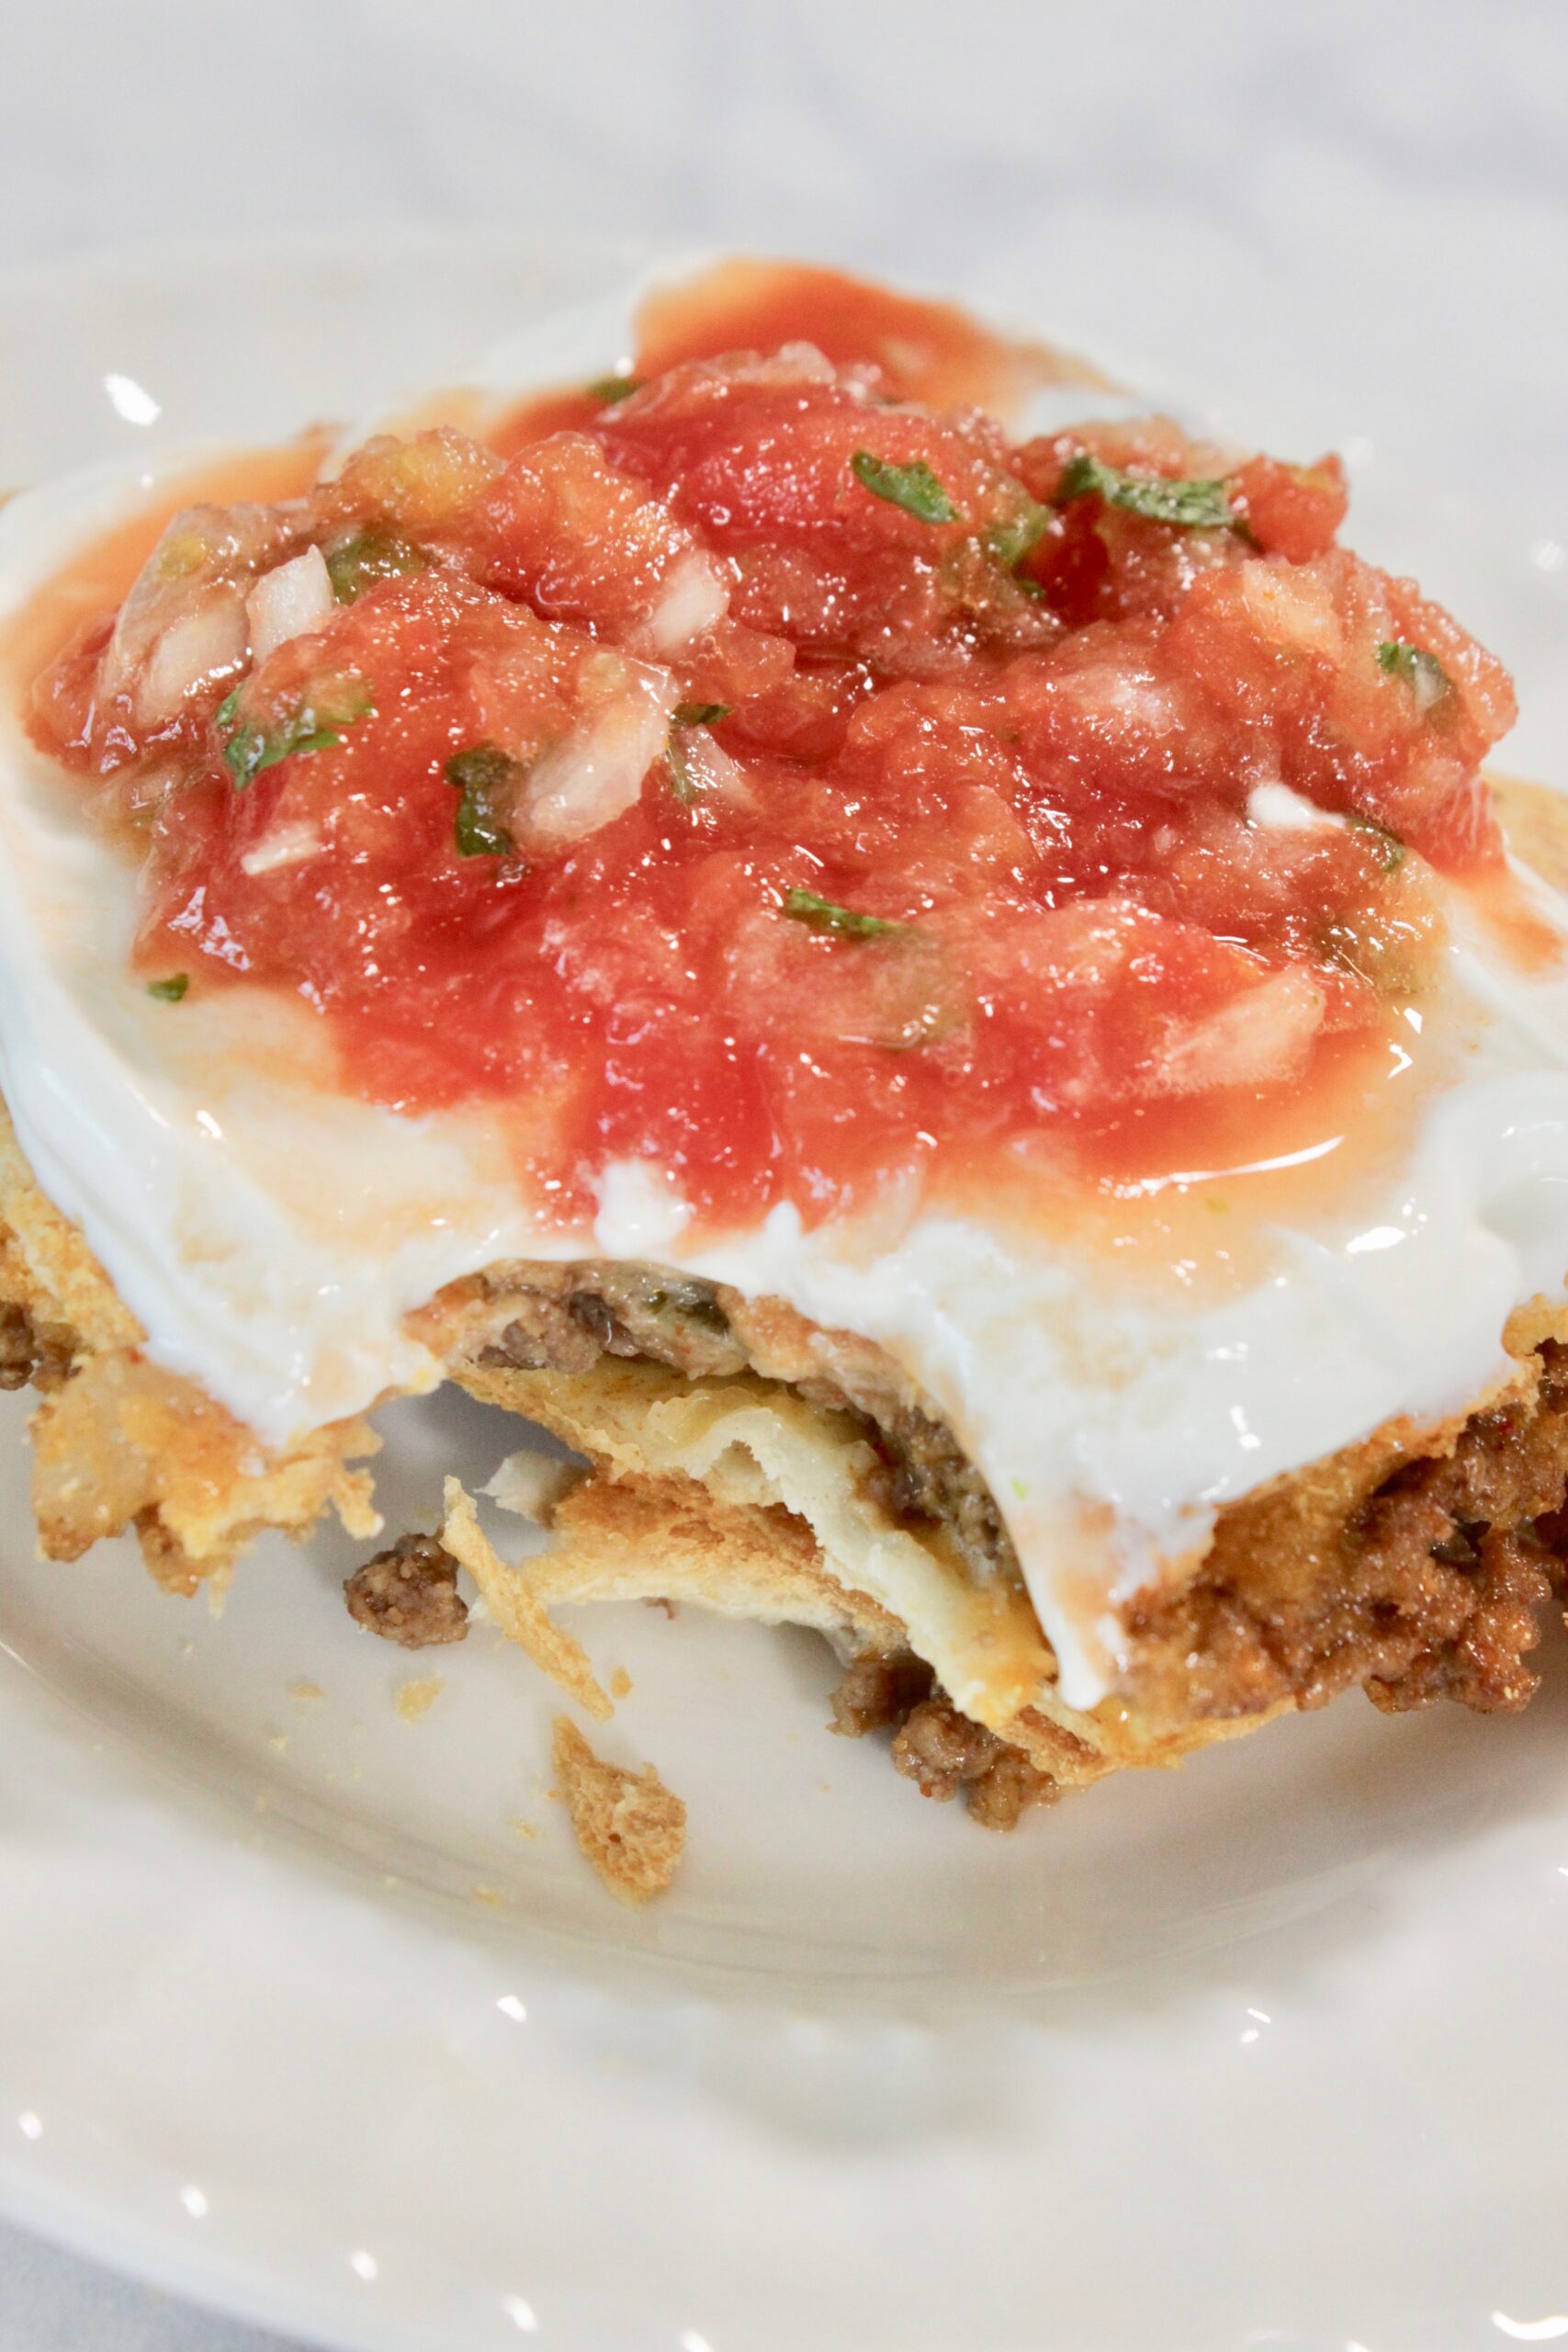
Sheet Pan Oven Quesadillas
Quesadillas are a favorite around here, and are easy to make on the griddle, but if you’re making them for your entire family, you’ll be standing over the griddle for quite some time and that first quesadilla will be stone cold by the time you finish the fourth. That’s when I turn to Sheet Pan Quesadillas.
They’re also great for potlucks because they slice up nicely and hold up fine at room temperature and can be transported in their sheet pan.
Line up six burrito-sized tortillas around the edge of a sheet pan and add one in the center to cover the base. Spread with seasoned beef (see recipe) and cheese.
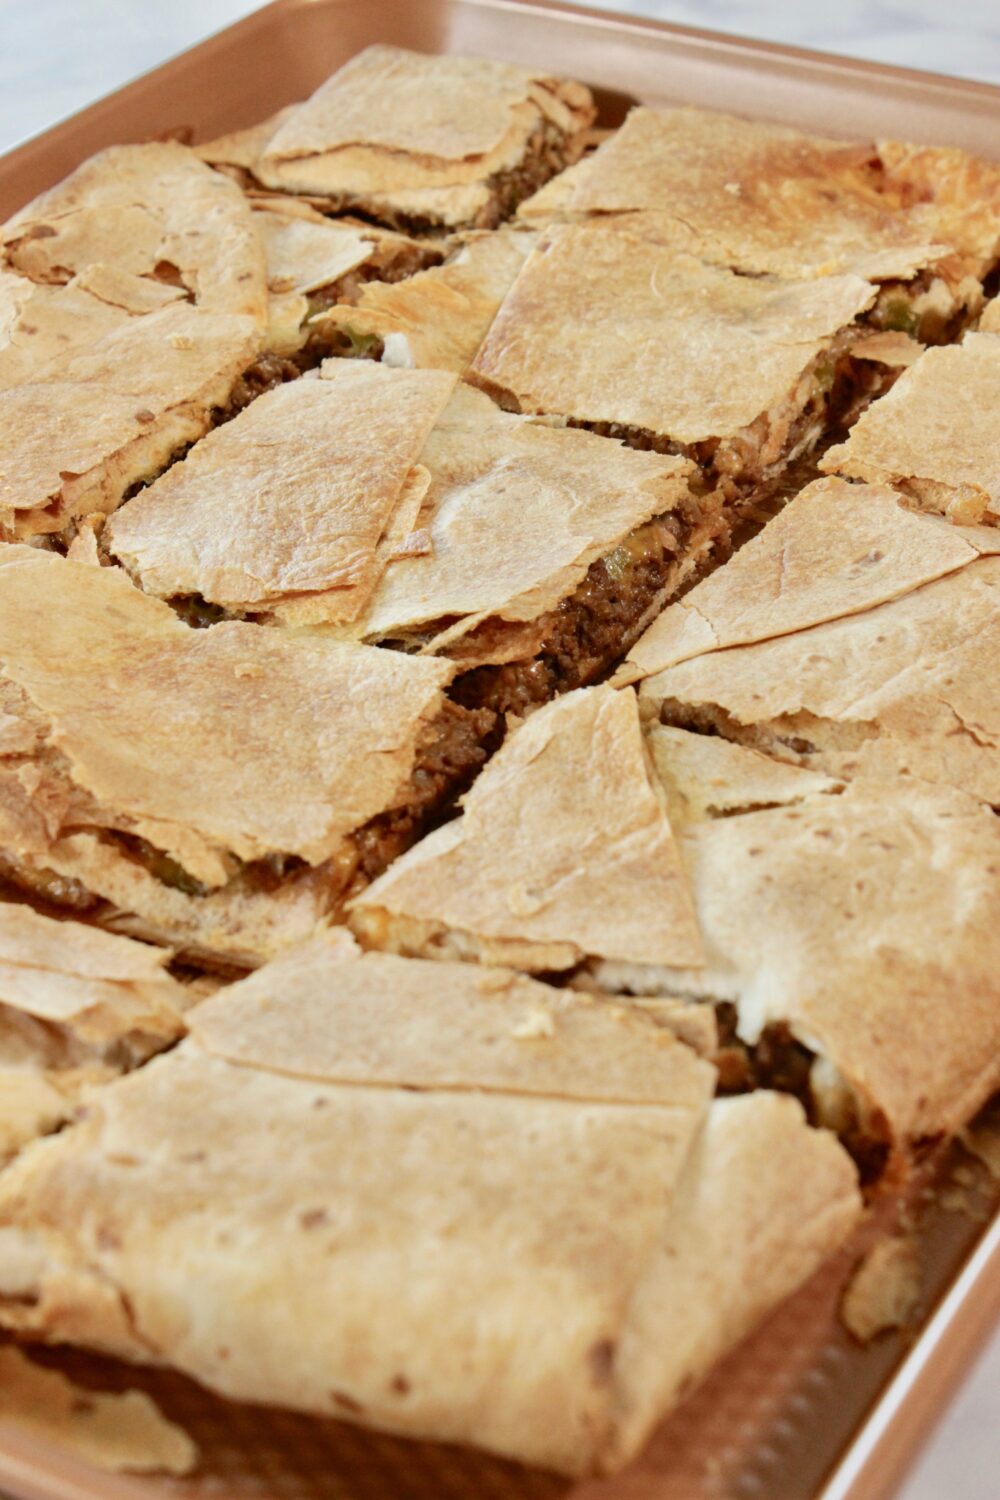
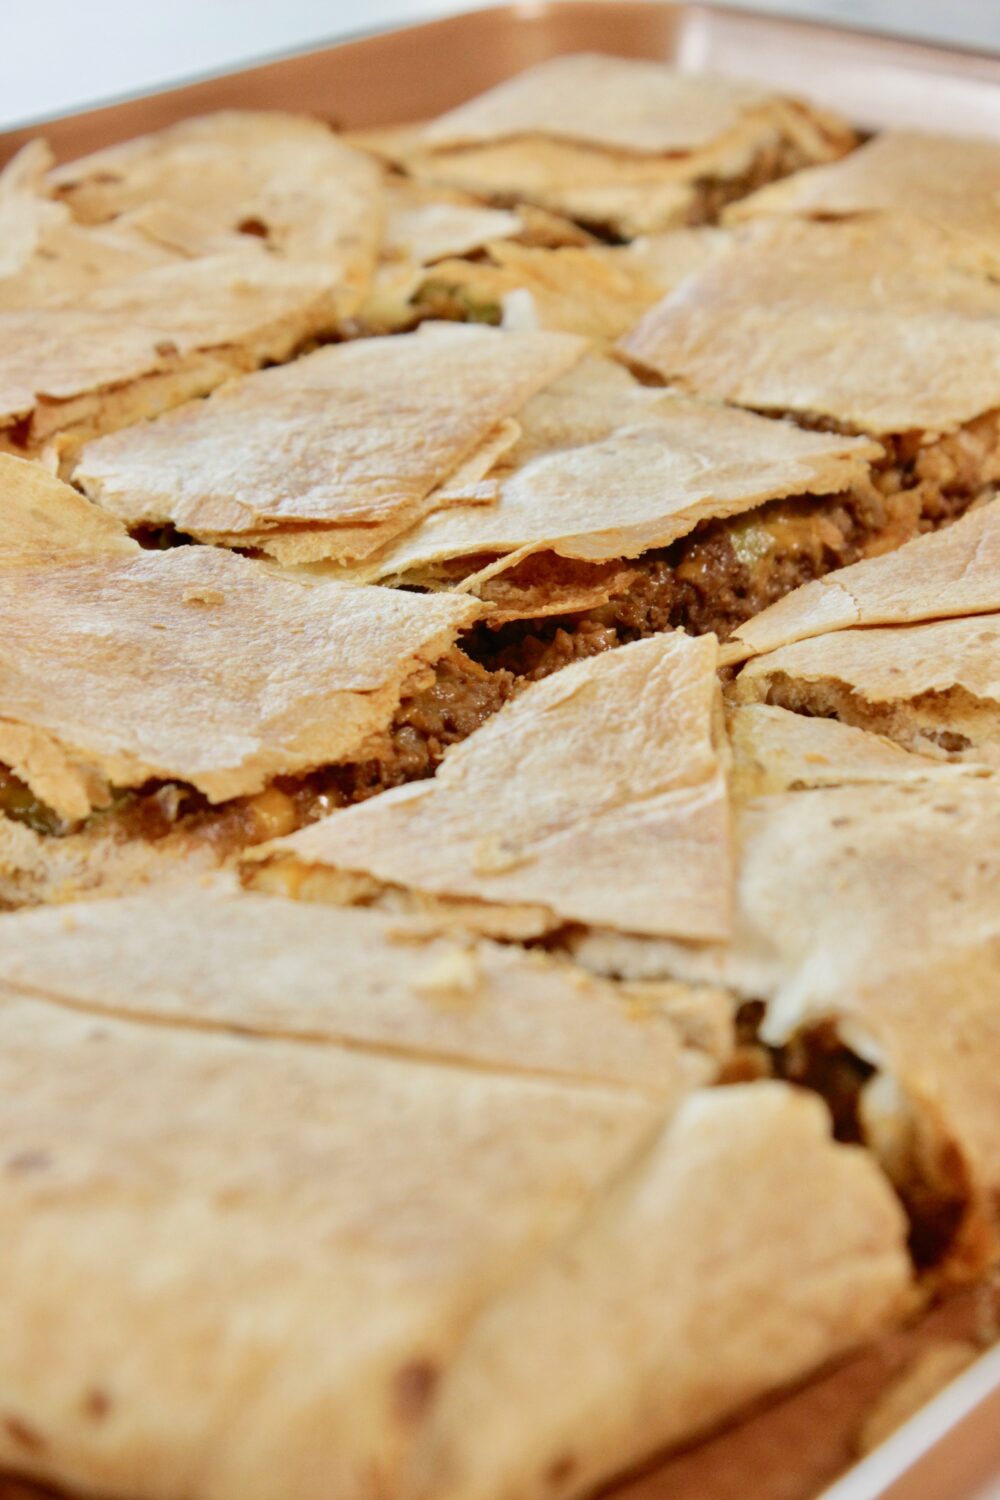
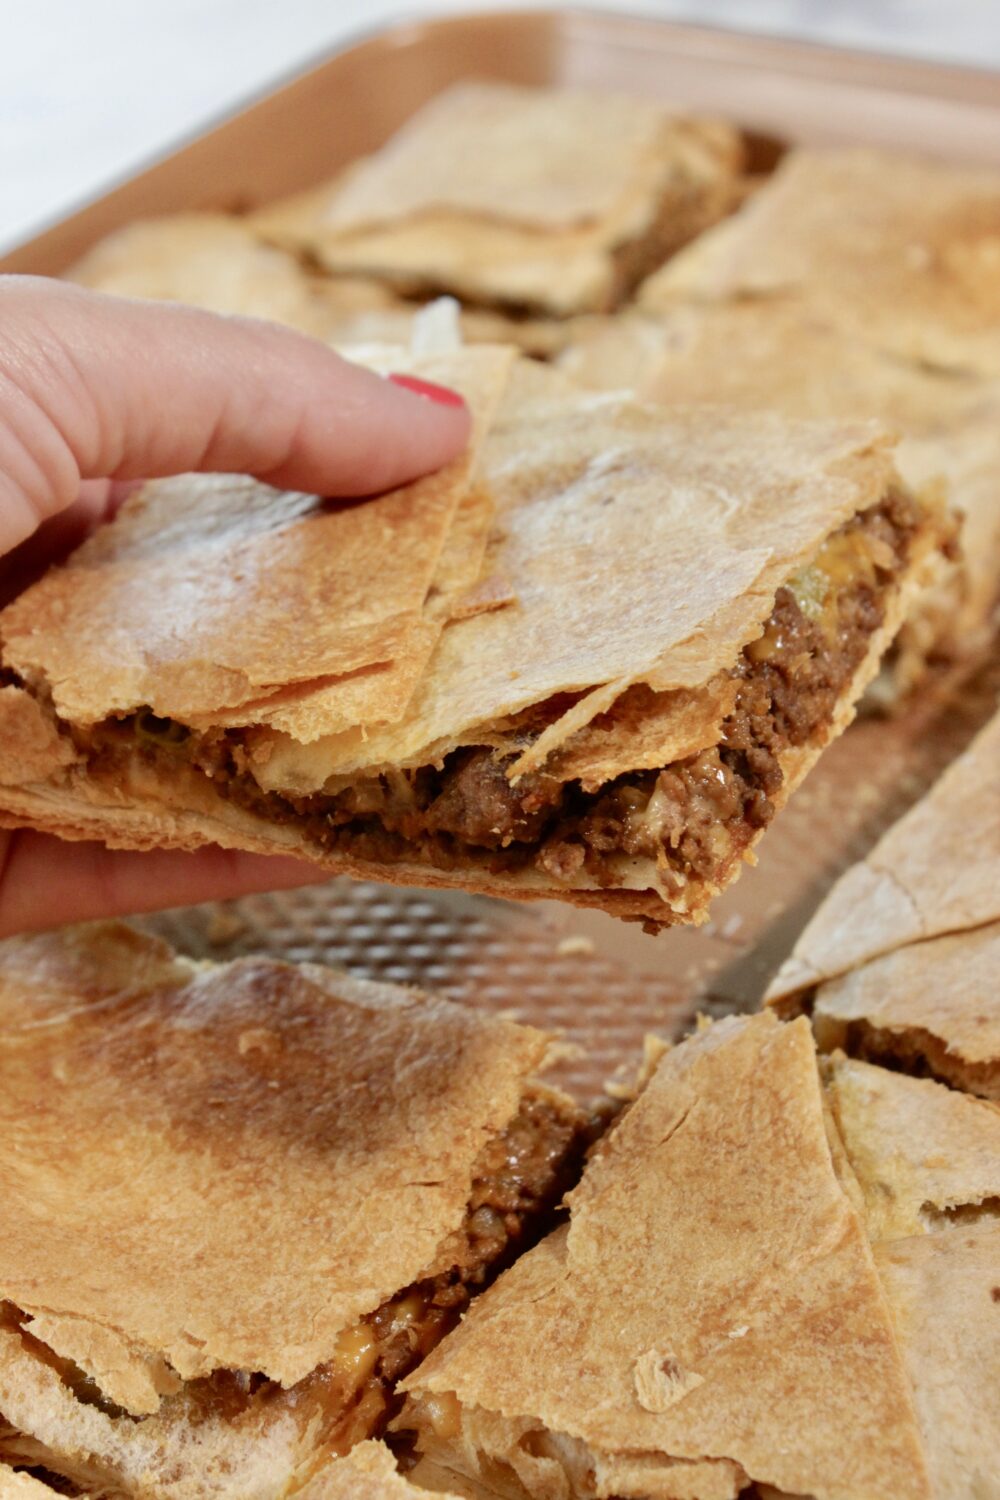
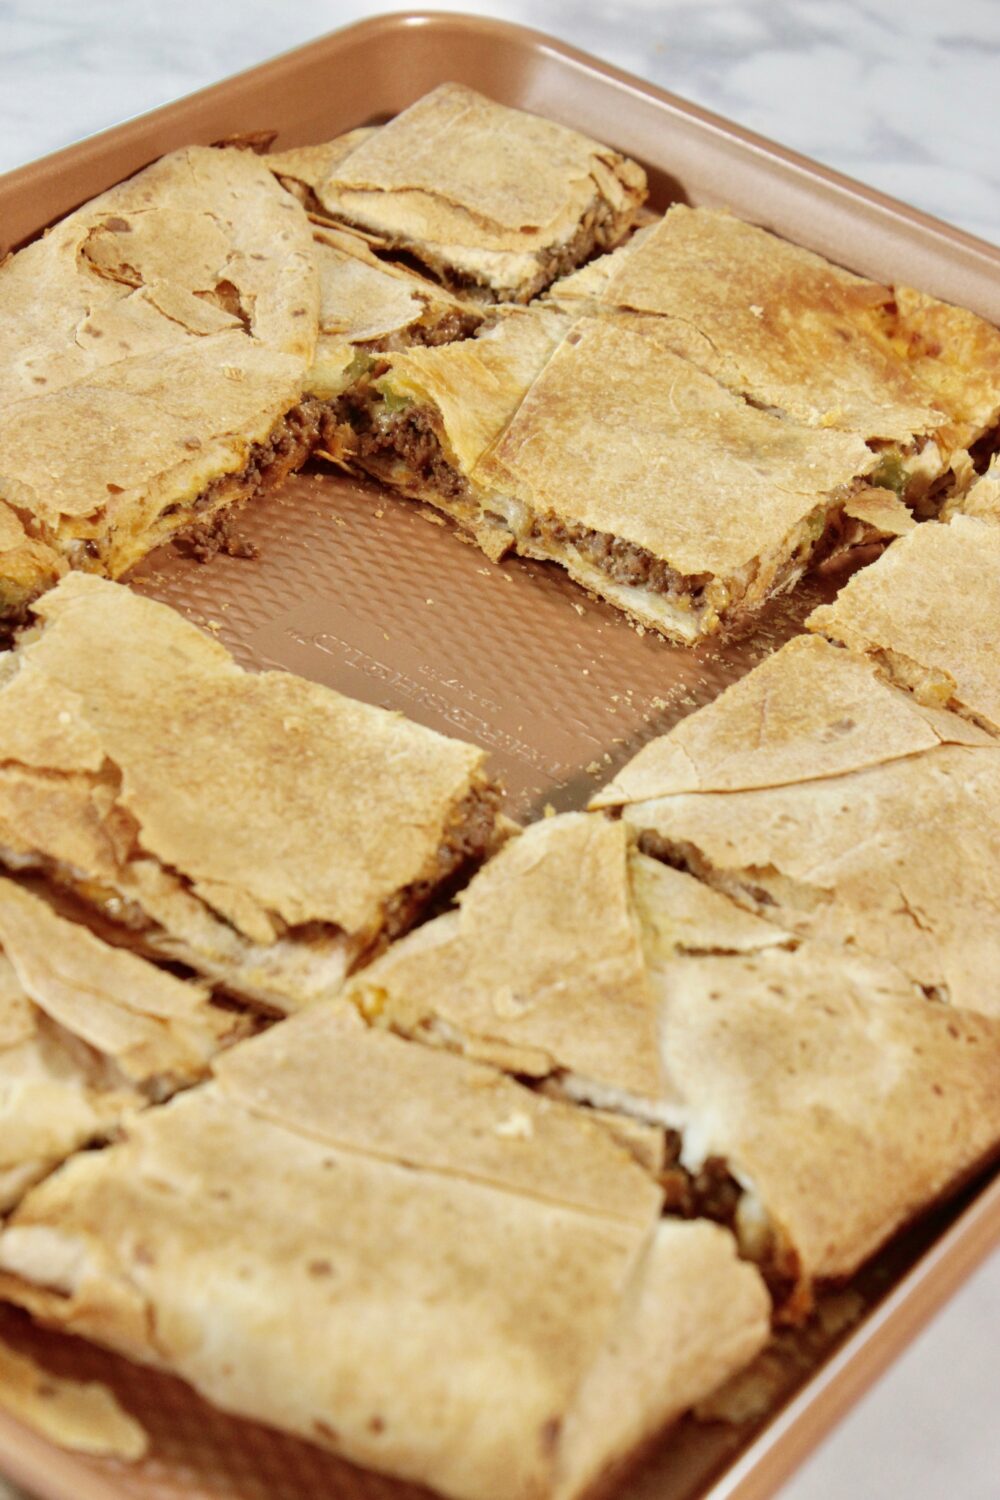
Fold tortillas over filling and bake for 20 minutes. Remove from oven and cut into squares.
Why I Keep Coming Back to This
There’s nothing like a crispy, freshly-made quesadilla and I’m not saying that sheet pan quesadillas are better than those made individually on a griddle. But if you’re making them for your whole family, I promise you’ll prefer this version because everyone gets to eat at the same time and your arms won’t be tired from flipping.
The Two-Pan Technique That Actually Makes This Work
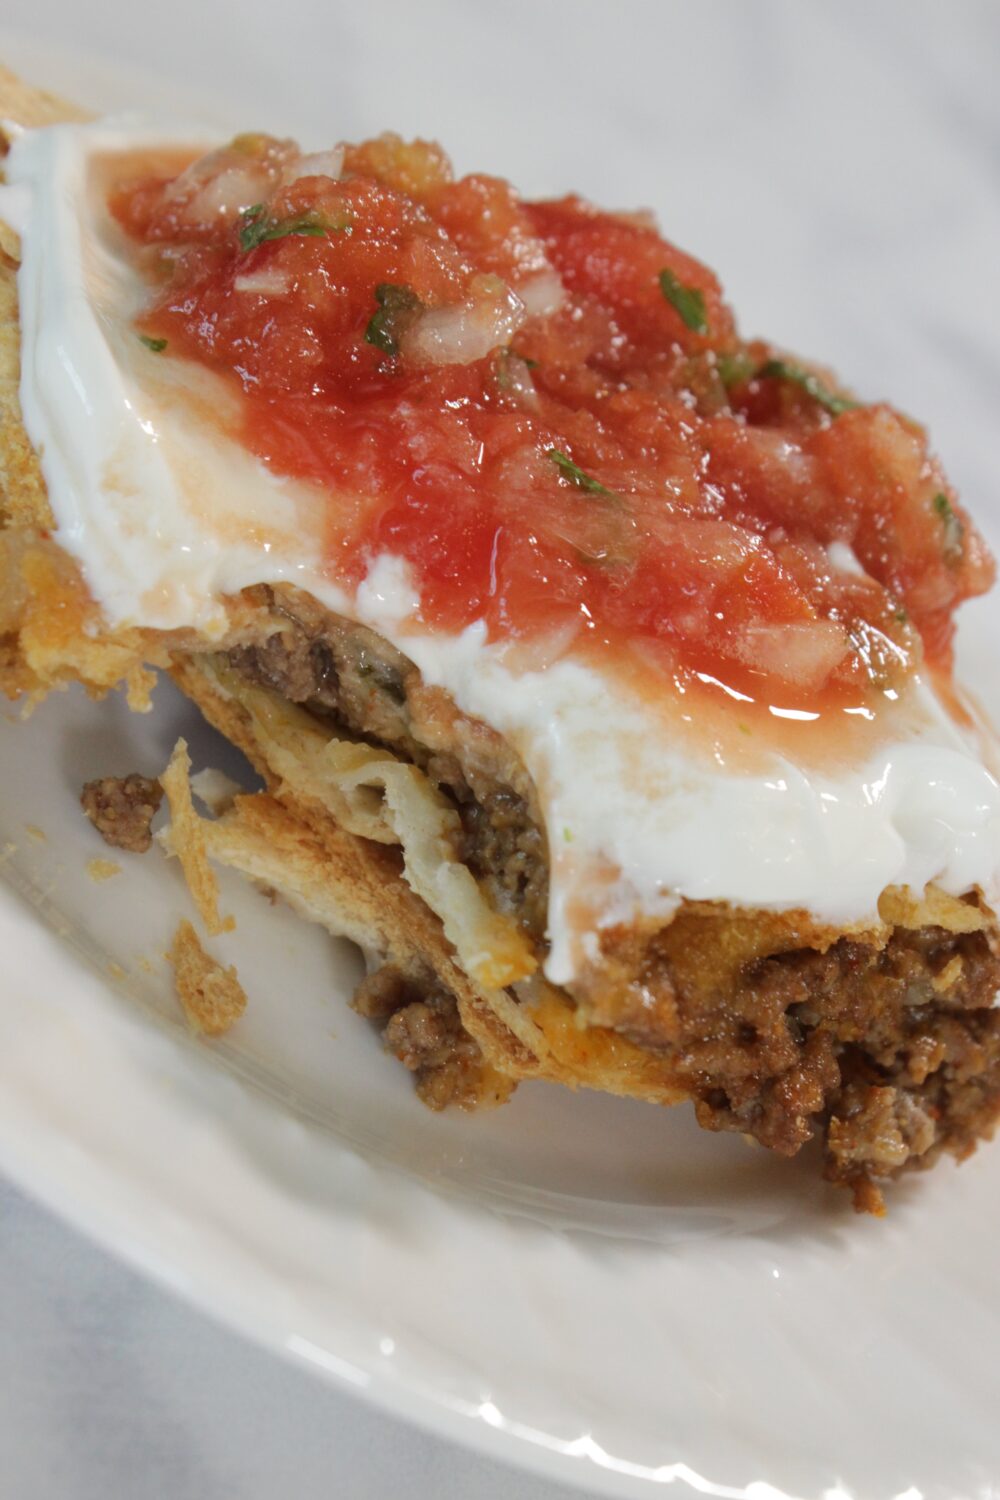
If you’ve seen this recipe before, you’ll remember that there used to be another step – placing a second sheet pan on top. I always wondered why I included this, as I’ve seen sheet pan quesadillas recipes that don’t call for one.
Finally, I tried it without the second sheet pan to see what would happen. Without it, the tortillas puff up and don’t get as crispy and the cheese doesn’t meld with the tortillas as well.
Basically, the top sheet pan replicates a panini press – the heat from the oven plus the pressure of the pan. With a panini press or second sheet pan, the tortillas don’t have room to puff up and the cheese melts into the top and bottom tortillas.
Try both ways and see which you prefer. I like them best made with pressure.
The kids always volunteer to press down on top of the pan when it comes out of the oven.
Remove the top sheet pan for the last 15 minutes of cooking so the quesadillas will be nice and browned on both sides. If you don’t take off the top pan the tops will be pale and soft.
Eight Tortillas, One Sheet Pan
You’ll need 1.5 pounds of ground beef, browned and drained so the moisture won’t make the quesadillas soggy. The best kind of ground beef to use is 80/20, and it has a good balance of fat and lean.
You can use 90/10, but the flavor will be less rich, though also less greasy. You can also use ground turkey, but it’s pretty bland so be sure to season well.
Dice up 1/2 an onion or sweet onion. If your kids hate onions then leave them out.
1 packet of taco seasoning is the right amount for 1.5 lbs. of beef. If you’re going to use the store-bought seasoning avoid low-sodium if possible.
Some brands can be pretty flavorless which makes the quesadillas pretty bland, and in this case you’ll want to add some salt. You can use 3 Tbs. of homemade taco seasoning.
For some deeper flavor add 1 tsp. ground cumin for an earthy flavor and/or 1/2 tsp. smoked paprika which gives a smoky flavor like it has simmered for hours, and regular paprika won’t give the same flavor, but adds nice color.
Use a total of 2 cups of shredded cheese. I like to combine 1 cup shredded cheddar and 1 cup Colby Jack.
Sharp cheddar will give you a good flavor but Colby Jack will have a better melt. For the best of both worlds use some of each.
You can use Mexican blend or pepper jack cheeses too. I don’t suggest using only mozzarella because it’s more of a pull instead of a melt.
It would probably work but will be very stretchy when you try to eat it.
A couple notes about cheese for the quesadillas. It’s best to shred your own.
It takes a couple of minutes but the pre-shredded cheese has starches added to keep from clumping which keeps them from melting well.
Use 8 LARGE flour tortillas, around 10 inches. Smaller tortillas will not seal in the center.
Try making them with the smaller fajita-sized tortillas and when you cut them to eat them they’re not sealed in the middle so they’re more of a mess. It’s more like an open face quesadilla bake.
How to Make Sheet Pan Oven Quesadillas
Set your oven to 425°F.
Coat a half sheet pan, about 13×18 in, with cooking spray. Lay tortillas on pan overlapping the edges.
I overlapped mine by about 50%. Lay 1 tortilla in the middle of your sheet pan and you should have 1 tortilla left at this point.
In a large skillet over med-high heat, heat the oil. Add the onion and saute for about 5 min until soft and translucent.
Add beef and continue cooking, breaking up the beef with a wooden spoon until no pink remains, about 5 to 7 min. If possible, brown the meat, don’t just cook it until its gray.
The browning will give it more flavor. Drain fat from skillet.
Add taco seasoning, cumin and paprika. Taste and season to liking.
Remove from heat.
The rich flavors of the beef and cheese are perfectly complemented with the fresh taste of the green onion (use both the white and green parts of the onion). Evenly distribute the seasoned beef on a tortilla on a sheet pan.
Add shredded cheeses (such as cheddar, Colby Jack or your favorite), then add sliced green onions. Top with another tortilla.
Divide the top tortilla into 4 (or 2) equal sections for more even meat distribution. Fold edges of the tortilla over top of quesadilla (don’t worry about getting everything pretty, as the cheese will melt and seal any stragglers!).
Now you’re going to put another sheet pan on top of the quesadilla and bake. Bake for 20 minutes.
Remove top sheet pan and you’ll see quesadilla is still very pale in color and a little soft. Continue baking for an additional 10 to 15 minutes until crispy and golden brown (watch closely as this happens quickly, going from perfect to over-browned fast!).
Remove from oven, rest for 5 minutes (this will help them stay together better when cutting) then cut into rectangles using a pizza cutter or sharp knife. Serve warm!
What We Put on the Side
Cut into squares, pile quesadillas up on a baking sheet. Put a few bowls/plates with sour cream, salsa, guac for dipping.
Squeeze some fresh lime juice on top just before serving if you like. It’s not required, but it helps keep things a little more on the light side.
Some people like to serve these quesadillas as an entire meal with a scoop of Mexican rice and/or refried beans on their plates.
Others will pile the quesadillas on a large cutting board alongside bowls of queso, pico de gallo, sour cream, etc. They’re a crowd pleaser at any party.
These will also hold well at room temperature so they’re great to bring along to any gathering too.
Five Ways to Change the Filling
Rotisserie chicken version: In lieu of using ground beef, use about 2 to 3 cups of shredded cooked chicken from a rotisserie chicken. Follow directions above by skipping the skillet portion involving browning and draining.
Beef and black bean: Add one can of black beans (well drained) to beef mixture for a little extra protein and flavor. Follow directions above.
This will also help you stretch things out a bit and yield a couple of extra servings.
Vegetarian: In lieu of the ground beef, use two cans of black beans, drained and rinsed well, along with a cup of corn. Follow directions above.
Add an entire packet of taco seasoning along with cumin and smoked paprika to beans. Drain and rinse very well since too much moisture will result in a bit of a soggy quesadilla.
Breakfast version: Swap out the ground beef for 8 scrambled eggs and a pound of cooked breakfast sausage. Use cheddar and pepper jack cheeses.
Serve alongside avocado and salsa.
Spice things up: If you like things hot, add 1-2 chopped jalapeños to the filling. You can also add some dashes of your favorite hot sauce.
Sheet Pan Quesadilla FAQ
Can I use a cheese other than Colby Jack cheese?
Pepper jack cheese is a great alternative.
How long will leftover quesadillas keep? How do I reheat leftovers?
Leftovers will keep for 3 days in an airtight container in the refrigerator. To reheat, place in an oven at 350°F for 8-10 minutes or an air fryer for 4-5 minutes until warmed through.
Microwaving works but tortillas will be a bit soft and will not be as good as freshly made. Fine if you’re taking it to your desk for lunch but not nearly as tasty.
Can I prepare the quesadillas in advance?
This is a perfect dish to make the meat in advance. Fully cook and season the ground beef then refrigerate in a container.
This can be done up to 2 days in advance. On busy weeknight dinners, you’ll simply reheat it in the skillet and prepare the rest of the recipe.
If you’re preparing it for a party or want to have a couple of freezer meals on hand, cook the recipe, allow to cool, wrap portions individually in aluminum foil and store in a ziptop freezer bag up to 2 months. To reheat, remove aluminum foil and heat in a 375° oven for 15-18 minutes or thaw overnight in the refrigerator.
What size sheet pan do you use?
I use a half sheet pan which is about 13×18 inches. Quarter sheet pan will be a bit tight and will not allow the tortillas to fold over the filling.
Can I press the quesadillas with anything besides another sheet pan?
Two matching sheet pans help to press them evenly but any oven-safe item will work. An oven-safe flat lid would work well.
Even an oven-safe casserole dish set on top of the foil would work well. You’re just trying to have something on top to apply even pressure.
Trouble with your sheet pan quesadillas falling apart?
Or are they coming out of the oven on the soggy side? Here are a few troubleshooting tips that could be helpful:
- Your tortillas need to be able to overlap the edges of your pan and fold over each other. I learned that the hard way. If you make this recipe with fajita-sized tortillas you’ll find that your quesadilla will be more of an open-faced quesadilla, making it much more difficult to cut and serve without falling apart.
- Give your pan a light spray with a nonstick cooking spray or rub with a little oil to prevent sticking. Believe me when I say that it WILL stick and rip apart without this step.
- Make sure any wet ingredients are drained well, especially if you’re using cooked beef. Any excess water in the recipe, such as beans, salsa, etc., will result in a much more soggy quesadilla.
- You can’t really up the temperature of these Crispy Sheet Pan Oven Quesadillas much more than 425 degrees without running the risk of burning the tortillas before everything is cooked through.
Other Taco-Night Dinners We Actually Make
Taco Dip Recipe: seasoned beef, sour cream, salsa, and cheese layered into a 9×13 pan and baked. Serve with chips.
Crockpot Shredded Chicken Tacos: cook them in the am and shred them when you get home for dinner. Easy, right?!
Crock Pot Beef Stroganoff: tender beef simmered in a creamy mushroom sauce and spooned over egg noodles. Sooo good.
Game Day: Cut Them Party-Size
The original quesadilla recipe makes eight servings, which is best for a family-style dinner. But if you’re making them for a party, cut them into triangles, which makes sixteen servings that adults and kids alike can grab with one hand while holding a beverage with their other.
Roughly speaking, one sheet pan’s worth of quesadillas will feed six adults who are casually grazing. Make two pans’ worth?
Pop ’em in the oven at the same time and switch their positions on the oven rack halfway through baking.
Leftovers: Save ’Em for Another Day
If you have leftover quesadillas, pop ’em back in a 350° oven or into the air fryer at the same temperature until crispy.
The Pizza Cutter Is the Right Tool
To cut the crispiest quesadilla wedges, you’re going to want a strong edge. A pizza cutter is your best bet.
I recommend letting them sit for about five minutes before cutting. I am impatient and have attempted cutting right away and they fall apart.
Letting them sit allows the cheese to set. Also, I found a regular knife tends to drag on the top tortilla and pushes filling out the sides.
I had the best results with a pizza cutter for a one motion slice and more defined edges.
Freezer Wedges for Solo Lunches
I’ve been freezing individual wedges with parchment between them in a freezer bag and reheating for lunch and they’re great. They last about 2 months before they start getting freezer-y.
I pop them in my air fryer for 6-7 minutes straight from the freezer at 350 degrees. Bonus for no pan to clean up.
Quesadillas ahead of time?
If you’re looking for ways to make these earlier in the day: The meat takes about 10 minutes to brown and season. You can make it ahead and leave in the fridge during the day.
At night, layer tortilla-meat-cheese and enjoy. However, you can NOT make the whole pan ahead of time.
It softens the bottom tortilla and you’ll lose that crispy factor.
The Cold Quesadilla Lunchbox Verdict
My 15 year old loves bringing quesadillas to school for lunch, cold wedges from the night before. I thought it couldn’t possibly be good, so I tried one out of curiosity.
Not soggy at all and more of a flexible texture (think wrap) and totally fine.
Sheet Pan Oven Quesadillas
Ingredients
- 8 large flour tortillas 10-inch burrito size
- 1 tablespoon olive or vegetable oil
- 1/2 onion diced
- 1 1/2 pounds ground beef
- 1 packet taco seasoning 1 ounce or about 3 tablespoons
- 1 teaspoon ground cumin
- 1/2 teaspoon smoked paprika
- Salt and pepper to taste
- 1 cup shredded cheddar cheese
- 1 cup shredded Colby Jack cheese
- 2/3 cup sliced green onions
- Sour cream salsa, and guacamole, for serving
Instructions
- Preheat oven to 425°F.
- Heat oil in a large skillet over medium heat. Add diced onion and cook until soft and translucent, about 5 minutes.
- Add ground beef and cook, breaking it up, until no pink remains and the meat has browned, about 5 to 7 minutes. Drain fat.
- Stir in taco seasoning, cumin, and smoked paprika. Taste and adjust salt and pepper. Remove from heat.
- On a 13×18-inch sheet pan, arrange 6 tortillas around the edges with about half of each hanging over the sides. Place 1 tortilla in the center to cover the bottom.
- Spread seasoned beef evenly over the tortillas. Top with cheddar, Colby Jack, and green onions.
- Place the last tortilla in the center on top, cutting if needed to cover gaps. Fold overhanging tortilla edges over the filling.
- Place a second sheet pan on top and bake 20 minutes.
- Remove the top pan and bake 15 more minutes, until golden and crisp.
- Rest briefly, slice into squares, and serve with sour cream, salsa, and guacamole.