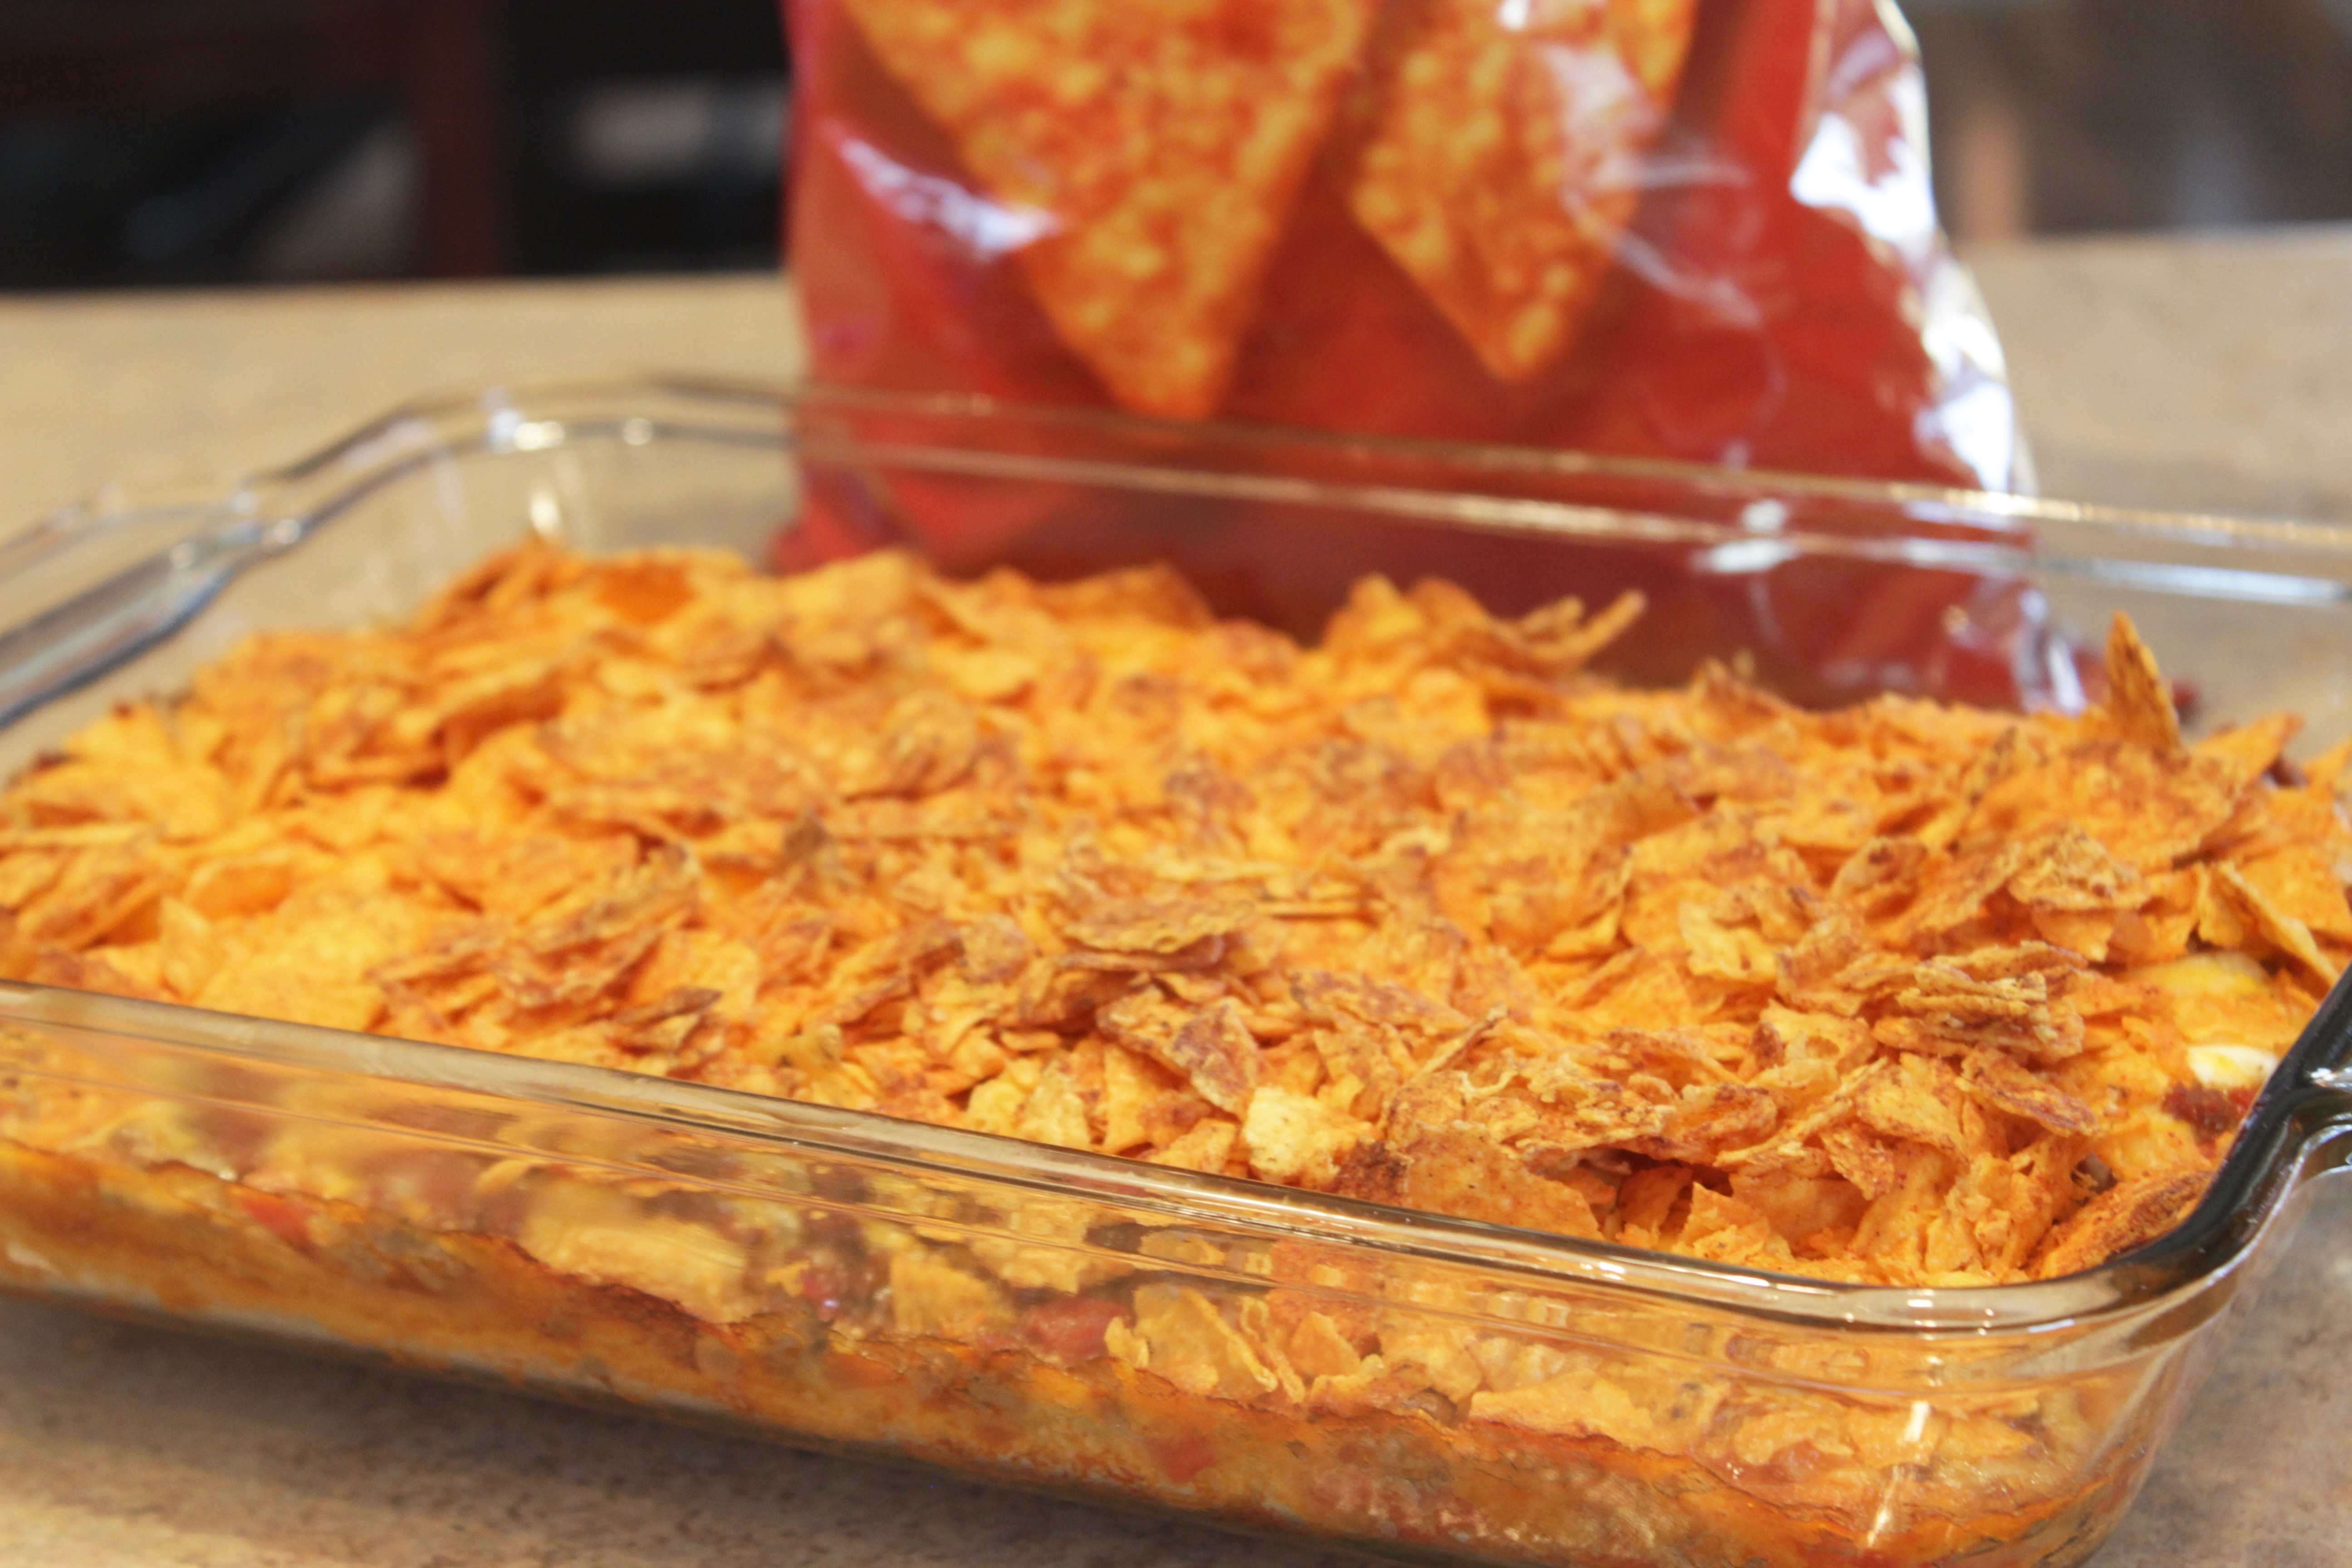
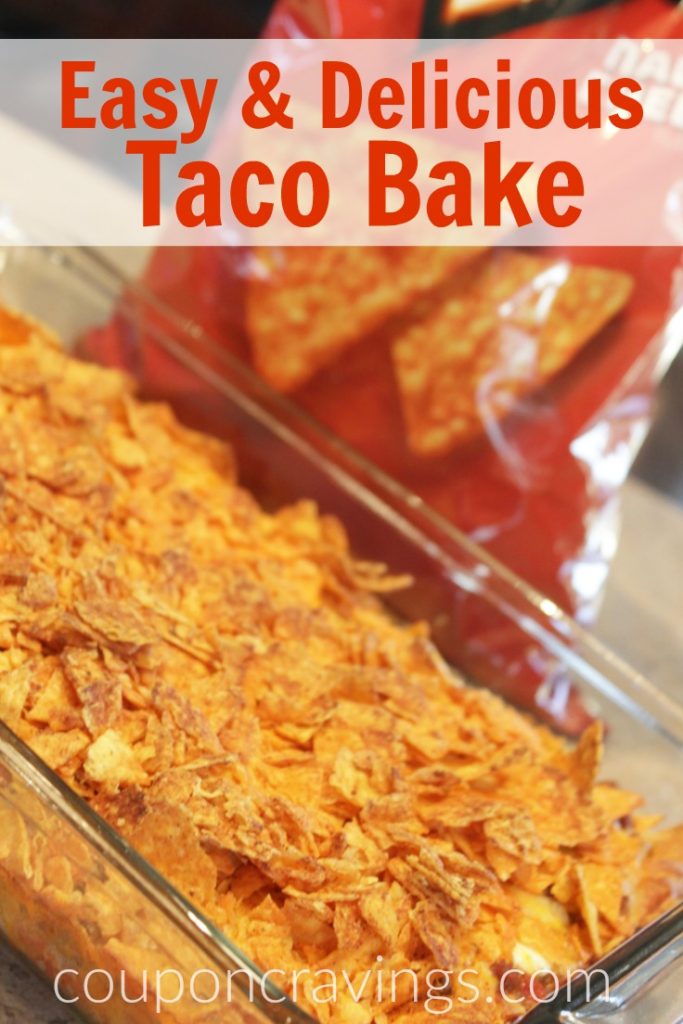
Taco Crescent Bake
This taco crescent bake started as a way to use up leftover taco meat on a Wednesday night. Crescent rolls on the bottom, seasoned meat, a sour cream layer, cheese on top, crushed chips in the last stretch of baking. One pan, done in 40 minutes, feeds the whole family.
It’s the kind of dinner where you expect people to be fine with it and they end up genuinely excited. That surprise is part of why it’s still in the regular rotation.
Why This Casserole Works
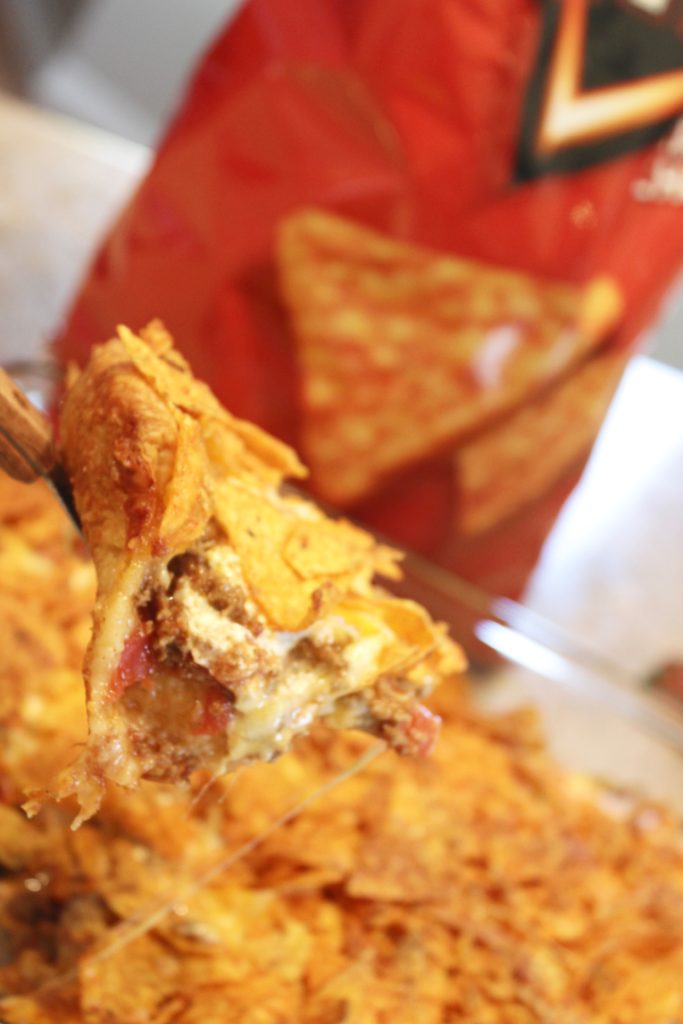
The crescent dough gives you a soft, buttery base that holds everything in one pan and slices into actual squares — sturdier than it looks once the layers go on top and bake together.
The sour cream layer in the middle is what keeps this from feeling dry. It adds creaminess to every bite without making anything soggy. That layer is doing more work than people expect — don’t skip it.
Adding the chips in the last 10 to 15 minutes (not at the start) is what keeps them crispy. If they go in with the cheese, they steam and go soft. Timing that addition is the one thing that separates a good version from a great one.
How This One Started
This came out of a very specific situation: taco Tuesday leftovers sitting in the fridge on Wednesday and zero interest in making the same thing again. I had the meat, I had crescent rolls, and I figured I’d see what happened if I layered everything in a baking dish.
What happened was that my family liked it better than the original tacos. The kids asked for it by name the following week. Now I make extra taco meat on Tuesday on purpose. This is where it goes on Wednesday.
What to Know Before You Start
Seal the crescent seams. Press them together aggressivley before adding anything on top. Gaps mean the filling seeps through and the bottom won’t hold when you slice it. Take an extra minute here — it’s worth it.
Drain the tomatoes thoroughly. Excess liquid from a can of diced tomatoes is the main reason this goes watery. Press them in the strainer, don’t just tip and shake.
Let it rest before cutting. Five minutes off heat makes the difference between clean squares and a pile of sliding layers. It firms up fast.
Taste the meat before it goes in. The oven can’t fix under-seasoned meat once it’s baked in. Season assertively in the pan, taste it, then layer.
What Goes In
Crescent Roll Dough (2 cans)
Two cans cover a 9×13 dish. Press the seams together as you go — you want a solid, gapless layer. If the dough tears, just pinch it back together.
Cooked Taco Meat (2 to 3 cups)
Leftover taco meat is perfect here — this is genuinely what the recipe was designed around. Ground beef is classic, ground turkey works just as well once it’s seasoned. Season it in the pan, taste it before it goes in, and make sure it’s actually seasoned well. This is where all the flavor comes from.
Diced Tomatoes or Tomato Sauce (1 can)
Diced tomatoes add texture and brightness — drain them well. If you’re feeding picky eaters who pick out chunks, swap in tomato sauce. Same flavor, smoother result.
Sour Cream (1 cup)
Spread it over the warm meat — the heat makes it go on smoothly without tearing. Cold sour cream on cold meat is a fight. Do it while everything is still warm.
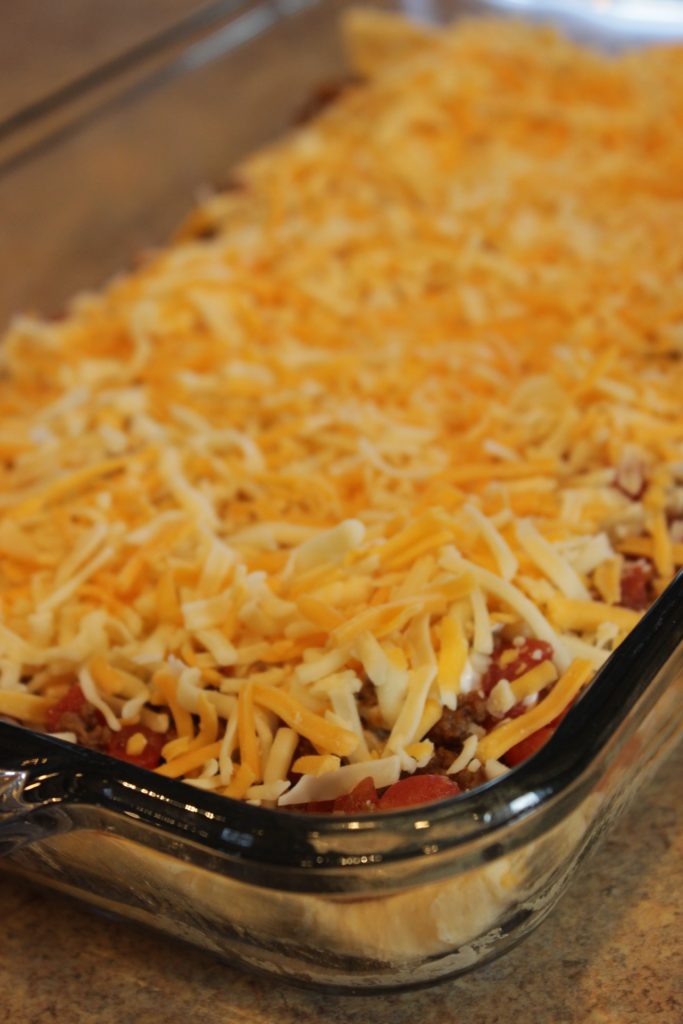
Shredded Cheese (2 cups)
Cheddar, Mexican blend, Colby Jack — use whatever’s already open. Cover edge to edge so every square gets an even melt.
Crushed Doritos or Tortilla Chips (1 to 2 cups)
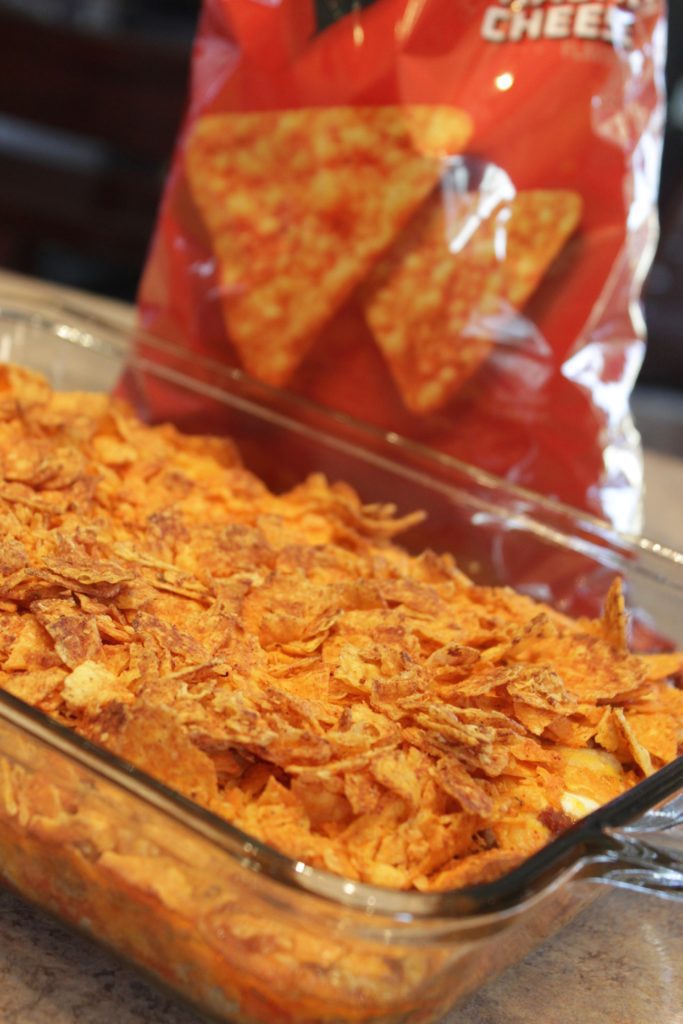
Nacho cheese Doritos are my first choice — they add flavor on top of crunch. Plain tortilla chips work but are less interesting. Crush them before adding and hold them back until the last 10 to 15 minutes to keep them from going soft.
Taco Seasoning
Use a full packet, maybe a little more. Season the meat in the pan, taste it, and fix it there. Once it’s baked in, you’re committed to whatever flavor the meat brings.
How to Make Taco Crescent Bake
Preheat the oven to 375°F and spray a 9×13 baking dish.
Open the crescent roll cans and press the dough into the bottom of the dish, pinching every seam shut as you go. You want one solid layer with no gaps.
Optional but worth it: pop the crust in the oven for 6 to 8 minutes before adding anything. It sets the base so it holds its shape when sliced. If you’re in a hurry, skip it — the dish still tastes great, just with a softer crust.
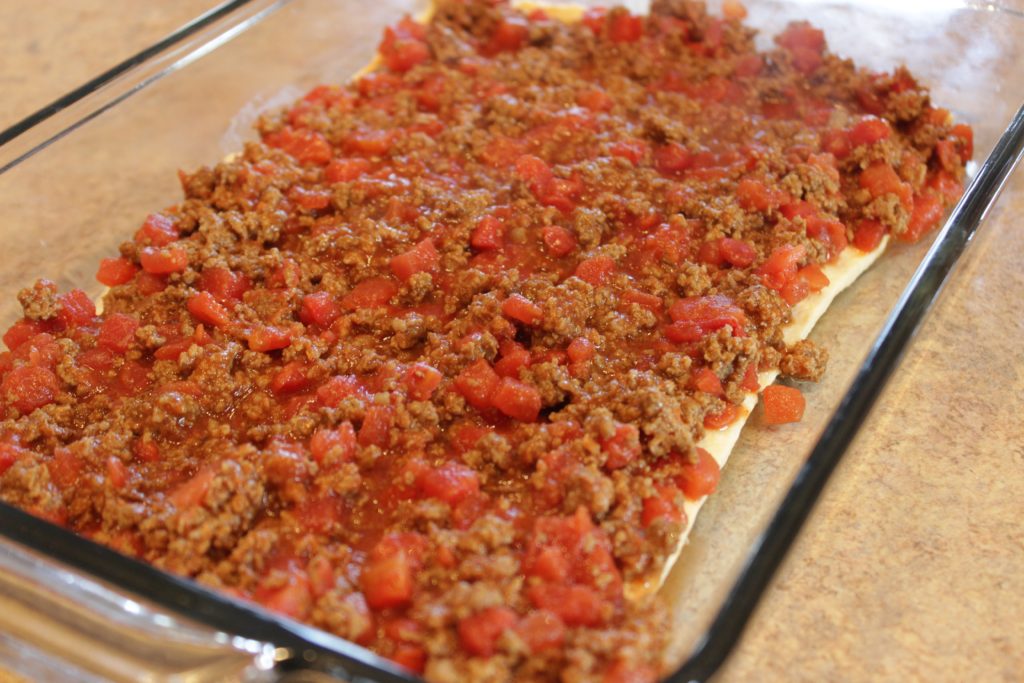
Spread the cooked taco meat in an even layer over the crust, all the way to the edges. Add the drained tomatoes over the meat. Spread the sour cream over the warm meat layer — it should go on easily if everything is still hot from the skillet.
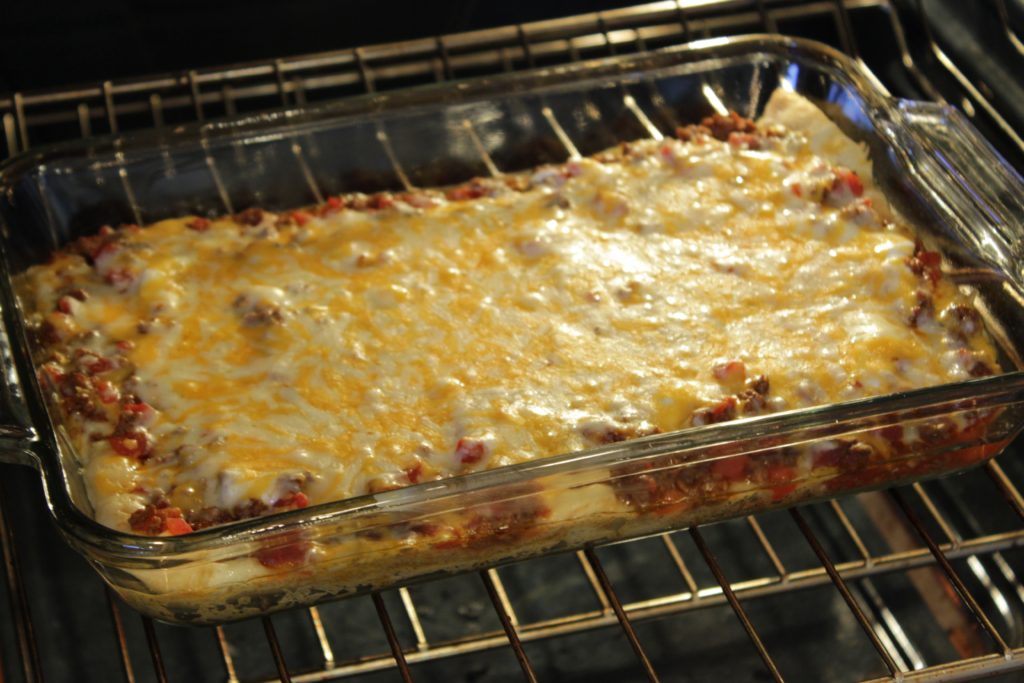
Top with shredded cheese, covering edge to edge. Bake for 15 minutes until the cheese is fully melted and the edges are bubbling.
Pull it out, sprinkle the crushed chips evenly over the top, and bake another 10 to 15 minutes until the chips are golden and everything is hot and bubbly through.
Let it rest for 5 minutes before cutting. This is the step people skip and then wonder why their squares look like a mess. Give it five minutes — it holds together completely differently after that short rest.

Taco Crescent Bake
Equipment
- 9×13 baking dish
- Skillet
- Spatula
Ingredients
- 2 cans crescent roll dough
- 2 to 3 cups cooked taco meat
- 1 can diced tomatoes drained, or tomato sauce
- 1 cup sour cream
- 2 cups shredded cheese
- 1 to 2 cups crushed Doritos or tortilla chips optional
Instructions
- Preheat oven to 375°F and spray a 9×13 baking dish.
- Press crescent dough into the bottom of the dish, sealing seams to make one solid crust.
- Optional: pre-bake crust for 6 to 8 minutes for a firmer base.
- Spread cooked taco meat evenly over the crust.
- Add drained tomatoes or tomato sauce over the meat.
- Spread sour cream over the warm meat layer.
- Top with shredded cheese.
- Bake for 15 minutes, until cheese is melted and edges are bubbling.
- Sprinkle crushed chips evenly over the top.
- Bake another 10 to 15 minutes, until hot and bubbly.
- Let rest 5 minutes before cutting into squares.
Notes
What to Serve With It (and the Toppings Worth Setting Out)
This is filling enough to stand on its own — a green salad is usually all I add on a weeknight. Something fresh cuts through the richness.
If you want to go full taco night, set out toppings after the casserole comes out: shredded lettuce, diced tomatoes, sliced olives, green onions, salsa, extra sour cream. Adds two minutes of work and makes it feel like more of an event.
For a potluck, bring it in the baking dish with a lid. It travels well, stays warm longer than you’d expect, and doesn’t need to be piping hot to still taste good. I’d rather bring this than almost anything else when I need to feed a crowd.
Four Things That Prevent Common Mistakes
- If your crust came out soggy: undrained tomatoes or a crust that never set. Pre-bake the crust for 6 to 8 minutes next time and drain your tomatoes more aggressively.
- If the chip topping lost its crunch overnight: crush a few fresh chips on top after reheating. Fixes it in 30 seconds.
- Want it more filling? Spread a thin layer of refried beans over the crust before the meat. Stretches the recipe further without changing the flavor much.
- If the top edges are browning too fast: tent loosely with foil for the last few minutes. The center needs the time more than the edges do.
Five Ways to Change It Up
Make it creamier. Stir a couple tablespoons of cream cheese into the taco meat before layering. Makes the filling richer and keeps things from feeling dry even after reheating.
Turn up the heat. Use hot taco seasoning, swap in pepper jack, or scatter sliced jalapeños on top before the final bake. Any of those adds real heat without touching the structure of the recipe.
Make it meatless. A can of black beans and a can of corn, both well-drained and seasoned with taco seasoning, work as a direct substitute for the meat. Still filling, still flavorful.
Use different dough. Crescent rolls are the classic. Pizza dough pressed thin or refrigerated biscuits flattened out can work in a pinch — the texture is different but the concept holds.
Swap the chips. Nacho cheese Doritos are my first choice. Plain tortilla chips, Fritos, or any salty crunchy chip in the pantry all work.
How It Keeps and Make-Ahead Notes
Leftovers keep covered in the fridge for up to 3 days. For reheating, the oven is better than the microwave if you want the texture back — cover with foil at 350°F until warmed through. If the chips lost their crunch, add fresh ones on top after reheating.
To make ahead: assemble everything up through the cheese layer, cover, and refrigerate. Add the chips and bake when you’re ready — just add a few extra minutes since it’s going in cold. The meat can also be cooked and seasoned a day ahead, cutting assembly time down to almost nothing.
Four Ways to Use What’s Left
Taco bake quesadilla. Scoop the filling (skip the crust) between two flour tortillas and pan-fry until crispy. The cheesy meat filling works perfectly and nobody will know it’s technically leftovers.
Loaded baked potato topping. Chop up a leftover square and spoon it over a hot baked potato. The meat, cheese, and sour cream are already there.
Taco bake scramble. Chop leftovers into chunks and fry in a skillet with a few eggs. Add salsa on top. One of the better breakfasts you’ll find in your fridge on a Thursday morning.
Wrap it. Warm a leftover square, wrap in a large flour tortilla with shredded lettuce and salsa. Works great for a packed lunch.
A Note on the Baking Dish and Seasoning
A glass 9×13 with a lid distributes heat evenly so the crust cooks through without the edges burning — and the lid means you store leftovers in the same dish.
For taco seasoning, Old El Paso original is consistent and not overly salty, which gives you control. If you want more depth, Siete’s blend is worth trying.
How to Make It Lighter
Use lean ground turkey instead of beef — season it exactly the same way. Most people genuinely can’t tell the difference once it’s baked in with cheese and sour cream.
Swap sour cream for plain full-fat Greek yogurt — it has the same tangy creaminess and spreads the same way. Use reduced-fat shredded cheese and baked tortilla chips instead of Doritos for the topping.
Taco Crescent Bake FAQ
Can I make this ahead of time?
Yes — assemble everything up through the cheese layer, cover, and refrigerate. Add the chips right before baking. Give it a few extra minutes in the oven since it’s going in cold. This is one of the better make-ahead dinners because it holds together well overnight.
Why is my crust soggy?
Almost always wet tomatoes or a crust that never got a chance to set. Drain your tomatoes more aggressively and try pre-baking the crust for 6 to 8 minutes before adding anything. Do both and the soggy crust problem goes away.
Can I freeze this?
Technically yes, practically I don’t bother — the crescent crust softens a lot after freezing and the chip topping obviously won’t survive. It still tastes fine, just not as good as fresh. Eating leftovers within 3 days is the better call.
What cheese works best?
I usually grab a Mexican blend because it melts evenly and has a little more flavor than plain cheddar — but honestly, use whatever’s already open in your fridge. This is not a recipe that depends on a specific cheese.
What can I use instead of Doritos?
Plain tortilla chips work fine. Nacho cheese Doritos are my first choice because they add flavor on top of crunch. If you’ve got a half-eaten bag of anything salty and crunchy in the pantry, this is a good way to use it up.
Do I have to pre-bake the crust?
No. On a Tuesday night when everyone’s already hungry, skip it and nobody cares. The pre-bake just gives you a sturdier base and neater squares — worth it for company, optional for a weeknight.
Other Easy Dinners Worth Making This Week
- Crockpot Lasagna
- Spaghetti Casserole
- Chicken Bacon Ranch Casserole
- Layered Taco Dip
- Crockpot Ravioli Casserole
If you make this taco crescent bake, leave a comment below and let me know how it turned out. And if you used leftover taco meat or changed anything up, I’d love to hear what you did.