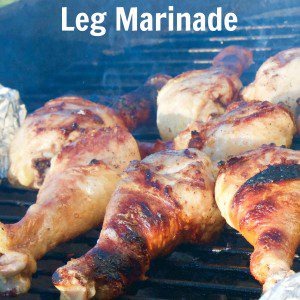
The Best Marinade for Chicken Drumsticks
I never made chicken drumsticks before, as I was just a chicken breast kind of person by habit. But after trying this recipe, I purposely started buying drumsticks. They’re better price-wise, remain juicer after being on the grill, and the marinade recipe will have you looking forward to serving these at your cookouts.
The marinade consists of olive oil, garlic, beer (cider vinegar works too!), and a simple blend of spices: cumin, paprika, cayenne, black pepper, and sea salt. The beer is key! It really helps break down the meat so it’s not tough, and most of the flavor cooks off. Plus, it helps the skin get that crunchy, deep-brown, charred look that makes it look like it came off the grill at a restaurant. The longer the better, but definitely go for a minimum of eight hours! Overnight is even better. Seriously. This is one of those recipes that the labor is in the waiting. A lot of the work is hands off, but the time makes the end product amazing.
What Makes This Recipe Reliable
- Beer is a great marinade base. The mild acidity tenderizes the meat without making it mushy the way straight vinegar can. The fermented flavor adds a subtle complexity that plain chicken marinades miss — and most of the alcohol cooks off on the grill, so what you’re left with is depth, not booze.
- Drumsticks are made for the grill. The higher fat content in dark meat means they stay moist even when cooked to higher temperatures. They’re far more forgiving than chicken breasts on a grill. You have a 10-degree window of error with drumsticks. With breasts, you have about three.
- The spice blend hits every note. Paprika and cumin for earthiness and color, cayenne for heat (not overwhelmingly — just a kick), garlic for depth. It’s balanced without being complicated.
- It’s an inexpensive meal. Chicken drumsticks are typically around 70¢ each. Nine drumsticks feed a family for roughly $6 in protein. Hard to beat on a weeknight or for a summer cookout where you’re feeding a crowd.
What Every Ingredient Actually Does
Most marinade recipes just give you a list of ingredients and move on. I want to explain the mechanics of each individual ingredient. Once you understand the why and how, you can easily modify the recipe.
Beer — The Tenderizer and Flavor Builder
Beer acts as a marinade acid, and is a gentler acid than vinegar or citrus juice, which is important when talking about chicken. Marinating in a strong acid like lemon juice or white vinegar can cause denaturation of outer layers of the meat. This makes the outer layers look opaque and can make the meat have a mealy texture. Beer’s lower acidity allows you to marinate for 8, 12, or even 18 hours without negatively impacting the meat’s texture. Beer also contains enzymes which work to break down muscle fibers. This is part of the reason the finished chicken is so tender throughout.
When it comes to flavor contribution, beer adds a hint of malty sweetness and light bitterness. You would never be able to pinpoint it, but it would be missed if it wasn’t there. The beer flavor is not overpowering. After over 30 minutes on the grill, the alcohol will have long since evaporated. What is left is a complexity that simple oil and spice marinades lack. With a lager, you get a clean, neutral flavor. A pale ale will add a little more hop bitterness which works nicely with the cumin. A wheat beer contributes a slight yeastiness and a softness. They all work.
If you are skipping beer, you can use apple cider vinegar instead — use ¾ cup since it is sharper and more assertive. This will shift the flavor profile slightly toward tangy. It will still be good, just different. If you have white wine or white wine vinegar, you can also use those diluted 50/50 with water.
Olive Oil — The Carrier and the Crisp
When you use olive oil in a marinade, it does two important things. First, it helps transport the fat-soluble flavor compounds (aka the seasonings) into the meat. Additionally, it makes sure the skin of the meat crisps up on the grill. If skin is in contact with something it could stick to, like water, it will not crisp up. The compounds in cumin, and the other spices, are not water soluble and therefore require oil to do anything. Oil also helps with flavor penetration because it moves more easily than vinegar in a traditional marinade and therefore oil-based marinades always outperform oil-and-vinegar combinations.
It may sound like a lot because it’s half a cup, but that’s divided across nine pieces of chicken. Each drumstick will get a thin edge coat. This will help the chicken perform well on the grill and not make the chicken greasy on the plate.
Garlic — Non-Negotiable Depth
Two cloves of fresh garlic, minced. Not garlic powder — fresh. When garlic is minced and left to sit in an oil marinade, it starts to release its sulfur compounds which, over time, causes the garlic to mellow in comparison to the sharpness that is present in raw garlic. After 8+ hours of marination, the garlic flavor infused into the chicken skin is rich and savory, not pungent. It is one of those situations where fresh garlic and garlic powder are two completely different things. Powder is great in a pinch, but the end result is not the same.
Finely mince it — larger pieces can burn on the grill and turn bitter. Fine mincing means it sticks to the skin and caramelizes instead.
Cumin — Earthy, Warm, Unmistakable
Cumin is the secret ingredient here that gets people asking what the blend is. Its warm, slightly, smoky and nutty flavors are a natural match with grilled meat. It’s bold, but will not overwhelm the blend. It makes all the other spices shine. For nine drumsticks, half a teaspoon is the perfect amount. If you go heavier, it will just taste like taco seasoning. This amount is present, but well balanced.
Paprika — Color and Mild Sweetness
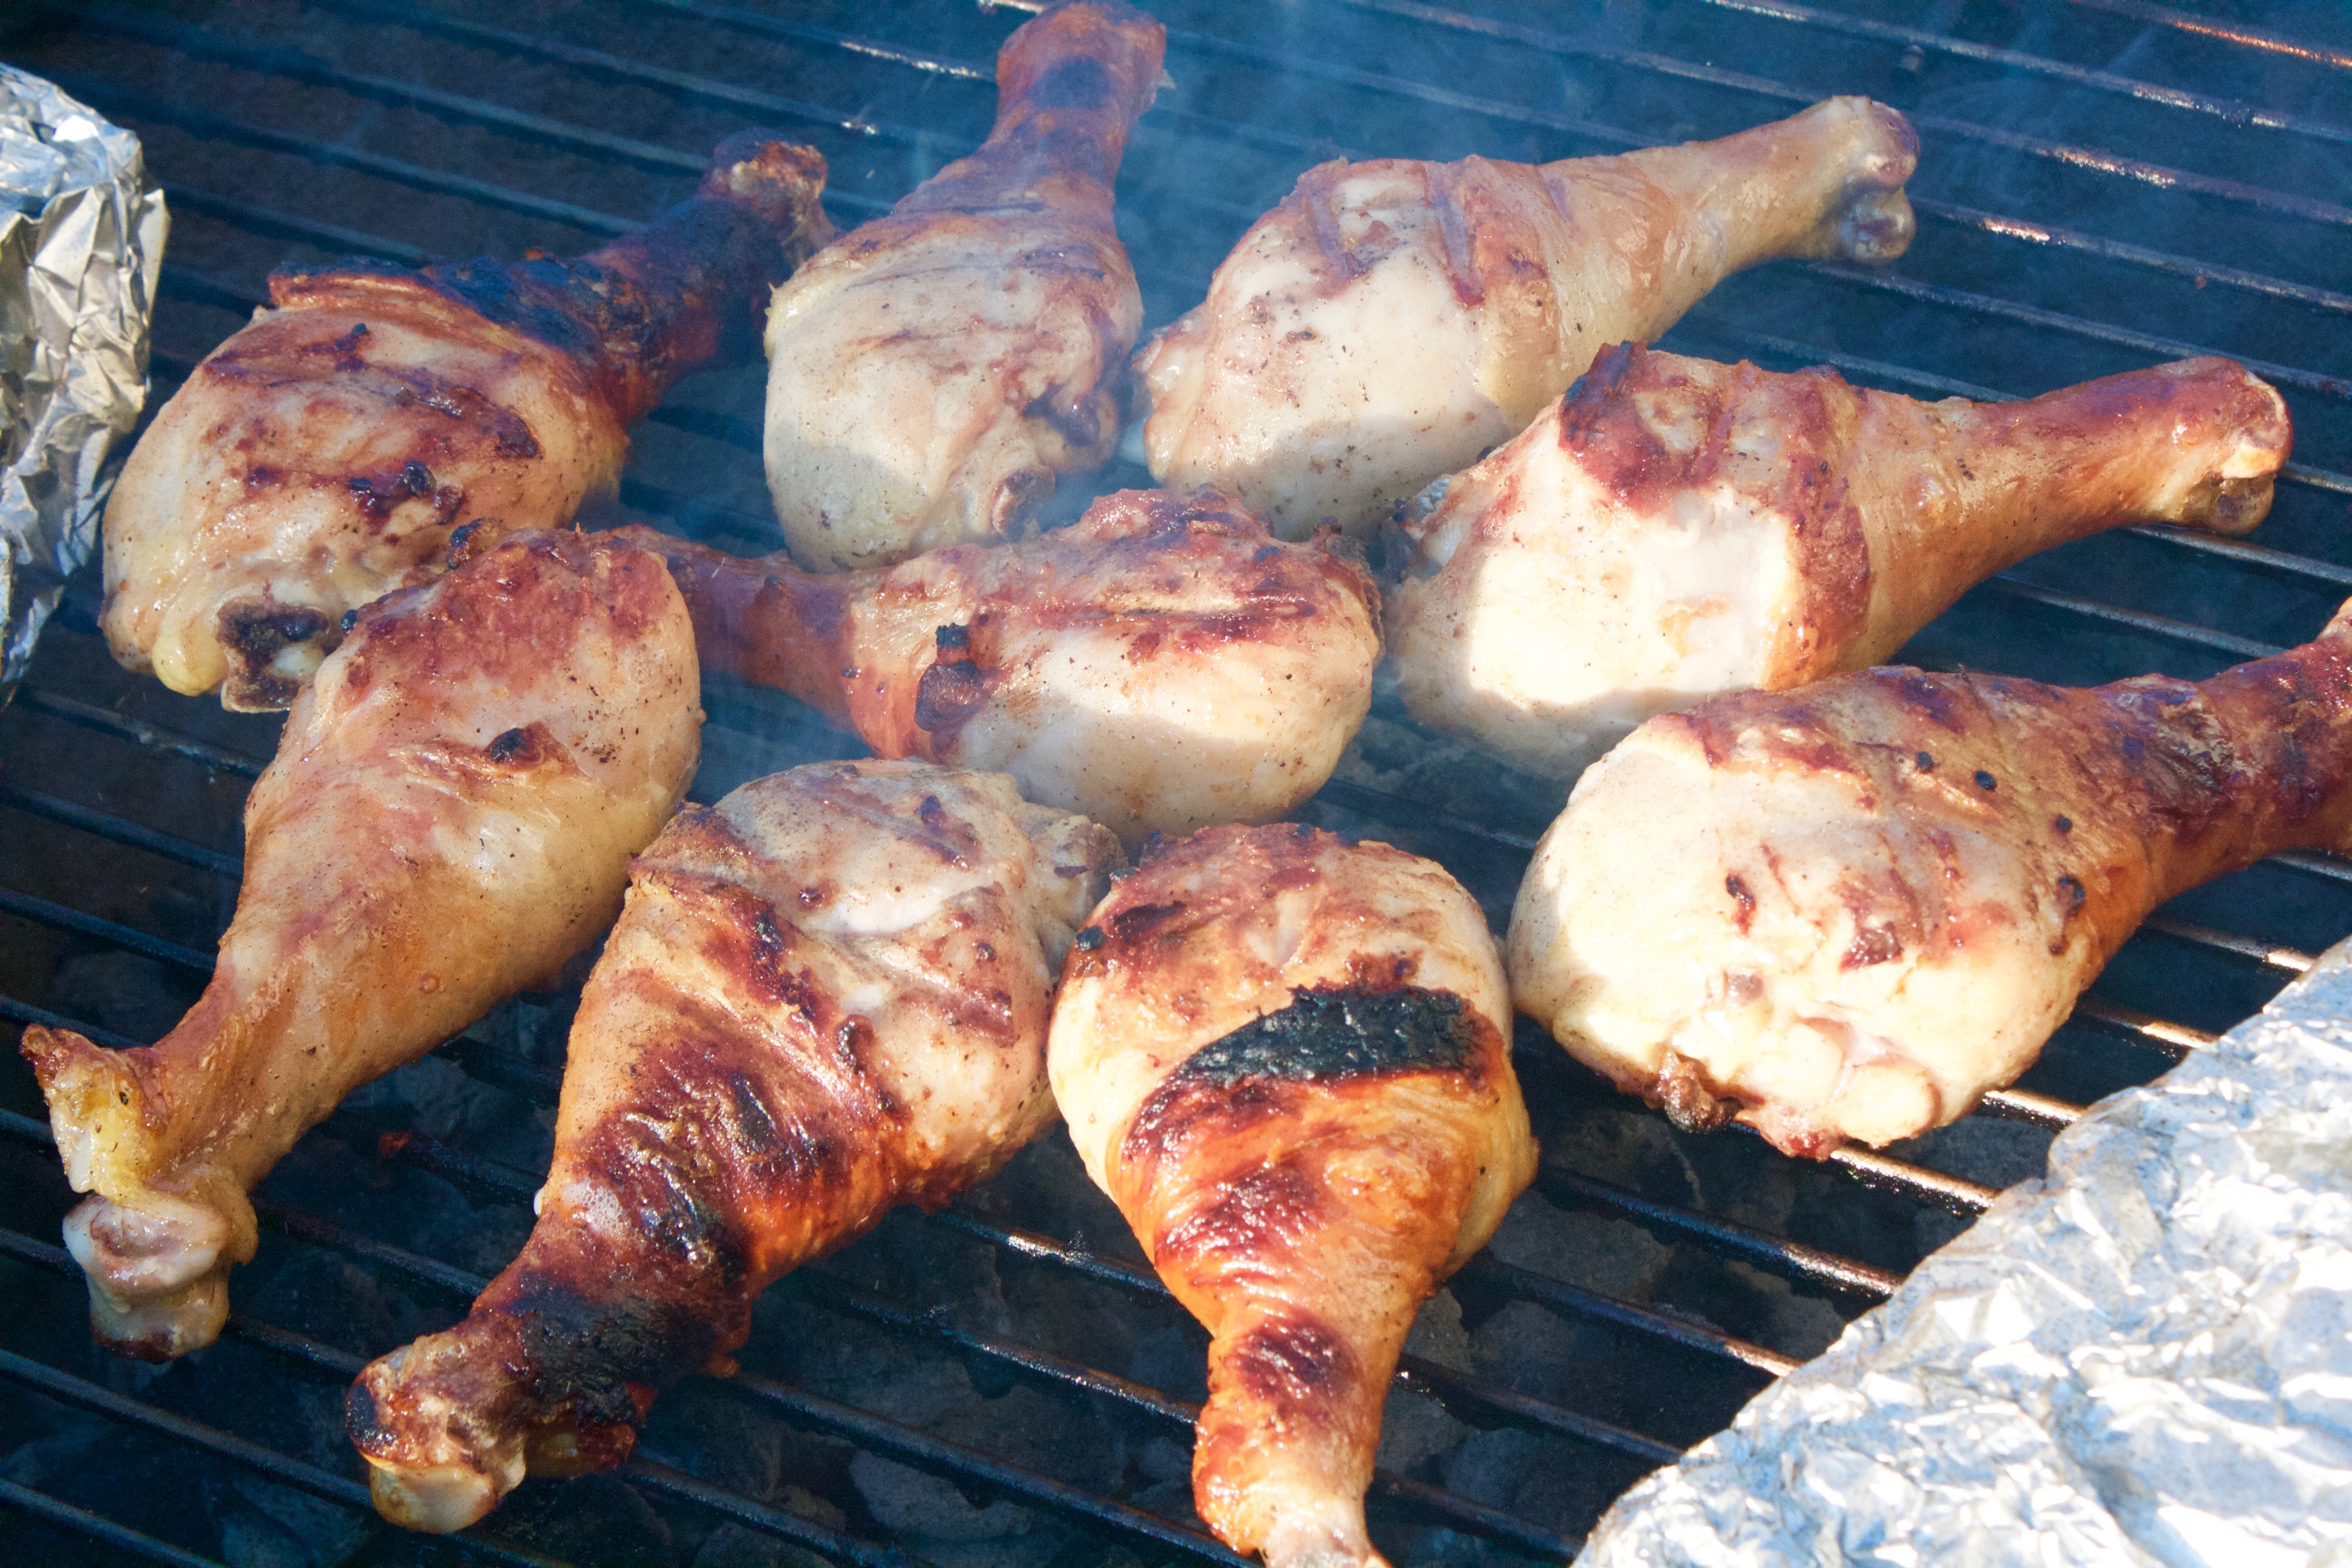
Sweet paprika does two things; it adds flavor, with a mild sweetness that balances out the cumin, and also adds color. Paprika is mainly responsible for the deep mahogany-orange color on the skin that develops after grilling. It’s not spicy, so it’s more about warmth and appearance rather than heat. If you want a little more smokiness, a good substitute is smoked paprika. It will change the flavor to something that resembles a smoked flavor, which is definitely a good thing when grilling.
Cayenne — Heat With Purpose
A quarter teaspoon of cayenne pepper for nine drumsticks is definitely on the mild side; it will feel more like a gentle warmth than a noticeable spice. If you are heat-sensitive or are cooking with small children, feel free to leave it out. For those that appreciate a bit more heat, feel free to increase it to ½ a teaspoon. The other ingredients are strong enough to handle more cayenne and not lose balance.
Sea Salt and Black Pepper — The Foundation
Whether you are marinating or brining, salt will not only season the surface but will also draw moisture from the meat through osmosis and result in seasoning the meat from the inside out. In the case of the salt, eight hours will do enough work on a drumstick that it will result in developing a good amount of flavor. Black pepper will also add a nice little kick to the meat and will help to enhance the other spices, albeit in a way that will not be identifiable. Please do not skip any of this.
What to Know Before You Start
Keep in mind that with this recipe you need to plan ahead, as the fastest possible marinade time is 8 hours, but even longer is preferable. I typically prepare all the ingredients the night ahead and allow the drumsticks to sit in the marinade and in the fridge until it’s time to grill the next day. The difference the marinade time makes is huge. The 8 hour chicken will taste very different than the 15 hour chicken. The longer your chicken sits in the marinade, the more the flavor will penetrate even to the bones. You want to ideally end up with chicken that taste seasoned all the way through instead of just on the surface.
While the chicken sits, stir the chicken in the marinade a few times. The pieces at the bottom get more exposed; flipping them makes sure everything gets good coverage. I normally flip them if they went in the night before when I get up in the morning.
I like to use gallon-size freezer bags for marinating because you can massage the marinade around the chicken and not make a mess, and you can lay the bag in the fridge so all the pieces are submerged in the marinade. Deflate as much air as you can before sealing the bag so that all surfaces get marinated. A deep baking dish with plastic wrap over the top works as well, but bags are more convenient to move and flip.
Ingredients
Makes enough marinade for 9 drumsticks
- 2 garlic cloves, minced
- ½ cup olive oil
- 1 can or bottle beer (or substitute ¾ cup apple cider vinegar)
- 1 tsp sea salt
- ½ tsp black pepper
- ½ tsp cumin
- ½ tsp paprika
- ¼ tsp cayenne pepper
- 9 chicken drumsticks
How to Make It
Step 1: Make the Marinade
In a bowl or a large measuring cup, whisk together the olive oil, beer (or cider vinegar), minced garlic, salt, pepper, cumin, paprika, and cayenne until combined. It’s fine that the oil and beer won’t completely emulsify. You want the spices evenly distributed throughout the liquid, so every drumstick gets a good coating. About 30 seconds of whisking should do.
There will be a strong smell of garlic and beer from the marinade at this point. Most of that sharpness will mellow during the marinating time and grilling.
Step 2: Marinate the Chicken
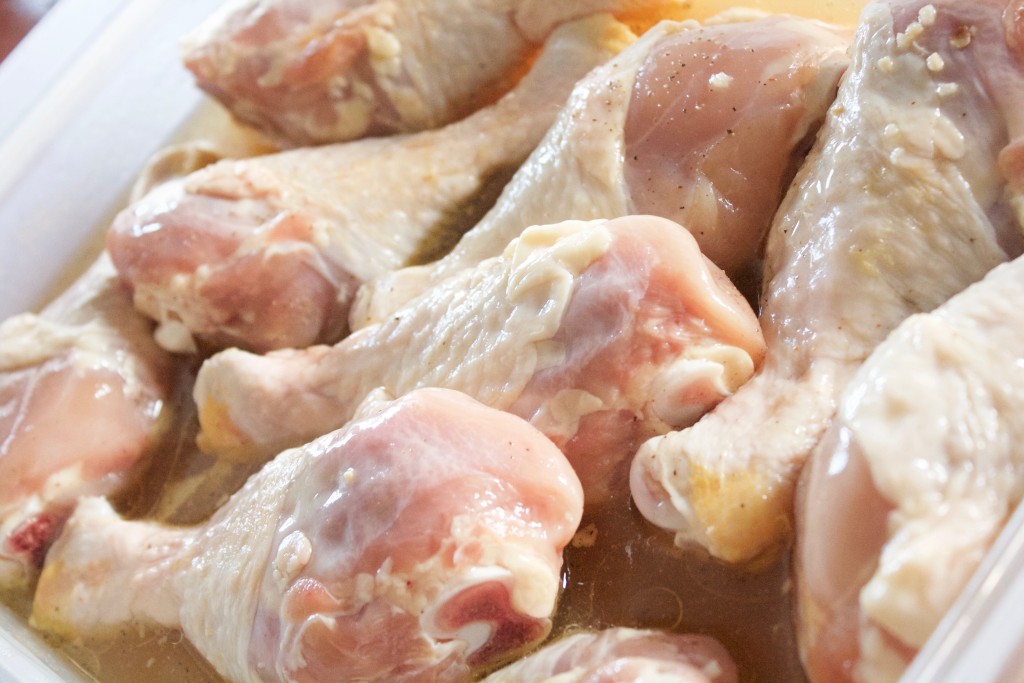
In a deep container or gallon-size freezer bag, place the drumsticks. Pour the marinade so all pieces are covered. To seal, flip, and refrigerate for a minimum of 8 hours. Move or flip the chicken once or twice as it marinates.
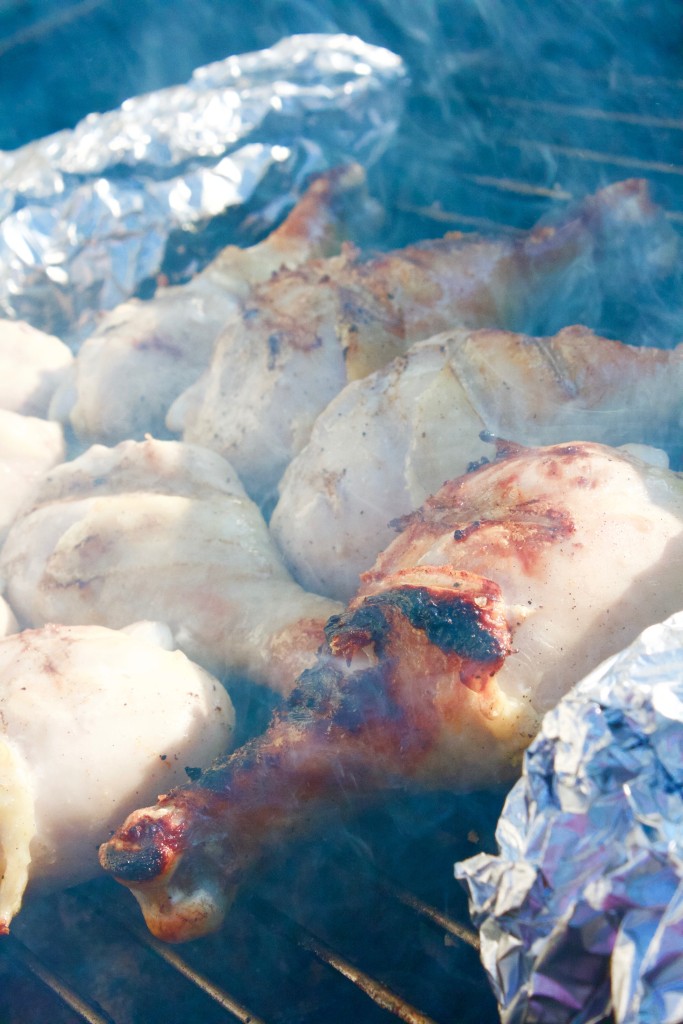
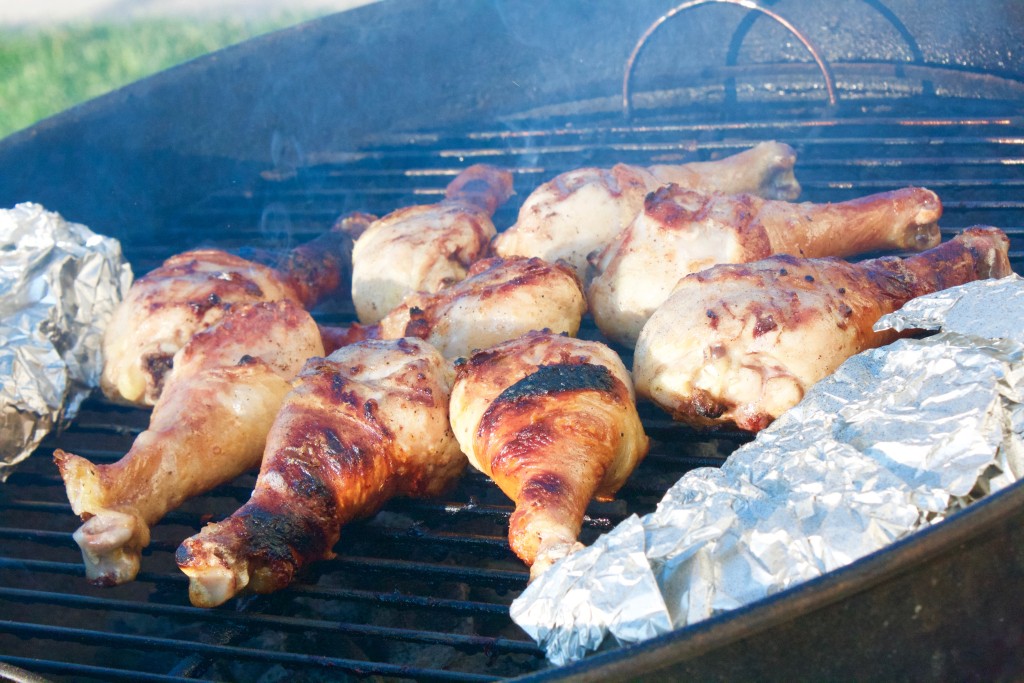
What chicken properly marinated looks like: The chicken skin’s color will show slight orange sheen from the oil, and after more than 8+ hours, it will start to develop a slight gloss finish from the oil. The flesh side (if any skin has pulled back) will appear firmer and more opaque than the raw chicken — that’s the acid doing its mild tenderizing work on the surface. As for the marinade in the bag, it will likely deepen to an amber-orange color, and it’s normal for there to be some foamy scum from the beer.
Take the chicken out of the fridge about 20-30 minutes before you plan to grill it. Starting with cold chicken from the fridge makes it so the outside overcooks before the inside reaches temperature. Letting it rest at room temperature for a bit helps the chicken cook more evenly from edge to center.
Step 3: Prep the Grill
The best way to cook drumsticks is to set up a two-zone grill. For gas grills, set one side to medium, and leave one side off (or set on low). For charcoal grills, pile the coals on one side and keep the other side empty. This way, you have a direct heat zone to burn the skin and an indirect heat zone to finish cooking the chicken without burning the exterior.
If your grill has a thermometer, aim for 375°F to 400°F on the direct side for medium heat. Paprika and garlic will burn on the skins at high heat just as the insides are getting cooked. Medium heat will provide enough time for the skin to get the nice even browning and crisp without burning.
Make sure to oil the grates prior to adding the chicken. Cold skin can stick to the grill grates and therefore even oil-based marinades won’t deter sticking to grates during the first few minutes of cooking A small wipe using paper towel and oil will do the trick.
Step 4: Grill the Drumsticks
After removing the drumsticks from the marinade, shake off the excess and lightly pat them with a paper towel. Note that the goal is for the chicken to have a light coating of marinade, not be dripping. If there is too much liquid on the chicken skin, it will cause steaming instead of crisping. As a reminder, this is the last time you will be handling the marinade.
Put the drumsticks over the side of the grill that has direct heat. You should hear a nice sizzling noise when the drumsticks hit the grill. If Absolutely no sizzling noise, then that means the grill probably isn’t hot enough. Let the drumsticks sit there without touching them for a good 8-10 minutes. I understand that there is an urge to touch the drumsticks and move them around, but there is no need to touch the grill. The skin will stick to the grill for a bit, but it will naturally come off during the cooking process and leave a nice, clean grill mark. The skin will tear if you try to flip the drumsticks too early.
After 8-10 minutes, attempt to gently rotate one drumstick. If it does not want to budge, wait 2 additional minutes before trying again. If the skin separates and lifts easily, go ahead and flip all the pieces. Then repeat the process for the second side.
Here you can shut the lid on the grill, as the chicken will finish cooking without the danger of burning. The heat is going to flow concavely to your chicken and slowly increase the temperature of the insides. The chicken will need about 10-15 minutes on the heat depending on the size of the drumsticks.
Typically, the total grilling time ranges from 30 to 35 minutes, although larger drumsticks from larger birds may need 40 minutes. Smaller drumsticks may be done cooking as soon as 25 minutes.
Step 5: Check the Temperature
This is when a meat thermometer is useful in the kitchen. The only way to tell chicken drumsticks are done is to have a trusted instant-read thermometer because they can look done when they are not. Brown skin and clear juices run long before the insides reach 165°F, especially around the joint where the meat is thickest.
Be sure to put the thermometer in the meaty middle section of the drumstick, avoiding the bone or joints. The bone and meat cook at different rates and you’ll get a false reading. You want to hit the target temperature of 165°F. Once the meat hits that temperature, pressing it should feel firm but not tough. You should also see clear juices, and the flesh should not have a translucent appearance.
Don’t make assumptions. Drumsticks appear to be finished cooking at 155°F. The additional 10°F is significant in regards to food safety. Plus, a reliable thermometer will let you know in about 2 seconds where you stand.
Helpful Tips for the Best Results
- Pat the drumsticks dry before grilling. After pulling them from the marinade, a quick pat with a paper towel removes surface liquid and helps the skin crisp up faster instead of steaming on the grate. The oil coating from the marinade is enough — you don’t need the extra liquid.
- Start over medium, not high. High heat will char the paprika and garlic on the outside before the inside is cooked through. Medium heat gives you that slow browning that crisps the skin without burning it. Patience here pays off in a big way.
- Don’t move them constantly. Let each side sit for 8–10 minutes before turning. The skin will release naturally from the grates when it’s ready to flip. This is one of those things where doing less gets you a better result.
- Two-zone setup is your friend. Direct heat to build the crust, indirect heat to finish cooking the interior. This gives you crispy skin and fully cooked meat without burning the outside. If your grill only has one zone, reduce to medium-low and add a few minutes to the cook time.
- Use a meat thermometer. Drumsticks look done before they are. 165°F at the thickest part (not touching the bone) is your target. A good instant-read thermometer removes all the guesswork.
- Let them rest 5 minutes before serving. Just like a steak, chicken benefits from a short rest after coming off the grill. The juices redistribute instead of running out when you cut in. Five minutes is enough.
- Works on chicken thighs too. Bone-in thighs marinate and grill the same way. Just add a few minutes to the grill time since thighs are typically thicker.
- Add Montreal Chicken Seasoning for extra depth. My personal move is to finish with a light dusting of McCormick Montreal Chicken Seasoning right before the chicken comes off the grill. It adds a hit of coarse salt, garlic, and herbs that plays perfectly with the beer-and-spice marinade. Completely optional, but it’s what I do every time.
Storage and Make-Ahead
**Chicken marinates for up to 24 hours in the fridge**. Any longer than that, and the acid will alter the surface texture, creating a mushy surface. **If you can plan that far ahead, 12-18 hours is a good marinating time.**
Are you wondering, “Can you freeze marinating chicken?” The answer is yes. You can place marinating chicken drumsticks in a freezer bag, seal it, and freeze it. As the chicken thaws in the fridge (after moving it from the freezer for a good 24 hours), it will continue to marinate. This can be a really great meal prep hack. Just prepare everything over the weekend, freeze it, then the night before you want to grill, move it to the fridge to thaw.
Leftovers: You can store cooked drumsticks in the fridge for 4 days. For the best reheating results, use the oven method: set the temperature to 350°F, and heat for 10 to 12 minutes to crisp up the skin. You can use the microwave, but it is not recommended, as the skin will be softer. There is nothing wrong with eating the cold, leftover drumsticks. It is also perfectly fine to eat uncooked drumsticks directly from the fridge. It’s just an opinion, but I may have done this once or twice.
Drumsticks that are cooked can be frozen. Make sure to let the meal cool first. After cooling, place them in an air-tight container. They can be frozen for 3 months. To eat, take them out of the freezer and let them thaw overnight in the fridge. Heat in the oven for 15-18 minutes at 350 degrees.
What to Serve With These
These drumsticks are good enough that the sides don’t have to do much. Here’s what I have put with them over the years:
- Corn on the cob — grilled right alongside the chicken if you have the grate space. Brush with butter and salt and they need about 10 minutes on the grill, so add them partway through the chicken cook time.
- Coleslaw — the cool, creamy crunch is a perfect contrast to the spiced, charred skin. A simple mayo-and-vinegar slaw is all you need.
- Potato salad — classic backyard combination. The starchy richness of potato salad balances the savory, spiced chicken well.
- Ramen noodle salad — sounds unexpected but it’s a crowd-pleaser, especially for summer cookouts. The crunchy noodles and light dressing work surprisingly well with grilled chicken.
- Baked beans — smoky and sweet against the cumin-heavy spice blend on the chicken. One of those combinations that tastes like it was planned.
- Grilled vegetables — zucchini, bell peppers, and red onion on the grill at the same time. Slice thick, oil, salt, and let them go on indirect heat while the chicken finishes.
Frequently Asked Questions
What kind of beer works best?
Lager, pale ales, wheat beers, or amber ales will all work for this, and I usually use what is open in the fridge, which is often a lager or light ale. If you use lager, it will give the most neutral result, allowing the spice blend to shine. Pale ales will add a nice hoppy bitterness that will compliment the cumin. Wheat beers will add a nice soft quality that is pleasant and yeasty. If you want something bolder, a brown ale or stout will add a richer, more complex flavor that is worth a try. The one thing you want to stay away from is anything that is heavily flavored. Fruited beers, sours, and anything that has strong flavors add too much and will come through in a way that is not desirable.
If you prefer or have non-alcoholic beer, that works perfectly fine as well. The tenderizing occurs due to the slight acidity and the enzymes but not due to any alcohol.
Can I bake these instead of grilling?
Sure. Line a baking sheet with raised edges with a wire rack in the middle. Put the marinated chicken drumsticks on the wire rack. The wire rack is important so air can circulate under the drumsticks as they bake so the bottoms don’t steam. Bake the chicken in an oven set to 425 F for 35 to 40 minutes. Make sure to flip the chicken drumsticks half way. The high temperature helps to get a nice color and texture to the chicken skin so it compensates for not having a direct flame. You can also finish with an extra 3 to 5 minutes under the broiler if you want a little extra crispness on the chicken skin. Watch it closely though because chicken skin with paprika can go from golden brown to burnt really quickly under the broiler. Always use a thermometer to check for doneness. The chicken should be removed from the oven when it reaches 165 F.
Is the cayenne going to make these too spicy for kids?
Considering that one recipe calls for ¼ tsp. and serves nine, it’s certainly on the mild side — more like a gentle background warmth than anything spicy. The heat from the cayenne will certainly be overshadowed by the flavors of the paprika and salt. Each of my kids have eaten these with no complaints, nor have they ever mentioned anything about the heat. If you want no heat at all, just don’t add it. The rest of the marinade is more than flavorful enough to stand on its own. For those cooking for a mixed group, where some want heat and some plain, it’s easy to do: just make a half batch without cayenne and a half batch with it, using the same marinade base.
Can I use this marinade on chicken breasts?
You can, but limit the time to 4 to 6 hours. Due to the lower fat content, the acid in the marinade will work faster on the muscle fibers. Marinating for over six hours can lead to a mealy, grainy, and unappetizing texture. The flavor will be great, but the surface will suffer. Breasts will also be done faster on the grill. Depending on your heat setting, the internal temperature will reach 165°F in 20 to 25 minutes. Keep a close eye on them and be sure to use your thermometer.
Why do my drumsticks stick to the grill?
Two of the most common causes: the grates were not prepped with oil, or you attempted to flip far too early. See, oil the grates before putting the chicken on; even with an oil-based marinade, the chicken will need a little help in the skin from the first couple minutes. As for the rest, just don’t try to touch it. The skin will stick for a bit while it does it’s thing, and once it’s ready, you’ll find it will naturally lift off from the grill. If you sense some resistance during your attempted flip, you guessed it — it ain’t ready. Leave it alone for another 2 minutes and try again. Tearing the crust that you worked so hard to build is not a cute look, so don’t force a flip.
How do I know when they’re really done?
The only dependable answer is 165° F on a meat thermometer, measured in the thickest section of the drumstick, away from the bone. Cut the meat and look for visual signs — clear (not pink) juices, fully opaque, no translucency near the bone, skin that’s a deep, golden brown, and crunchy. Note that some of these indicators can be misleading, so relying on temperature is the best option. Drumsticks can look done on the outside but be underdone near the joints. Measure the thickest point of the meat (don’t touch any bone) and trust the reading.
Can I make the marinade without alcohol?
Definitely! You can use ¾ cup apple cider vinegar. It is more acidic than beer, so the tenderizing will still happen, and it also provides a slight tang which marries well with the spice blend. Non-alcoholic beer can be used in the same amount as regular beer and will yield almost the same results. Alternatively, you can use an equal mixture of chicken broth and apple cider vinegar (½ cup each). The broth provides a savory baseline that replaces some of what beer brings to the party.
Can I grill frozen drumsticks?
Not with this recipe — thawed chicken is required for the marinating step, and with a recipe that is dependent on marinade, you should never grill from frozen. Grilling frozen chicken leads to overcooked outsides and undercooked insides. Thaw in the fridge overnight, then marinade. If you’re short on time, cold-water thawing in a sealed bag (change the water every 30 mins) is 2-3 hrs for drumsticks.
Related Recipes