

CHRISTMAS COOKIES RECIPES: EASY CUTOUT CHRISTMAS COOKIES
Cutout Christmas cookies are the epitome of all things holiday cheer. Let’s get festive with this easy recipe for a holiday classic.
I’ve made these Sugar Cookies for the holidays for as long as I can remember. People ask me for the recipe every year.
There is a few tablespoons of orange juice in them and it’s amazing what that does to elevate the flavor of sugar. You don’t really taste orange per se, but they are so good.
WHY THIS DESSERT WORKS
- There are SO MANY Sugar Cookie recipes out there, why make them from scratch? Well, in my opinion, store-bought are nothing like homemade sugar cookies, especially during the holidays. These soft and chewy Sugar Cookies have a crisp edge making them PERFECT for cutouts.
- Orange juice. Trust me, this will take these cookies over the top.
- The frosting is quick and easy. It’s made with butter, powdered sugar and a splash of milk and is ready in no time. You can either spread or pipe.
WHAT TO KNOW BEFORE YOU START
- This recipe can be intimidating if you’ve never made them before, but trust me, it’s easy. You can spread the task out over two days to make it even easier on yourself. Make the cookies one day, decorate/frost the next. It’s easier to decorate cooled, firm cookies.
- Chilled cookie dough is KEY. Make sure to give them at least 2 hours, preferably overnight. If you attempt to roll out the cookie dough warm it will be sticky and tear. It’s MUCH easier to roll out cold and will hold their shape much better when cut out. Chilled dough also makes them bake up perfectly flat and will help them from spreading.
- Cookies will be done when edges are just barely turning golden brown and the centers still look a little underdone and soft. Trust me, if you cook them to done in the oven, you’ll have cookies that are crunchy and hard at room temp. They’ll continue to cook on the baking sheet as they cool.
- Divide dough into 4 equal parts to make it easier to handle. Makes a LARGE batch.
Timing Plan: Day 1: Make the dough and put it in the refrigerator. Day 2: Roll it out, cut, bake, and cool.
Frost that day or the next.
INGREDIENTS YOU’LL NEED
FOR THE COOKIE DOUGH
- 1 cup of butter, softened, NOT margarine – real butter makes all the difference. It creams nicely.
- 1 cup of sugar – regular, granulated
- 2 eggs – preferably at room temp.
- 3 cups flour – Make sure to spoon the flour into your measuring cup and level it off. If you pack it down, you’ll use more than you think. All purpose.
- 2 Tbsp orange juice
- 1 tsp vanilla extract
- 1 tsp baking powder – gives it a little oomph without messing up the shape.
- 1/2 tsp salt
FOR THE FROSTING
- 2/3 cup butter, softened, NOT margarine – real butter makes all the difference. Gives it more of a body and tastes better when it’s done.
- 4 cups confectioners sugar – sifted, especially if it’s a little clumpy.
- 2 Tbsp milk – use more or less depending on the consistency you’re looking for
- 1 tsp vanilla
- food coloring – I’ve found the best is the gel kind, because you get vibrant color without watering down your frosting.
HOW TO MAKE CUTOUT CHRISTMAS COOKIES
STEP 1: MAKE THE DOUGH
Mix the butter, sugar, and eggs together in a large mixing bowl with an electric mixer or, better yet, a good stand mixer, which is expensive, but will pay for itself in the end.
Mix on medium for 2 minutes. Should be nice and light and fluffy, and will lighten in color.
Add the flour, orange juice, vanilla extract and baking powder. Mix on low speed just until combined.
The dough will be very soft and should come together and pull away from the sides of the bowl. If it is too sticky, add more flour 1 tablespoon at a time.
STEP 2: ROLL AND CUT
Divide dough into 4 parts and shape into discs. Wrap well with plastic wrap and refrigerate at least 2 hours, or make these the night before.
It will be much firmer and easier to work with after chilling. Roll out each quarter of dough on a floured surface about 1/4″ thick.
Cut into shapes. Arrange cookies 2″ apart on parchment or silicone-lined baking sheets.
Baking pans make ALL the difference with these cookies. Make sure to line your pan with parchment or silicone.
If you don’t the bottoms get too dark and they’ll have a crispy edge with a still-soft center.
STEP 3: BAKE
Preheat oven to 400F when you are ready to bake.
Bake at 400°F for 7-8 minutes. Edges will be just barely set, the center will appear to be just barely underdone.
Let them stay on the pan for 5 minutes before transferring to a wire rack to finish cooling. When cooled, they’ll be very soft with a slightly chewy center but will be sturdy enough to frost.
If the cookies are cracking or falling apart when you pick them up, they’ve most likely been in the oven too long or the temp is too high.
STEP 4: MAKE THE FROSTING
Add the butter at room temp to the bowl of your stand mixer and beat until smooth on medium speed. Add the confectioners’ sugar and milk and cream on medium-high speed for about 2-3 minutes until light, fluffy, and creamy.
Add the vanilla and mix for another 30 seconds.
HELPFUL TIPS
ALWAYS USE PARCHMENT OR A SILICONE MAT – Silicone baking sheets help prevent overbaked bottoms – they help the cookies bake more evenly, rather than cooking through before the tops are done. You can use parchment, but I’ve found that silicone sheets are much easier to work with.
I love this 2-pack of silicone baking mats (affiliate link). They’re the right size to cover my half-sheet pans and they’re so easy to clean.
You’ll use them constantly. They last for years.
DON’T SKIP THE CHILLING STEP – Cookies made with warm butter will melt into blobs in the oven. It’s important to use cold, chilled dough to ensure that the cookies will bake up perfectly.
Be sure to give the dough a minimum of 2 hours in the fridge before rolling. If your kitchen is particularly warm, pop the sheet of cutouts in the fridge for 10 minutes before baking.
You’ll be glad you did.
WORK WITH ONE DISC AT A TIME – Leave the remaining 3 discs covered and refrigerated. If your discs start to feel warm or soft, wrap them up and pop them back in the fridge for 10 minutes to firm up again.
RE-ROLL SCRAPS ONCE – Gather up the cookie dough scraps and roll them out one more time. Don’t roll them out more than one additional time – cookies rolled more than once turn out tougher than other cookies and aren’t as delicious.
If you don’t use it all up the second time around, just bake the remainder into plain (non-cutout) cookies.
FOR PIPED FROSTING DETAILS – It’s easiest to pipe on frosting details if you divide up your frosting into different, smaller bowls. If you’re coloring them, I highly recommend gel-based food colorings – add a teeny tiny amount with a toothpick at a time and mix thoroughly, repeating the process as necessary.
Frosting tends to crust over very quickly, especially in a warm kitchen, so it’s best to add any coloring or flavorings and decorate right away. You can use a piping bag or a zip-lock bag with one of the ends cut off to decorate with frosting.
If you’ll be doing a lot of detailed piping, you may want to hold back one teaspoon of the milk. The frosting will pipe up a little easier with a stiffer consistency.
- When rolling out the cookie dough, try to work quickly and use as little flour as possible. Using too much and taking your time can result in a really tough cookie.
- You can leave baked and completely cooled cookies without frosting for a few days, making sure they’re in an air-tight container.
COOKIE CUTTERS AND DECORATING TOOLS
For best results, use cookie cutters in good condition. Old, dulled cutters will be more challenging to work with and won’t yield as nice, professional-looking edges.
If you’re looking to invest in some cute cutters, consider picking up a set with lots of shapes and sizes.
Pressing colorful sprinkles into the tops of the cut-out cookies before baking is another adorable and much simpler option. The sprinkles will hold their spot during baking and emerge with a beautifully toasted finish.
If you’d like to decorate these sugar cookies with frosting, I recommend a basic, easy-to-pipe buttercream frosting recipe to decorate with. But, while royal icing, which is made with egg whites or meringue powder, will yield a firm, professional finish when dry, making them stackable, I’ve found that it can be intimidating for newbies.
If you’re looking to brush up on your royal icing skills before tackling a project, practice beforehand.
VARIATIONS AND SUBSTITUTIONS
CAN I USE A DIFFERENT JUICE INSTEAD OF ORANGE JUICE? Yes.
The recipe doesn’t need that distinctive orange juice flavor, as it’s the acidity of the juice that enhances the rest of the flavors. Feel free to substitute an equal amount of lemon or apple juice, as lemon will add a nice brightness.
TRY ALMOND EXTRACT: This is what they use at bakeries. Instead of 1 teaspoon vanilla extract in the recipe, try using 1/2 teaspoon vanilla extract + 1/2 teaspoon almond extract.
Do this with the buttercream frosting recipe you use to decorate with, too. You’ll be amazed at the incredible, bakery-like flavor.
STORAGE, MAKE-AHEAD, AND FREEZING
STORING BAKED COOKIES
Baked cookies stay nice and soft (never dry!) for up to 5 days at room temperature when kept in an airtight storage container. Frosted cookies are best within the first 2-3 days, after which the frosting can make cookies a bit too soft.
MAKE-AHEAD OPTIONS
Shape the dough into two or more discs, wrap tightly in plastic wrap, and place in a large zipper bag. Dough keeps up to 3 days in the refrigerator or up to 2 months in the freezer.
Defrost dough discs, still tightly wrapped, overnight in the refrigerator before using.
Can I freeze these?
Yes, cookies freeze well. Bake cookies as directed, allow to cool and freeze in a single layer on a cookie sheet.
Once cookies are frozen transfer to a ziplock freezer storage bag. When ready to serve, defrost for approximately 1 hour and frost as desired.
You can also freeze decorated cookies. Freeze in a single layer on a cookie sheet and then stack adding a sheet of freezer paper between each layer.
Note: Defrosting may effect the appearance of the icing.
SHIPPING COOKIES AS GIFTS
I have successfully shipped these cookies in the past. Make sure they are frosted with plenty of buttercream icing, give the icing a chance to set up before boxing them to ship and make sure they are packed tightly so they will not shift much in shipping.
Separate each layer with parchment paper. Because cutout cookies are flat they ship very well.
Just try to avoid designs with delicate features.
FREQUENTLY ASKED QUESTIONS
WHY DO MY CUTOUT COOKIES SPREAD AND LOSE THEIR SHAPE?
The most likely culprit is that the dough is too warm. You want to keep the dough cool.
Too soft of butter will cause the cookies to spread. Also, as you work with the dough it warms up.
The fat melts before the cookie has a chance to set up in the oven. Always chill the dough before panning the cookies.
If you are baking in a very warm kitchen you may find it helpful to place the cookies on the baking sheet and chill for 10 minutes before baking.
WHY ARE MY COOKIES HARD?
Most likely they were overbaked. These cookies only take 7-8 minutes in a 400°F oven.
Start checking them at 6 if you know your oven runs hot. Also, cookies that are cut too thin will bake up dry.
Make sure to roll cookies as evenly as possible and try to make sure they are all an even thickness (about 1/4 inch). If your dough is very stiff and dry, you may have scooped out a little too much flour when making the dough.
CAN I MAKE THIS DOUGH WITHOUT A STAND MIXER?
You can use a hand mixer to make these cookies. Creaming the sugar and butter together by hand is difficult because the dough is pretty stiff but I have been known to do it when cooking with the kids.
If your butter is really soft (almost room temperature), it is definitely doable.
CAN I MAKE THE FROSTING AHEAD OF TIME?
Absolutely. Buttercream frosting will keep for a week, tightly covered and refrigerated.
However, cold frosting will be very stiff and difficult to spread. Allow the frosting to sit at room temperature to soften, then beat it again before frosting.
In general, I find it’s easiest to make buttercream when it’s needed, but it’s nice to know you can make it ahead of time.
HOW THICK SHOULD I ROLL THE DOUGH?
The cookies will bake best rolled to 1/4 inch thickness. You may roll the dough a little thinner or thicker than that.
Thinner cookies will bake up a bit crisper and will require a shorter baking time. Thicker cookies will be softer, but make sure they’re cooked all the way through, especially in the centers.
For those who bake a lot of cutout cookies, there are guide rings that clip onto your rolling pins which can be helpful.
SERVING IDEAS
- These make a TON of cookies, perfect for bringing to a cookie swap. I’d probably make the dough and bake them the day before, then frost them the next morning since they’re a little easier to frost once they’re completely cooled.
- Have the kids help you frost them. It’s a little hard for their little hands, so I’d probably do the cutting and baking ahead of time. They can frost away once you’ve set up bowls of frosting and sprinkles. These cookies are sturdy enough to withstand kiddo handling and way too much frosting.
- Cookies like these are always a hit as gifts, so consider baking up a variety of colors and shapes and placing them into a gift box with parchment in between.
- Serve alongside a bowl of hot cocoa. These are a bit on the soft and buttery side. They won’t last very long dunked in cocoa, but they’re delicious alongside a cup of cocoa.
RELATED RECIPES
Soft and moist with actual eggnog mixed into the recipe these Eggnog Cookies are unlike any others. These are perfect for your next cookie exchange as they hold up well for travelling.
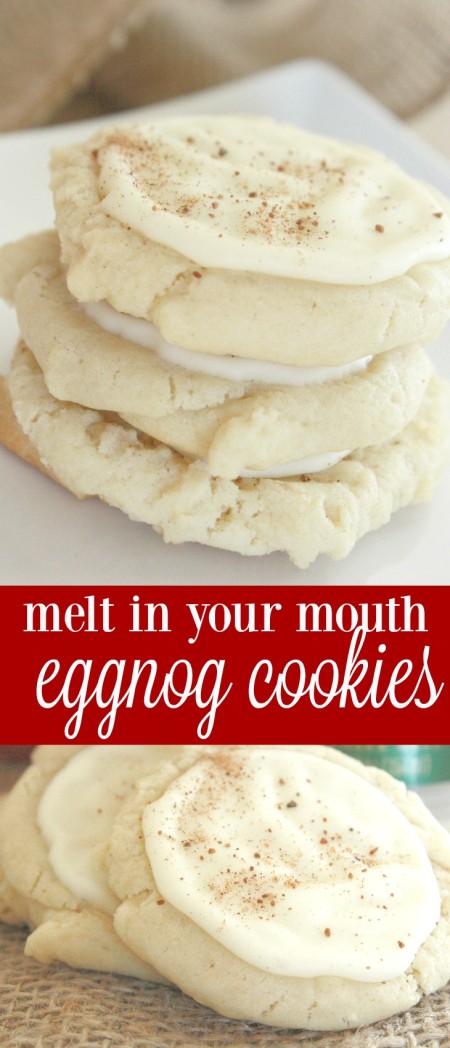
Get the recipe: Eggnog Cookies
A combination of cream cheese and Oreos plus crushed up peppermint candies dipped in melted white chocolate these Oreo Cookie Balls aka Peppermint Oreo Truffles are a showstopper. These are the confection for when you need something pretty for your next dessert platter.
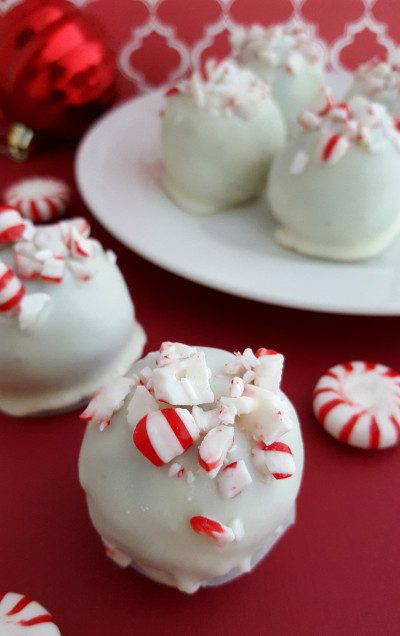
Get the recipe: Oreo Cookie Balls aka Peppermint Oreo Truffles Recipe
Take Rice Krispies bars to a whole new level with Chocolate Scotcheroos. Chocolate and butterscotch takes these bars to another level.
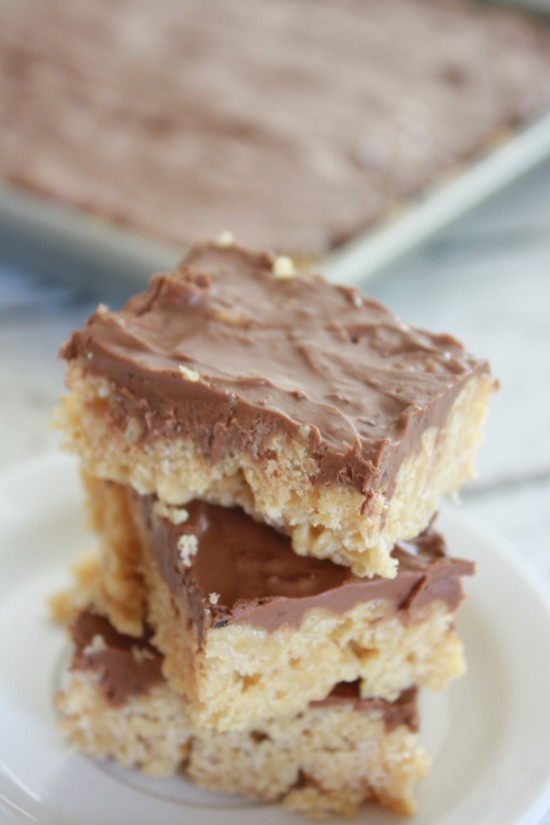
These are so fun to make with the kids, store well ahead of time and are always a hit at parties. Get the recipe: Chocolate Scotcheroos

Take just 15 minutes to make this sweet and salty White Chocolate Popcorn Crunch recipe. This is great as a party snack out of the bowl or bagged up for gifting.
Get the recipe: White Chocolate Popcorn Crunch

Easy Cutout Christmas Cookies
Ingredients
- 1 cup butter softened
- 1 cup sugar
- 2 eggs
- 1 teaspoon vanilla extract
- 2 tablespoons orange juice
- 3 cups all-purpose flour
- 1 teaspoon baking powder
- 1/2 teaspoon salt
- Powdered sugar for rolling if needed
- Butter for frosting
- Powdered sugar for frosting
- Milk for frosting
- Food coloring and sprinkles optional
Instructions
- Cream butter and sugar together until light.
- Beat in eggs, vanilla, and orange juice.
- In a separate bowl, whisk flour, baking powder, and salt.
- Add dry ingredients to wet ingredients and mix until dough forms.
- Cover and refrigerate overnight.
- Preheat oven to 400°F.
- Roll chilled dough on a lightly floured surface and cut into shapes.
- Place cookies on parchment-lined baking sheets.
- Bake 7 to 8 minutes, until set but not browned.
- Cool completely.
- Mix frosting ingredients until smooth and tint with food coloring if desired.
- Frost and decorate cooled cookies.