
Pumpkin Spice Cake
Fall is here which means it’s officially PUMPKIN SPICE CAKE season. It’s a classic for a reason.
Pumpkin Spice Cake
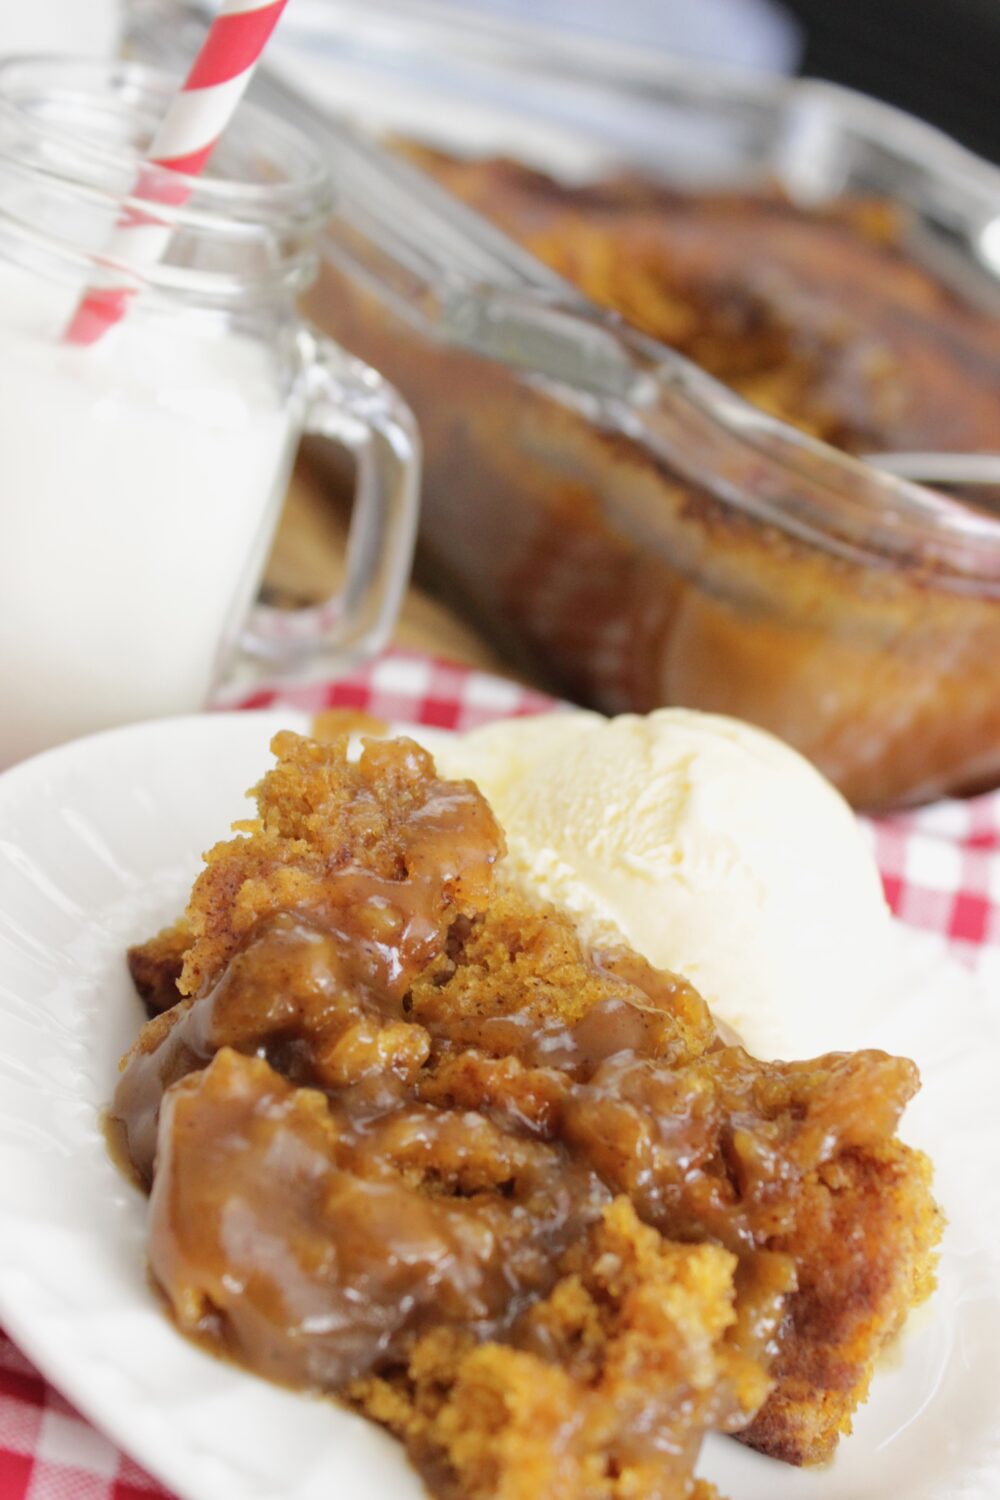
This super-easy pumpkin spice cake is a must-have recipe during the baking season. This self-sauced cake comes together easily and tastes incredible served warm with a scoop of ice cream.
HOW TO MAKE PUMPKIN SPICE CAKE
STEP 1: PREHEAT AND PREP YOUR PAN
Preheat the oven to 350°F and grease a 9-inch baking dish thoroughly. You will want to get into all the corners and make sure you’ve got the sides and bottom of the dish covered well with nonstick cooking spray because we’re going to have a sauce form at the bottom and don’t want any of that yummy brown sugar bubbled goodness sticking around.
STEP 2: MIX THE DRY INGREDIENTS
In a large mixing bowl, add flour, baking powder, salt, sugar, cinnamon, cloves, ginger, and nutmeg, stirring with a whisk. At this point, your kitchen should be filled with the heavenly scents of fall spices.
If not, it’s time to go out and pick up new spices as the older they get the less potent they are. Stir until spices are well-incorporated to make sure you’re not getting giant blobs of cloves throughout your cake.
STEP 3: ADD THE WET INGREDIENTS
Add pumpkin, vanilla, and vegetable oil into your dry ingredients and stir with a spatula. At this point, the batter will be pretty thick and won’t look very appetizing, but trust me when I tell you that the end result is well worth the process.
Mix ingredients until no more flour can be seen, but don’t worry about making it perfectly mixed at this point.
STEP 4: SPREAD THE BATTER
Transfer the batter into the greased baking dish. At this point, it’s going to be a little hard to spread because the batter is pretty thick.
Use the back of a spatula to get the batter into all of the edges and corners. You will need to actively push the batter out to the edges, as it won’t spread by itself easily.
STEP 5: ADD THE TOPPING
In a small bowl, combine brown sugar and cinnamon and sprinkle it evenly over the top of the batter.
STEP 6: POUR OVER THE HOT WATER
I know, I know. Seems odd, but bear with me.
You’ll thank me later.
Carefully pour 1 1/2 cups of hot water directly over the brown sugar. Try and distribute the water as evenly as possible.
You can use the back of a spoon to break up the force of the water if needed to make sure that it layers gently on top of the cake.
STEP 7: BAKE
Now it will look like you’ve totally messed up. But don’t stir it!!
Resist the urge to stir it!! Trust me…it will be ok!! 🙂 Place in preheated 350 degree oven and bake for about 50 minutes.
Your kitchen will start smelling amazing!! The cake is done when it is set all the way across the top; it will have pulled away from the edges of the pan a bit and may still slightly wobble if you give it a shake.
In the last few minutes of baking you will start seeing sauce bubble up on the edges of the pan…that’s when you know it’s almost done. Remove from oven and let sit 10 minutes before serving.
STEP 8: SERVE

This cake must be served from the pan. It can’t be inverted or cut into traditional cake pieces.
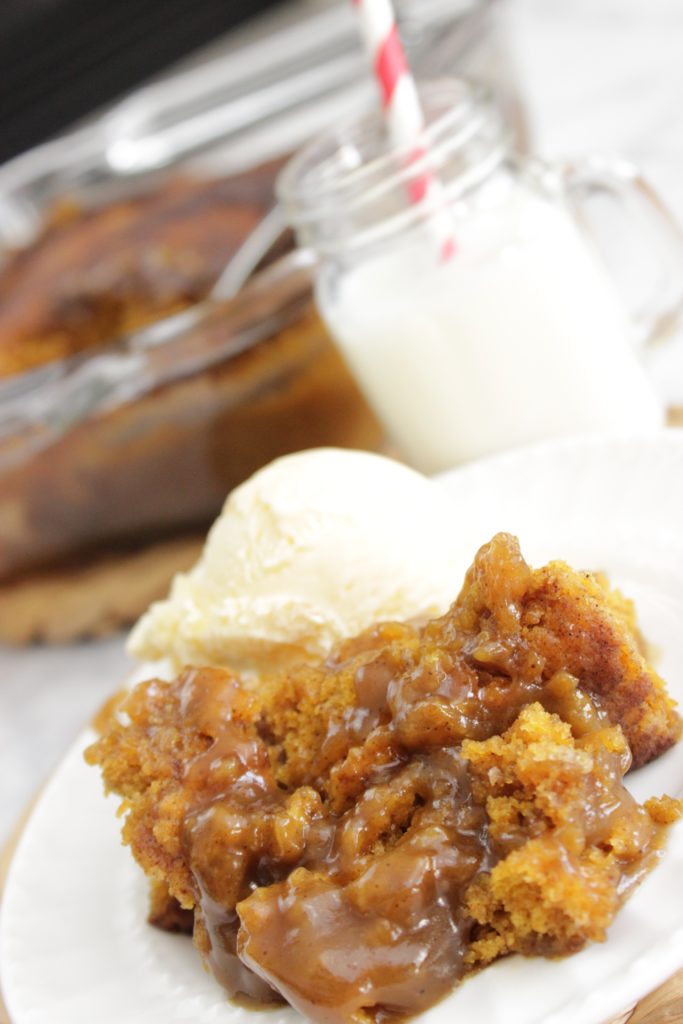
Spoon out portions taking care to get some of the yummy sauce from the bottom. Add a scoop of ice cream if desired, preferably vanilla, and spoon some of the still-warm sauce over the ice cream…yum!
Once the cake has cooled enough to cut into it, serve with a big scoop of vanilla ice cream and a healthy dose of the sauce that has collected in the bottom of the dish. It’s kind of like a pumpkin spice pudding cake.
HELPFUL TIPS
USE THE RIGHT PAN SIZE
This recipe requires the use of a 9 inch square pan. Larger sizes may seem like they would be ok but the batter will be very thin and the ratios of cake to brown sugar/water won’t be as they should be resulting in less than optimal sauce.
Smaller pans could overflow.
DON’T USE PUMPKIN PIE
FILLING
Be sure to use 100% pumpkin purée for this recipe. Pumpkin pie filling already has added sugars, spices, sometimes eggs and other items.
Using pie filling will throw off the texture and make your cake overly sweet and spiced.
THE WATER MUST BE HOT
The water you add on top needs to be HOT to dissolve the brown sugar properly (about 170-180 F). I usually just use hot tap water or measure out my water and microwave for about 90 seconds until it is very hot, though not necessarily boiling.
DON’T STIR AFTER ADDING THE WATER
I can’t stress this enough…DO NOT stir after adding the water. It will look like you’ve ruined everything but the cake will set and the water will make a delicious sauce.
Trust me!! If the sauce seems a little thin and runny just let the cake sit after removing from oven and it will thicken a bit.
SERVE THE SAME DAY
This cake is best enjoyed warm on the same day you make it. The bottom layer is at its custardy gooey peak the same day.
If left over night the sauce will set up much denser and colder. It’ll be more of a moist pumpkin spice cake at that point without the sauce component, but still delicious.
TOOLS THAT MAKE THIS EASIER
- a 9 inch square baking dish, I recommend one with a little height on the sides. Glass is easier to transfer from the oven to the table and you can enjoy watching the sauce bubble up the sides. Ceramic would be OK as well. Avoid using a metal pan as they bake aggressively, your cake is likely to have overbaked edges before the middle is ready. If you have no other options, start checking for doneness earlier than expected and consider lowering the oven temp to 325 F.
VARIATIONS AND SUBSTITUTIONS
ADD NUTS TO THE TOPPING, add 1/2 cup pecans or walnuts to the brown sugar topping for extra crunch. They’ll toast beautifully in the oven and sink into the sauce a little.
SWAP THE OIL, use an equal amount of melted butter for a denser texture and richer flavor. There’s a hint of coconut with the oil.
SPICE BLEND ADJUSTMENTS, the exact ratios of spices are not the same as store-bought pumpkin pie spice but you can certainly use 2 tsp of pumpkin pie spice if you’d rather skip measuring out the cinnamon, cloves, ginger, nutmeg separately. It’s not exactly the same, but close and convenient.
MAKE IT GLUTEN-FREE
- Gluten-free: This self-saucing cake uses baking powder for lift, not yeast, so it should work well with a 1:1 gluten-free flour blend, such as Bob’s Red Mill or King Arthur Measure for Measure gluten-free flours. Gluten-free flour will make this cake slightly more tender and it may take 2-3 minutes longer to bake. Follow recipe as written, swapping in gluten-free flour. The sauce layer isn’t affected.
SERVING IDEAS
This self-saucing spiced pudding cake is delicious on its own, straight from the oven. But you could also consider the following add-ins to elevate it:
- vanilla ice cream is the classic accompaniment here, adding a creamy, cool element to offset the warm sauce
- whipped cream, maybe with an extra pinch of cinnamon, is a lighter option
- caramel sauce, I know this cake already has a sort of caramel-y sauce from the brown sugar, but some jarred caramel on top is delicious, too.
- a sprinkle of flaky sea salt can offset the sweetness and highlight the spices
- maple whipped cream, just whip together some heavy cream with a tablespoon of maple syrup and a pinch of cinnamon. Takes literally two minutes.
STORAGE AND MAKE-AHEAD
STORING LEFTOVERS
Any leftover pudding cakes, still in their pans and tightly covered, will keep at room temperature for 1 day. Or, store them in the fridge, still tightly covered, for up to 3 days.
As the cakes sit, the layers become less defined and the cake will soak up more of the sauce. Rather than two different components, the cakes become more of a spiced, very moist and tender cake.
Still yummy.
REHEATING
You can reheat leftover spiced pudding cakes for 30-45 seconds in the microwave. Add a spoonful of water to the cakes if they’ve gotten a little too firm, to prevent drying out in the microwave.
MAKE-AHEAD NOTES
You can prep the dry ingredients and brown sugar topping the day before baking these pudding cakes. Combine them together and store them at room temperature, covered, in separate containers.
Label them accordingly so you’ll remember what’s what. You can then pull them out and assemble the cakes when you’re ready to bake them.
You cannot prep the batter ahead of time, however. As soon as you add the wet ingredients to the dry ones and stir in the hot water, pop them into the oven.
If you’re having people over, you could prep the dry ingredients in advance, then bake these self-saucing pudding cakes about 20 minutes before serving. That should allow enough time to get everything else set out and get the guests to the table.
FREQUENTLY ASKED QUESTIONS
WHY DO I POUR HOT WATER OVER THE BATTER BEFORE BAKING?
Yes, it’s true. It’s the same thing that happens in an Australian self-saucing chocolate pudding.
The hot water dissolves the brown sugar/cinnamon and makes a thin layer of liquid underneath the cake. When it bakes, the liquid sinks and thickens while the cake floats to the top.
Trust me.
CAN I MAKE THIS IN A 9×13 PAN?
Not using the same amount of ingredients, the batter will be too thin to properly rise. You’ll basically have a thick, dense, somewhat wet bar.
You’d need to increase the ingredients by about 1.5 times to make it work in a larger pan. The ratio of batter to topping/water is an important part of the recipe.
MY CAKE CAME OUT WITH NO SAUCE.
WHAT HAPPENED?
Possibly you overbaked it and the sauce has been absorbed. Or the pan may have been too large and the liquid layer evaporated during baking.
Or possibly, the water wasn’t hot enough to dissolve the brown sugar. Try again, trust me, it works.
WHAT PAN SIZE AND SHAPE DO I USE?
This recipe calls for a 9-inch square pan. It’s possible to make it in other sizes/shape with varying results.
It’s not as forgiving. Stick with the recipe’s pan size for best results.
WHAT OVEN TEMPERATURE DO I SET?
350°F
IS THIS THE SAME AS PUMPKIN LAVA CAKE OR PUMPKIN COBBLER?
It’s different than either of those. Lava cake is a single-serving dessert that’s intentionally underbaked so the middle of the cake is still molten when served.
Pumpkin cobbler would be made with a layer of pumpkin/fruit on the bottom of the pan and a layer of biscuit on top. This recipe is closer to a pudding cake, only this time it is a self-saucer, it is fully baked and the sauce is underneath instead of in the middle.
CAN I DOUBLE THE RECIPE?
Yes, double the ingredients and bake in a 9×13 inch pan. You may need to add 5-10 minutes of baking time, I’d start checking it at 50 minutes.
WHY DO I HAVE TO START CHECKING IT AFTER 45 MINUTES WHEN IT’S DONE BAKING AT 50 MINUTES?
Every oven is different, it’s best to start checking it a few minutes before it’s done. If it’s ready, great.
If not, pop it back in the oven for another few minutes.
RELATED RECIPES
Pumpkin Bread: all of that Pumpkin Spice goodness but without the sauce.

Pumpkin Spice Cake
Ingredients
- 1 cup all-purpose flour
- 2 teaspoons baking powder
- 1/2 teaspoon salt
- 3/4 cup granulated sugar
- 1 teaspoon cinnamon
- 1/2 teaspoon ground cloves
- 1/2 teaspoon ground ginger
- 1/2 teaspoon nutmeg
- 1/2 cup canned pumpkin
- 1/4 cup vegetable oil
- 1 teaspoon vanilla extract
- Brown sugar for topping
- Additional cinnamon for topping
- Chopped nuts optional
- Hot water
- Whipped cream or ice cream for serving
Instructions
- Preheat oven and grease the baking dish.
- Whisk flour, baking powder, salt, sugar, cinnamon, cloves, ginger, and nutmeg in a large bowl.
- Add canned pumpkin, vegetable oil, and vanilla. Stir just until combined.
- Spread thick batter evenly in the prepared pan.
- Mix brown sugar and cinnamon for the topping and sprinkle over the batter.
- Add nuts if using.
- Pour hot water evenly over the top. Do not stir.
- Bake until the cake is set on top and sauce forms underneath.
- Let rest 10 minutes before serving.
- Serve warm with whipped cream or ice cream.