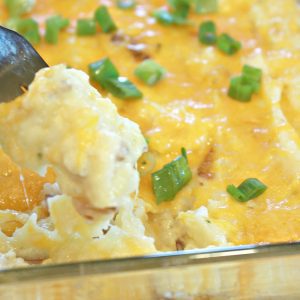
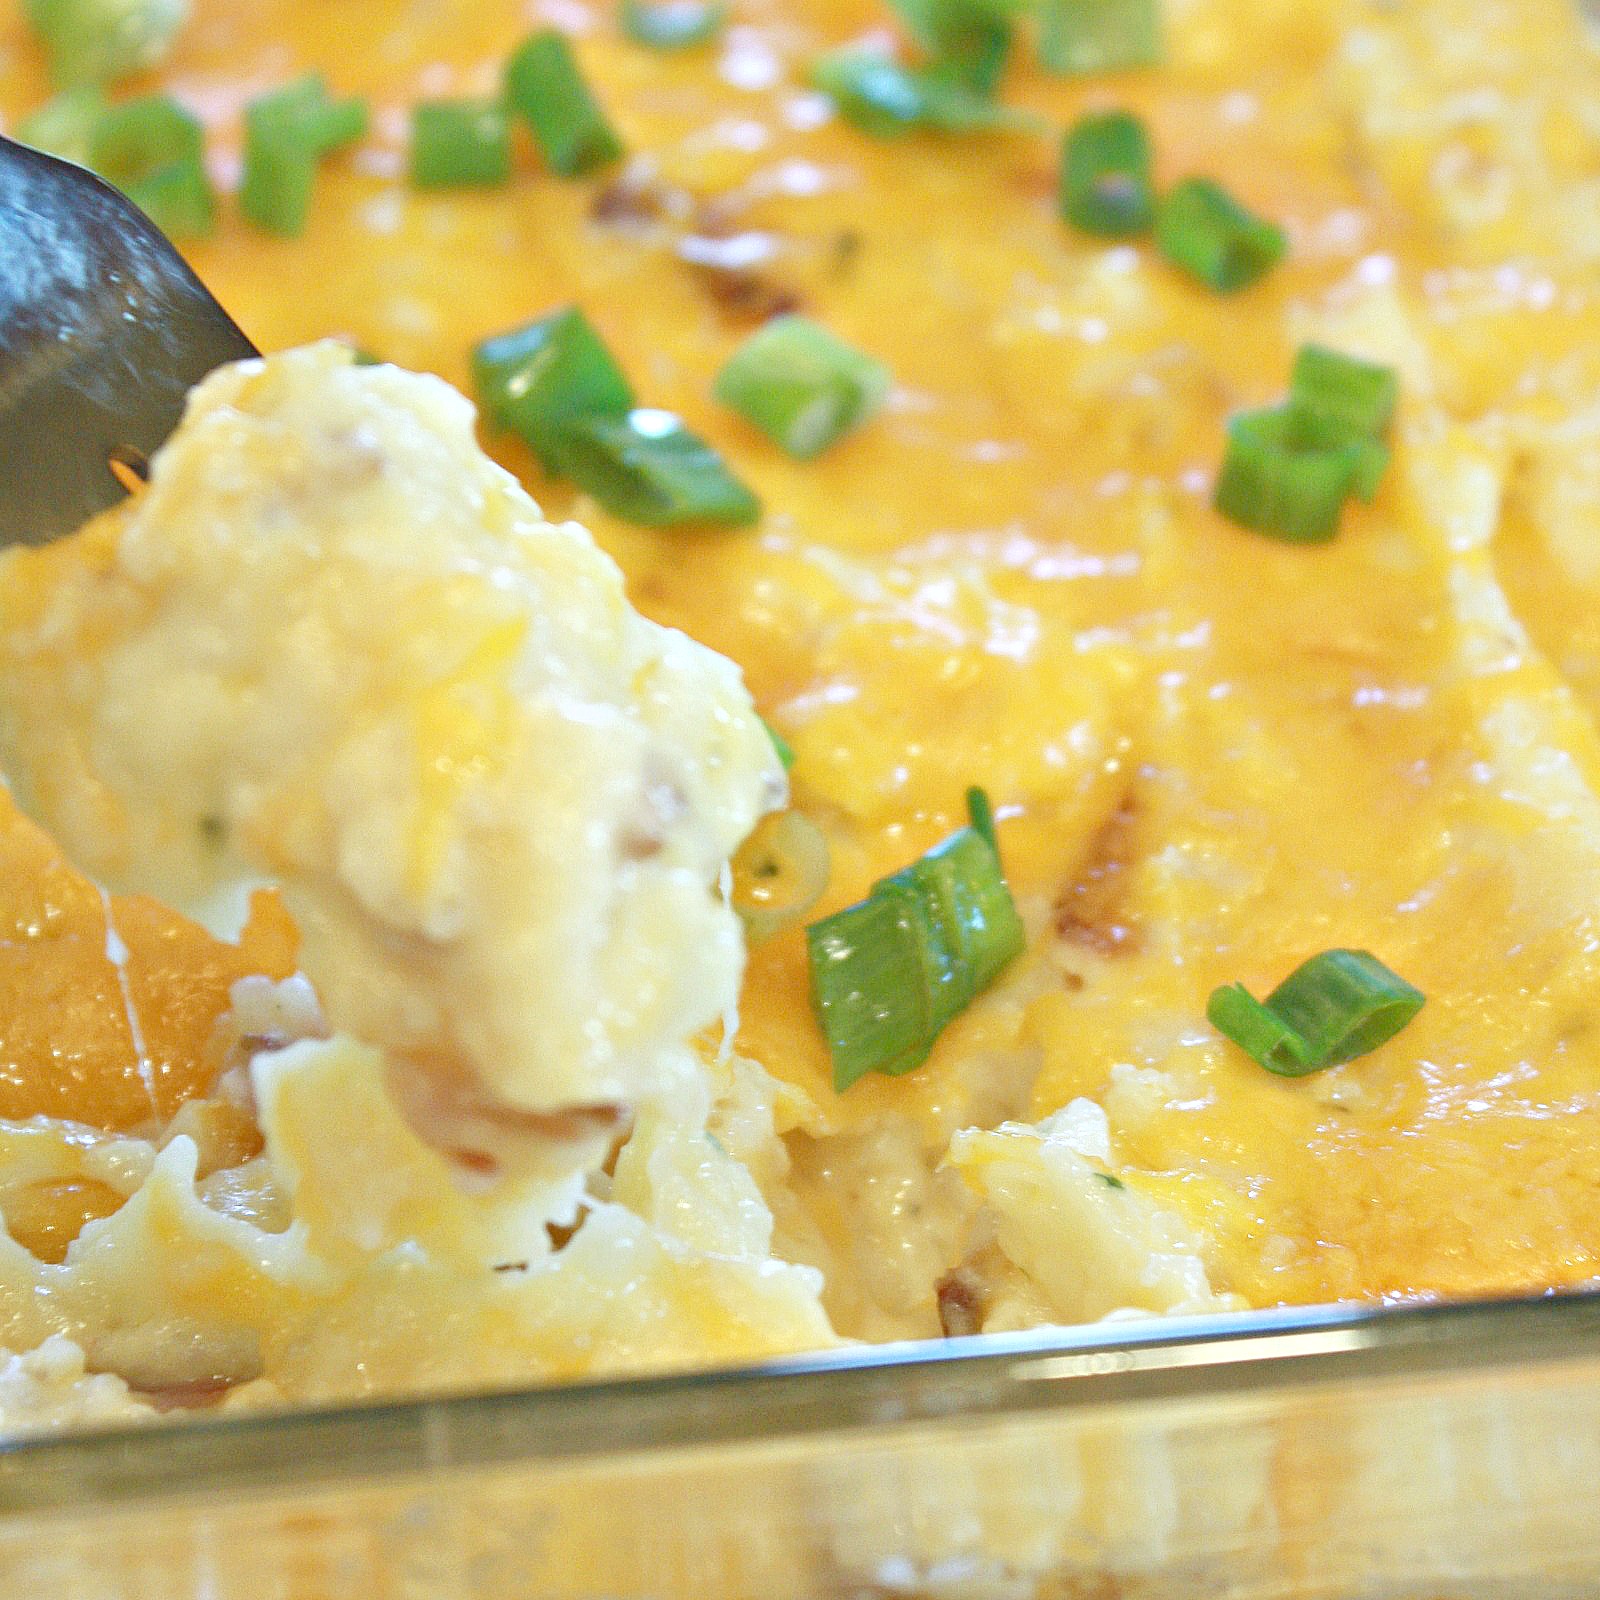
Creamy Twice Baked Potato Casserole
I’ve been to more than my share of parties. While a twice-baked potato is a favorite of mine, they’re a hassle to serve at parties.
Potatoes don’t travel well and they don’t stay hot very long.
But I’m here to tell you that twice-baked potato casserole is the way to go. All of the same flavors, the butter, the sour cream, the cheddar, the bacon, the chives, are all mixed up in a casserole dish so you can make it ahead of time, take it across town and serve it buffet style at cookouts, potlucks or parties.
It’s a summer favorite around here.
I promise you it will be gone in a heartbeat. It goes great with burgers, barbecue chicken, brats or a nice grilled steak.
Trust me, even those that claim not to be a potato lover will be back for seconds.
What Makes This Dinner Work
Instead of fully baking potatoes, watching them so they don’t burn, allowing them to cool, scooping them out of the skins, mixing them up with add-ins, stuffing them back into their jackets and baking them again, this recipe skips all of that and incorporates those delicious flavors into one scrumptious casserole.
And a tip for silky-smooth mashed potatoes, beat ’em good.
What to Know Before You Start
- Use a hand mixer. It’s worth it. Hand-mixing the potatoes gives them that creamy, smooth, slightly-fluffy texture that reminds me of twice-baked potato filling. Using a potato masher or fork will leave some air pockets/chunks.
- Potatoes can be boiled OR baked. Baked potatoes have a more concentrated flavor, since they’re slightly drier, and yield a fluffier mashed potato. However, I’ve made this recipe with boiled potatoes too. Either way will be delicious.
- Make ahead? YES. You can prep and assemble this casserole the night before and store, covered, in the refrigerator. Bake the next day.
- Travels well. Once it comes out of the oven, cover tightly with foil. It will stay nice and hot, perfect for taking to parties. It also reheats well without sacrificing texture.
- Halved recipe yields about half of a 9×13 baking dish. Can be baked in an 8×8 or 9×7 pan. Full recipe will make a FULL 9×13 pan. Regardless of pan size, the cooking time will be the same.
You can save some time by boiling potatoes for this recipe instead of baking them. However, if you are going to boil potatoes, peel them first and cut them into thirds or quarters or any other shape as long as they’re all the same size to ensure they’ll all be ready at the same time, thus shortening boil time.
Cook them in salted water, drain them really well, and allow them to sit in the colander for a good 2 minutes before adding them to the casserole. Any additional liquid will make your casserole too loose and thin.
Why the Cheese Is Split Into Two Portions
I’ve been making this recipe for a while now and it’s best with two cups of shredded cheddar cheese, but only adding half of it at a time. Half gets stirred into the potato mixture and melts into the potatoes during baking.
This enhances the cheesy flavor of the casserole, making it extra rich and creamy. The other cup gets added to the top during the last 5 minutes of baking.
This makes a delicious, lightly-browned crust. If you use it all inside, you’ll miss the crust, if you use it all on the outside, you’ll miss out on all of that cheesy goodness inside.
The Green Onions Go On at the End
If the green onions go into the oven with everything else, they’ll be army green, indistinguishable mushy blobs by the time the casserole comes out of the oven. Adding them at the same time as the cheese during the last five minutes allows them to be softened, bright, fresh-tasting, and perfectly distinguishable.
It’s the same concept as adding herbs to pizza. You want them wilted, not cooked.
Cook Your Bacon First
Bacon tastes best in casseroles when it’s as crispy as it can possibly be before being added to the dish. By cooking it ahead of time, you’ll be guaranteed that the bacon will be cooled off and ready to go before you’re ready to add it to your casserole mixture.
My favorite way to cook bacon? Place six slices on a sheet pan lined with aluminum foil and pop them in the oven at 400° F for 14 to 16 minutes, or as long as it takes to get it as crispy as you like.
Cook the bacon using this method for hands-off cooking with no splatters and no constant watching required for perfectly even cooked bacon EVERY TIME, and drain on paper towels. Once the bacon is cooled, chop into small pieces.
Chopping the bacon smaller will ensure that it will be more evenly distributed in the casserole instead of all the bacon pieces wanting to stay together.
Next up are the ingredients for the casserole part of this recipe along with a bit about why I chose each ingredient.
- 8 medium potatoes, peeled, cubed (see below)
- 2 cups shredded cheddar cheese, divided (see below)
- 16 ounces sour cream (see below)
- 1/2 cup whole milk (see below)
- 1/4 cup butter, melted (see below)
- 1 tablespoon fresh chives, chopped (see below)
- 2 cloves garlic, minced (see below)
- 1 1/2 teaspoons salt, or to taste (see below)
- 1/2 teaspoon black pepper
- 6 slices bacon (see below)
- 4 green onions, sliced, divided
Here are some additional comments about the ingredients:
Potatoes – I recommend russets as they’re starchy and whip up much more light and fluffy, rather than gluey. You could probably use any starchy potato.
Use medium-sized russets if possible as they’re easier to cut into even-sized chunks.
Cheese – I’d highly recommend using sharp cheddar as it’ll have the most flavor. Also, if possible, purchase a block of cheddar and shred it yourself.
Pre-shredded cheddar doesn’t melt as smoothly.
Sour cream – Use full-fat sour cream for the tangiest, richest tasting potatoes. Low-fat sour cream will work but they won’t be as rich and creamy.
Do NOT use fat-free sour cream – it breaks when heated and it’ll throw off the texture of the dish.
Milk – Whole milk will produce the creamiest potatoes but 2% milk will work well. You can even use half-and-half.
Butter – Real butter is the best and produces the best-tasting and -texturing potatoes. Margarine might be okay but I’d recommend real butter.
Chives – Use fresh if you can. They’re so much tastier and provide a nice, mild, onion-y flavor.
Dried chives are okay – I’d recommend using only 1 teaspoon of them.
Garlic – Use fresh if you can but you can use 1/2 teaspoon of garlic powder. It’s a nice, subtle, savory flavor.
Salt – Taste to see if they’re salty enough for your preferences. Add more if they’re not.
Bacon – Thick cut bacon will produce larger pieces. Regular cut bacon crumbles more.
Either way, chop into smaller pieces after cooking.
Green onions – I’d highly recommend using fresh. Add to the potatoes with the last 5 minutes of baking.
How to Make It
Preheat the oven to 350 degrees. Coat a 9×13 inch baking dish with cooking spray.
Set aside.
Step 1: Cook the Potatoes
Boiled: Peel and cut the potatoes into thirds or quarters. Add the potatoes to a large pot of salted boiling water and boil for 15 to 20 minutes, or until very tender.
A fork should be able to go in and come back out with no resistance. Potatoes should be well-cooked through, not merely tender.
Drain well in a colander and let sit for a couple of minutes to steam-dry. Transfer to a large mixing bowl.
Baked: Scrub the potatoes well, leave unpeeled and pierce potatoes a few times with a fork. Place potatoes directly on oven rack and bake at 400 degrees for 1 hour, or until potatoes are just beginning to yield when squeezed.
Let the potatoes cool slightly. Cut potatoes in half and scoop out the insides into a large mixing bowl.
Discard skins, or save them, roll in salt and finish baking until crisp.
Step 2: Mix the Casserole
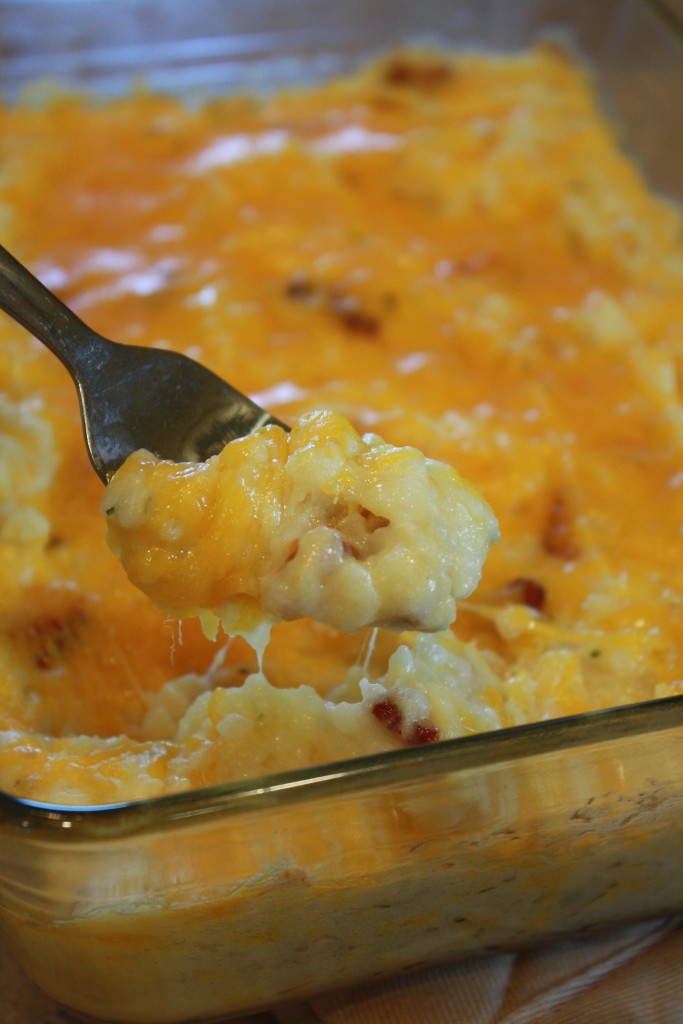
Add the rest of the ingredients, except for the remaining shredded cheese, into the large bowl with the cooked potatoes. Using a hand mixer combine all ingredients until smooth and creamy (see photo), about 60 to 90 seconds.
Don’t worry about being able to see bits of cheese and green chives in the potato mixture, but make sure there are no potato chunks left. The consistency will be very close to mashed potatoes, but a bit on the stiffer side, see photo.
Run a spoon through the mixture and the path of the spoon should be visible. Stop mixing once potatoes are creamy and smooth.
If you go too far with beating, the potatoes will go from fluffy to gloppy as their starches get broken down.
NOTE: I used a hand mixer for this recipe to make sure I got any chunks worked out of the mixture and got lots of air into the potatoes. A potato masher or fork cannot achieve the same results that a mixer does.
I used a KitchenAid, but I’m sure any brand would do the trick. If you’re worried about over-mixing the potatoes, start with 1 minute of mixing and see how the potatoes look, add more mixing time as needed.
Fold the chopped bacon into the potato mixture until evenly distributed. Don’t beat the mixture too much.
A rubber spatula or wooden spoon works well here.
Step 3: Assemble and Bake
Transfer the potato mixture to a 9×13 baking dish, spreading into an even, thick layer. There’s no need to smooth the top because we’ll be covering it soon, but an even thickness will ensure more even cooking.
Leaving the top a bit rustic will ensure a nice, textured surface.
Bake at 350°F for about 30 minutes. The casserole will be done when heated through and set, the top is dry, not shiny or greasy looking, and the casserole has puffed up slightly.
You should be able to drag a spatula or knife through the potato mixture and see the edges pulling away from the baking pan.
Step 4: Top and Finish
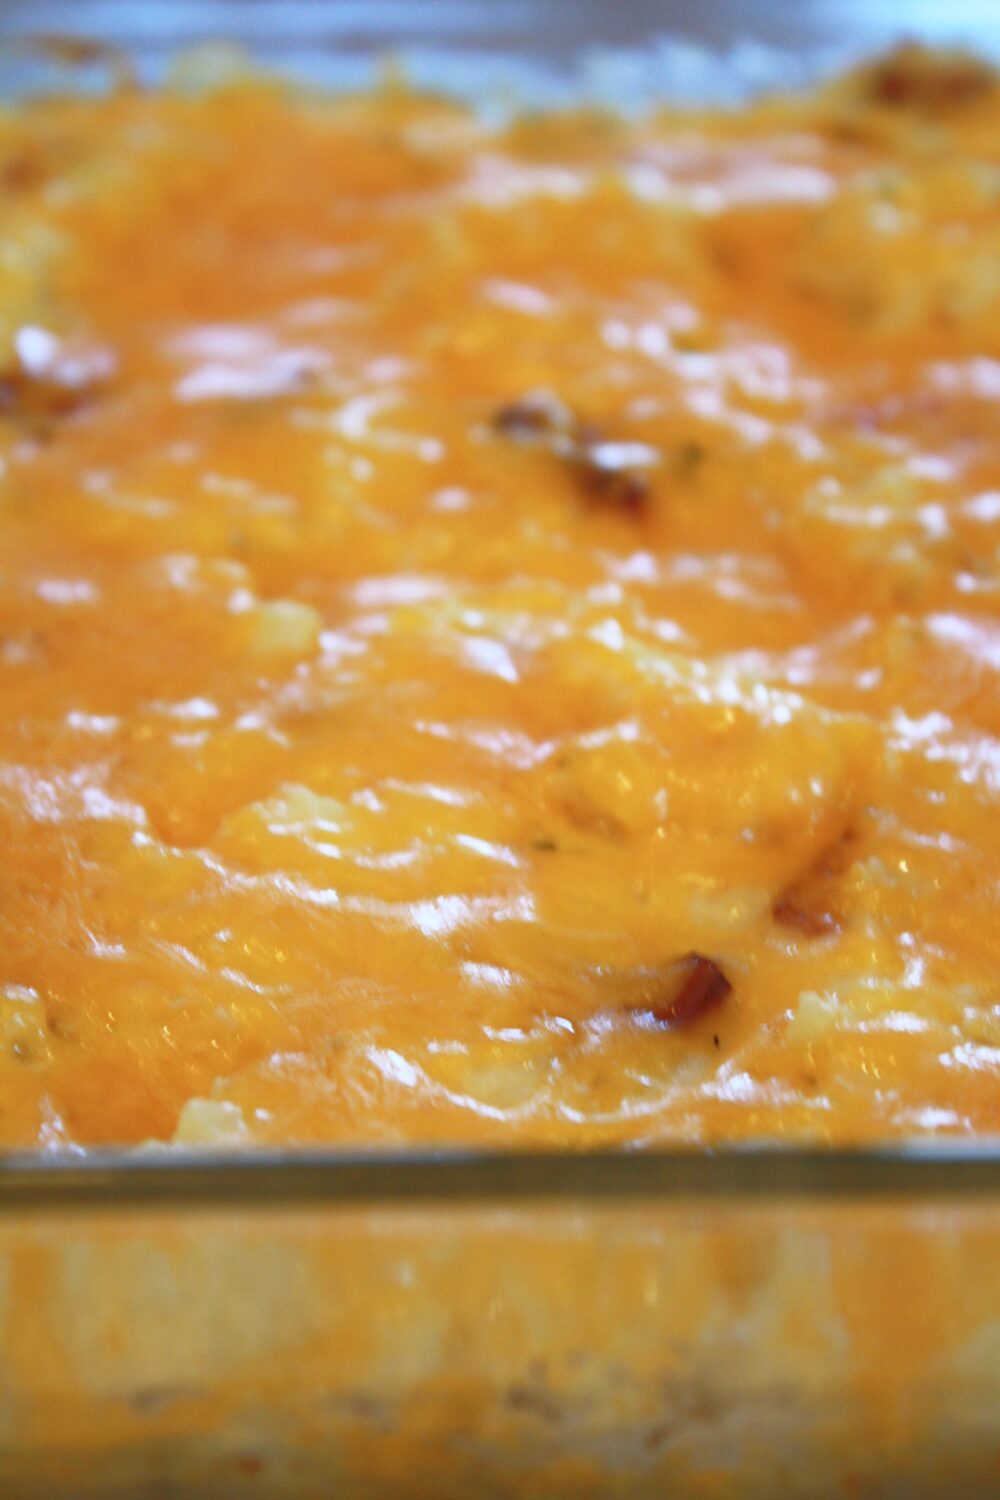
Sprinkle the baked potato casserole with the remaining 1 cup shredded cheddar cheese and the green onions. Return to the oven to melt the cheese, taking about 5 minutes.
Remove from the oven when cheese is nicely melted and shiny and the green onions have softened, ensuring you do NOT want them to get brown.
Helpful Tips
- Remove from oven and allow to sit for about 5 minutes before scooping and serving. The casserole will be easier to serve when it has had a chance to cool and set up a bit.
If using boiled potatoes: Once you boil your potatoes and are ready to remove the lid, resist the urge to dump the potatoes immediately. Wait a moment with the lid off the pot.
This will allow excess water to evaporate and you’ll see white wisps of steam. Then dump them into a colander and allow to sit for another full 2 minutes.
This might seem like a lot of standing around waiting but trust me, the end product will be so worth it. If you don’t allow enough of the excess water to evaporate your casserole will be more on the loose/watery side instead of thick and creamy.
If using baked potatoes: There isn’t as much of an issue with excess water here but do allow to sit with the cut side up for at least a minute before scooping out the insides. Taste your potatoes once they are blended.
This will be your last call for tweaking the seasonings. Once in the oven it’s pretty much a fait accompli.
Make sure they’re nice and salty and pepper-y enough. Don’t skip the butter.
Do NOT over-beat. Trust me on this.
Over-beating potatoes, whether by hand or with a mixer, causes the starches in potatoes, which are water-soluble, to burst and become very gluey and sticky. You don’t want that texture at all.
Mix until chunks are no longer visible. It’s ok if a few smaller chunks remain.
If you cut this recipe in half: Use 4 potatoes and ½ of all other ingredients. Bake exactly per recipe – same temp and same time.
A half-batch fits nicely in a 9×7 or 8×8 baking dish and is just right for a weeknight meal as a side dish for a family of four. Taking this dish to a potluck?
Leave the second cup of cheese and the green onions at home and add them when you get there. Once casserole is done transporting, add cheese, broil for 2-3 minutes or however long it takes to melt and turn golden, remove from oven and add green onions.
- Sharp cheddar has a more distinct flavor which holds up well against the potato mixture. Extra sharp is a good choice too. If you use a milder cheddar its flavor will be lost.
- The sour cream adds some tang and creaminess to this casserole and the butter adds some richness and a nice, silky mouthfeel. You can reduce the amount of butter and sour cream you use but I’d be careful about eliminating them as it will more closely taste like mashed potatoes than loaded baked potatoes.
- Allow casserole to stand for about 20 to 30 minutes before baking. If your casserole dish is straight out of the fridge, I’d allow it to stand at room temp before baking. This way it will cook more evenly and you’re not as likely to run into that problem where the top is perfectly browned and crispy but the middle is still cold. If you are cooking it straight out of the fridge you’ll probably need to add about 10 minutes to the cooking time.
Storage and Make-Ahead
- If you’re planning ahead you can assemble this recipe and cover tightly with plastic wrap or foil and store in the fridge until ready to bake for up to 24 hours. Then just pop it in the oven when you’re ready. Be sure to leave off the green onions and cheddar until the last 5 minutes.
- Store in a covered container in the fridge for up to 4 days. The texture holds up well.
- You can either reheat in the oven or microwave. For the oven, cover and bake at 325°F for 15 to 20 minutes or until warmed all the way through. In the microwave, warm on high in 2-minute intervals, stirring halfway through.
- Note: You’ll want to bake and cool before freezing. Raw dairy doesn’t freeze well. Once baked and cooled, wrap tightly with plastic wrap then foil. You can also divide into individual servings and store in air-tight containers. Casserole will keep well in the freezer up to 2 months.
Reheat it: You can also make this recipe ahead of time and reheat when ready to serve. Simply thaw casserole overnight in the refrigerator, cover with foil, and reheat at 325°F for 25-30 minutes.
Uncover for the last 5 minutes for a crisper top.
What to Serve With It
This creamy, rich side pairs well with lots of things. Here are just a few of our favorite combinations.
- Burgers & Brats: Nothing beats a classic. Especially when there’s creamy potatoes waiting on the side to soak up that beefy, charred goodness.
- BBQ Chicken/Ribs: The smoky flavor of BBQed meats combined with the tangy sour cream in these potatoes will have your guests fighting over who gets to go back for seconds.
- Grilled Steak: Need an easy but still impressive alternative to twice-baked potatoes? Look no further.
- Meatloaf: Creamy potatoes and meatloaf is a cold-weather classic for a reason. Try this combination and see why we love it.
- Holiday Ham/Pork Roast: The saltiness of ham or pork balances the cheesy-creamyness of this recipe perfectly.
Of course, if you add some cheese or bacon and serve with a simple green salad, this recipe is hearty enough to be a meal in itself.
Variations Worth Trying
Want to mix things up a bit? We love these other ideas too…
Loaded Baked Potato Version
Add a double batch of bacon, a handful of thinly-sliced jalapeños, cheese, and top with a drizzle of sour cream, adding a little milk to thin out the sour cream until it’s a consistency that will drizzle, not glob.
Broccoli Cheddar Version
Add about 1 1/2 cups of broccoli florets, steamed, chopped into very small pieces, drained, and patted dry, mixed in with the cooked bacon. Make sure the broccoli is chopped into pieces as small as you’d find in a broccoli cheddar soup to ensure there’s some in every bite.
Feel free to omit the bacon as well; it’s still yummy.
Smoked Gouda Version
You might be surprised at how well smoked Gouda complements sour cream in this recipe…
You can use smoked gouda in lieu of some or all of the cheddar in this recipe. And, as usual, avoid using pre-shredded gouda.
The shreds are coated with an anti-caking agent, and they won’t melt as well. Definitely shred your own.
If you’re hosting a dinner party and want to impress people, try some smoked gouda in half of the casserole, and add some bacon. That extra smokey depth is divine.
Ranch Version
Some of you might be partial to adding dry ranch dressing to the recipe. Along with the salt and pepper, try stirring one tablespoon of ranch seasoning mix with your potatoes.
That will add an interesting herby, tangy dimension to the recipe. Continue to use the cheese and green onions.
Frequently Asked Questions
Can I use frozen shredded potatoes instead of fresh?
I have never tried making this recipe with frozen shredded potatoes, but I’ve seen recipes for potato casserole that use them. It may work okay, but keep in mind that frozen shredded potatoes have more water, so the casserole will turn out a bit gummy and loose.
My goal is a casserole with a thick consistency that’s similar to a twice-baked potato. To get this texture, it’s best to beat the potatoes after baking or boiling and draining them very well.
In a pinch, you can use instant mashed potatoes, which work well if prepared stiffly by using less milk/water than directed. That’s still a better option than using frozen shredded potatoes.
What type of potato works best?
I always use Russet potatoes for this recipe. They have a higher starch content, and beat up nice and light and fluffy.
It gives you a smooth, creamy texture. Some people prefer Yukon Golds, which have a yellower color and a richer flavor.
They are a bit less starchy, so they won’t be quite as light and fluffy. They can be a bit denser, so don’t over-beat them or the casserole will be a bit gluey.
Other starchy white potatoes would likely be a good alternative. I wouldn’t recommend other varieties.
They are much less starchy.
Can I use red potatoes for twice-baked potatoes?
You can use any kind of potato you want. However, red potatoes are the least-starchy potatoes and therefore the least-preferable choice in twice-baked potato recipes.
They’re more waxy than other kinds, which means the dish won’t be as creamy and will be somewhat denser. That said, if that’s the kind of texture you prefer, feel free to use them.
We recommend leaving them for roasting.
Can I leave out the sour cream?
No. The recipe needs the fat from the sour cream to make it creamy when it’s baked.
It also adds a bit of tang. If you leave it out the dish will be a bit thinner and pretty bland.
Can I use Greek yogurt instead of sour cream?
We recommend using plain full-fat Greek yogurt as a sour cream substitute. It has a similar tangy taste and a similar consistency.
The potatoes will be a bit lighter. You can use low-fat Greek yogurt, but they might be a bit thinner.
You shouldn’t use plain non-Greek yogurt, as it’s a bit too loose and runny and will make the potatoes watery. There’s no mayo in this dish; sour cream, butter, and milk is the basis for this recipe.
Can I add other toppings?
Absolutely. This is where you can be creative and add things you like.
Some ideas: jalapeño slices baked in the last 5 minutes soften up and give it a kick. Try adding some diced ham with the bacon or in lieu of the bacon.
You can mix-in broccoli florets, just make sure they’re steamed, well-drained, and cut into small pieces. Try adding a drizzle of thinned-out sour cream just before you serve the dish.
Crushed Ritz cracker crumbs tossed in melted butter and sprinkled on the potatoes during the last 10 minutes of cooking are delicious. You can also sprinkle panko crumbs tossed with melted butter on top of the casserole, or add more bacon along with the cheese.
The sky’s the limit.
Why are my potatoes gluey instead of creamy?
This will most likely happen if you overbeat the potatoes. Mix until you can no longer see chunks of potato.
Beaters and blenders can overwork potatoes, breaking down the starch granules in potatoes and causing them to release excess starch. Too much starch makes potato dishes gluey, dense, and sticky.
Can this recipe be made in a crockpot?
While you can keep it warm in a slow cooker, you shouldn’t cook it there from scratch. However, if you’re interested, here’s what I think:
- If you’re hoping to cook the entire recipe in your slow cooker by cooking the potatoes in the crockpot and adding the other ingredients, I wouldn’t recommend that as it would likely result in a wetter casserole with a more even texture. The potatoes wouldn’t get that delicious crust on top, I’m betting.
- You could make the recipe as written, baking it in the oven, and then add it to a slow cooker set on warm if you’d like to take the dish to a gathering and need to keep it warm for a few hours. That should work well, I think. Just give it a stir every so often so everything cooks evenly as the edges may begin to get too hot or start to get a little dry if the casserole sits for too long.
How can I make this recipe ahead of time?
- Make it ahead of time: Assemble the recipe and keep it in the fridge, unbaked, up to a day ahead of time. When ready to bake, add 10 extra minutes to the baking time.
- Make it once, enjoy it twice: This recipe stores well. Left in a lidded container, it’ll keep up to 4 days in the fridge. You can also freeze the casserole once baked and cooled, which will keep for about 2 months.
- Need more servings: If you’re making this recipe for a crowd, double the recipe and make it in two 9×13 pans or one really big roasting pan. Note: If you need to mix it all in one pot such as a large stock pot, I’d recommend doing it in two rounds so you’re not overloading your mixer.
Related Recipes