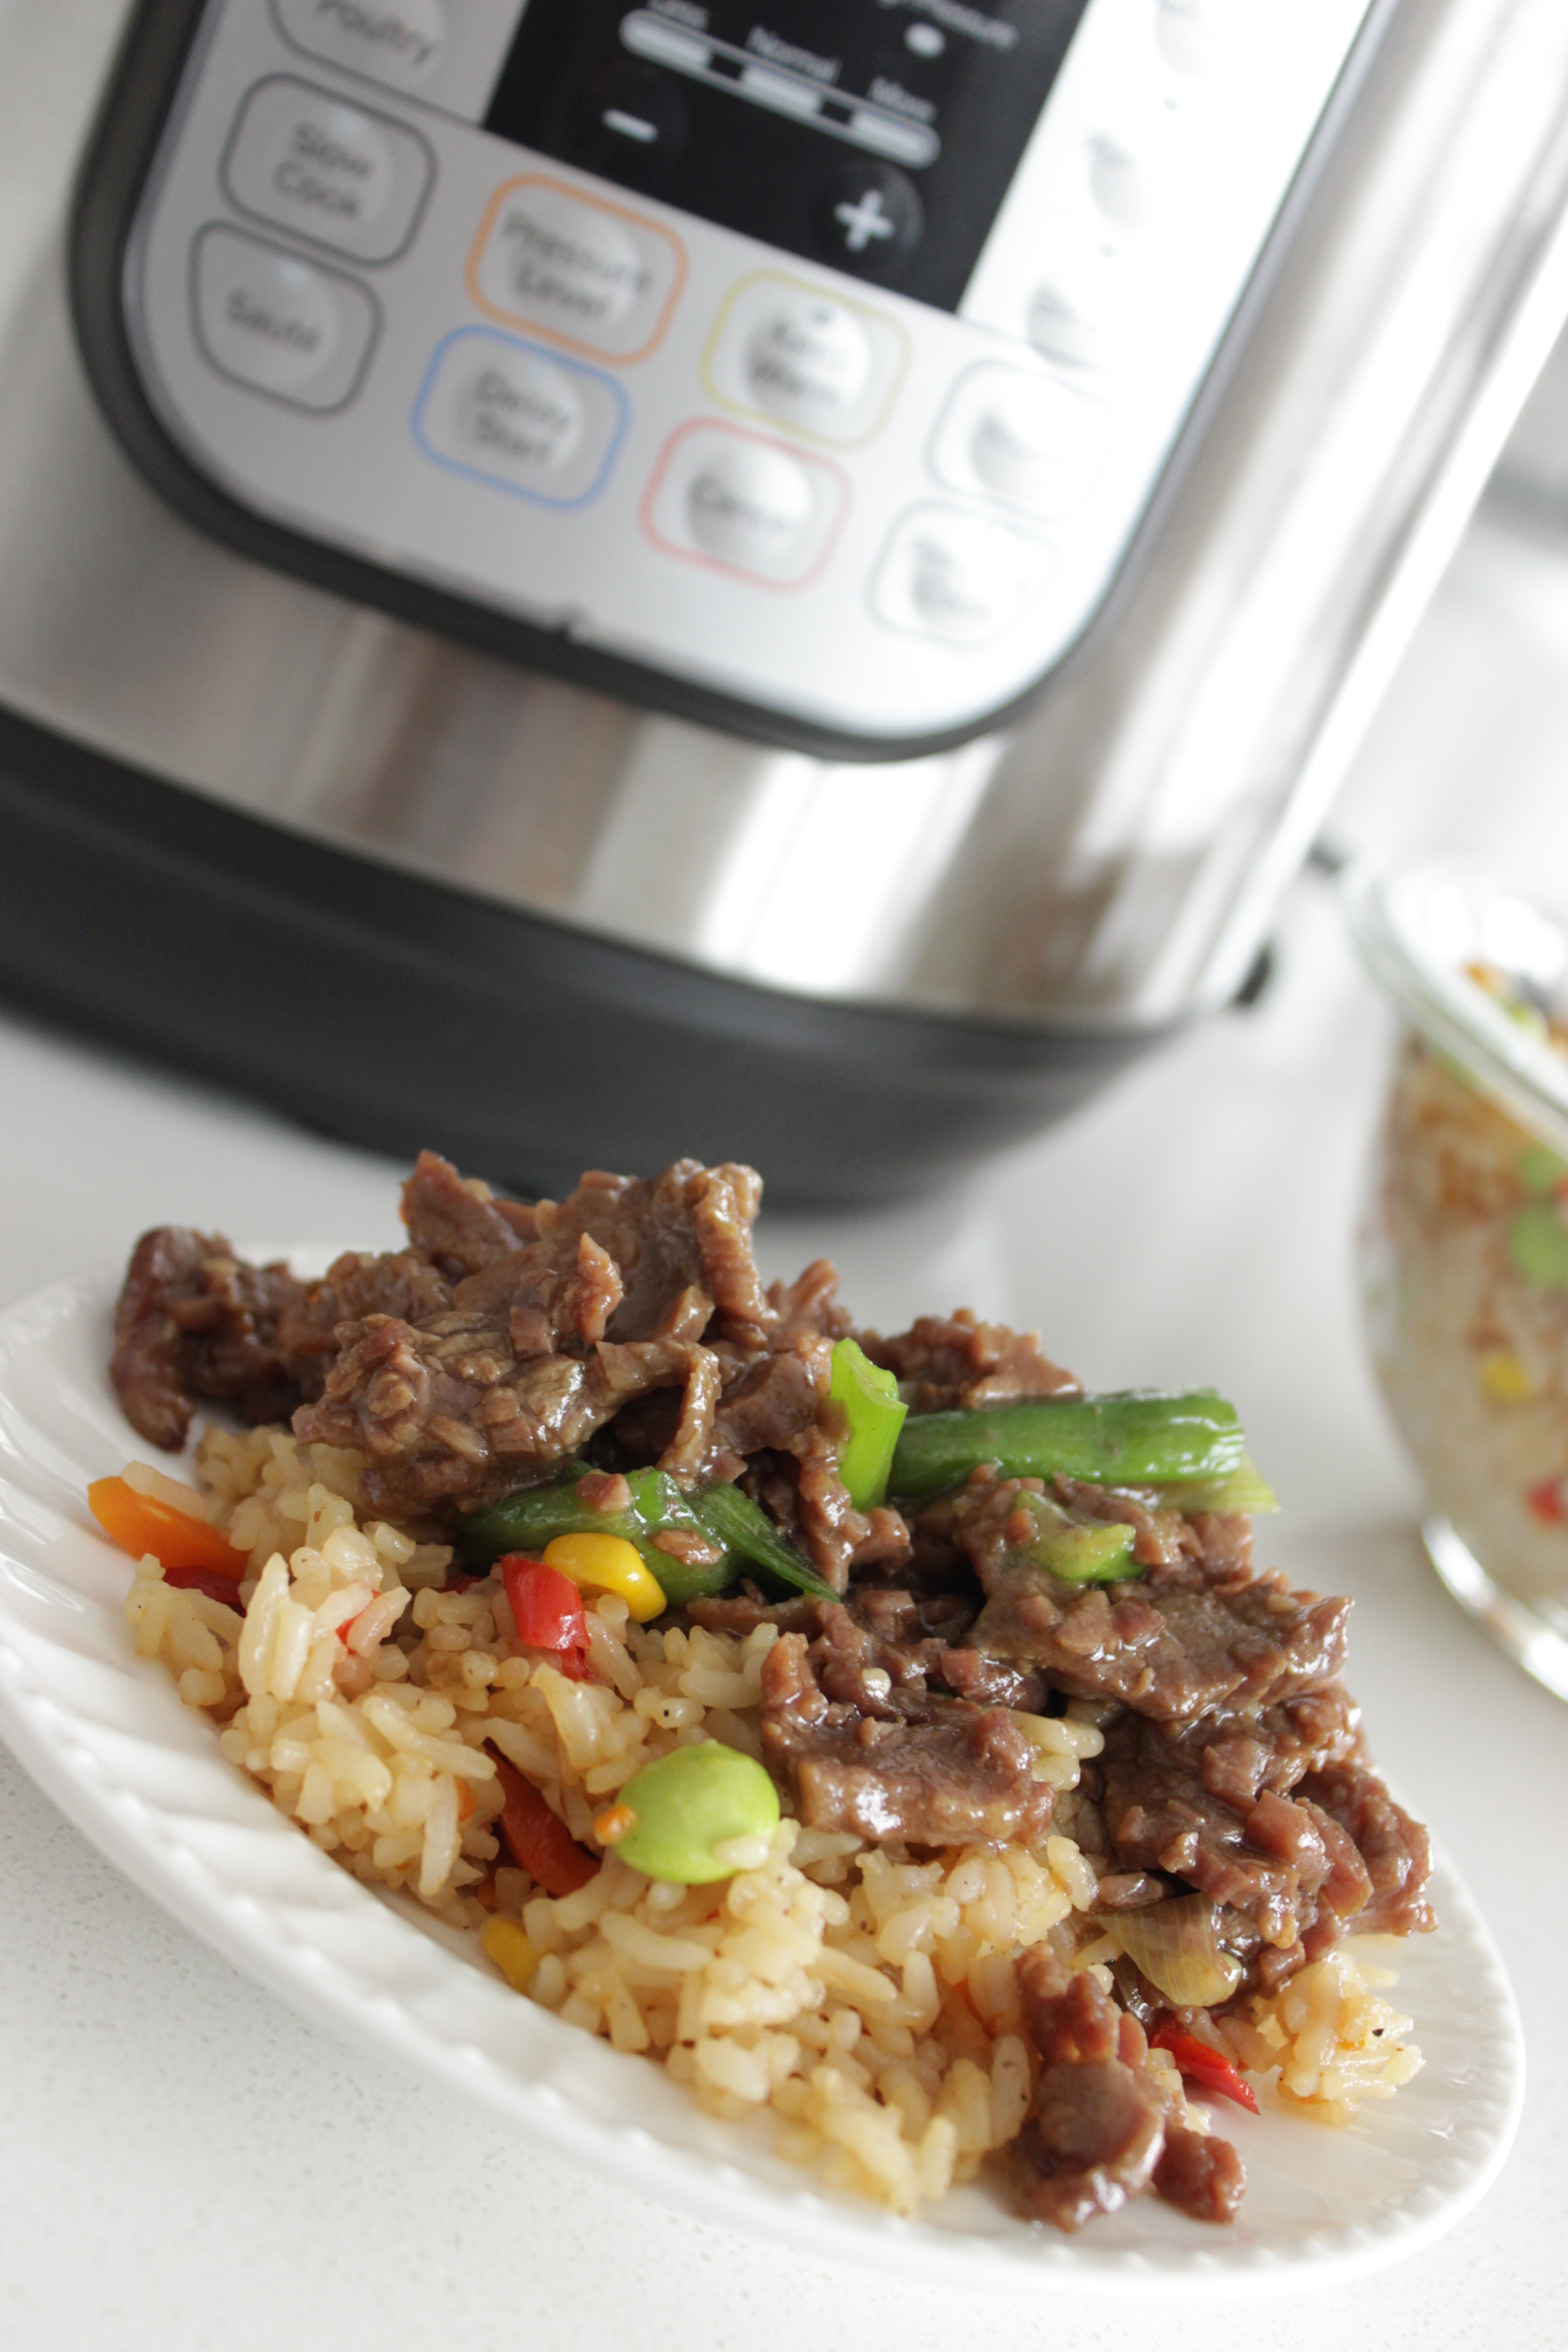
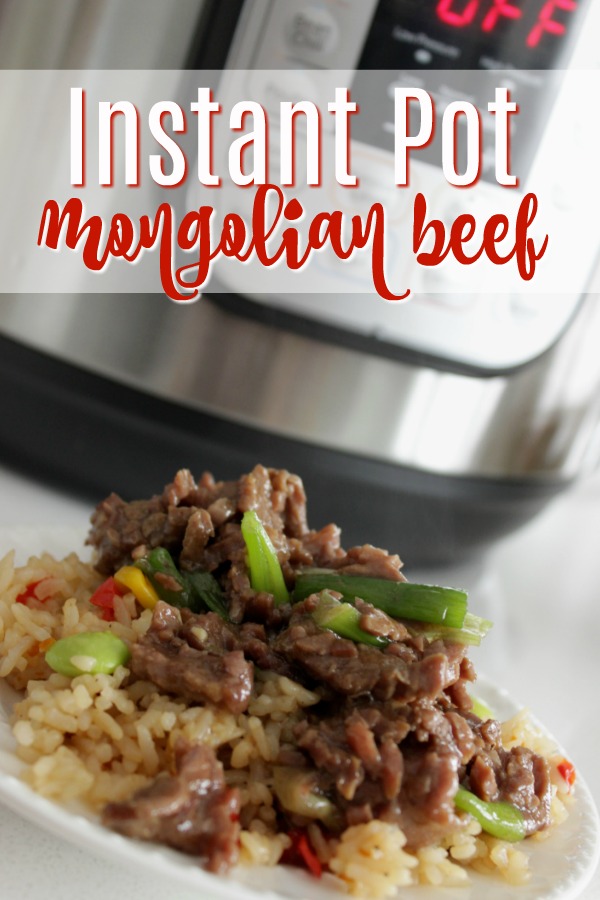
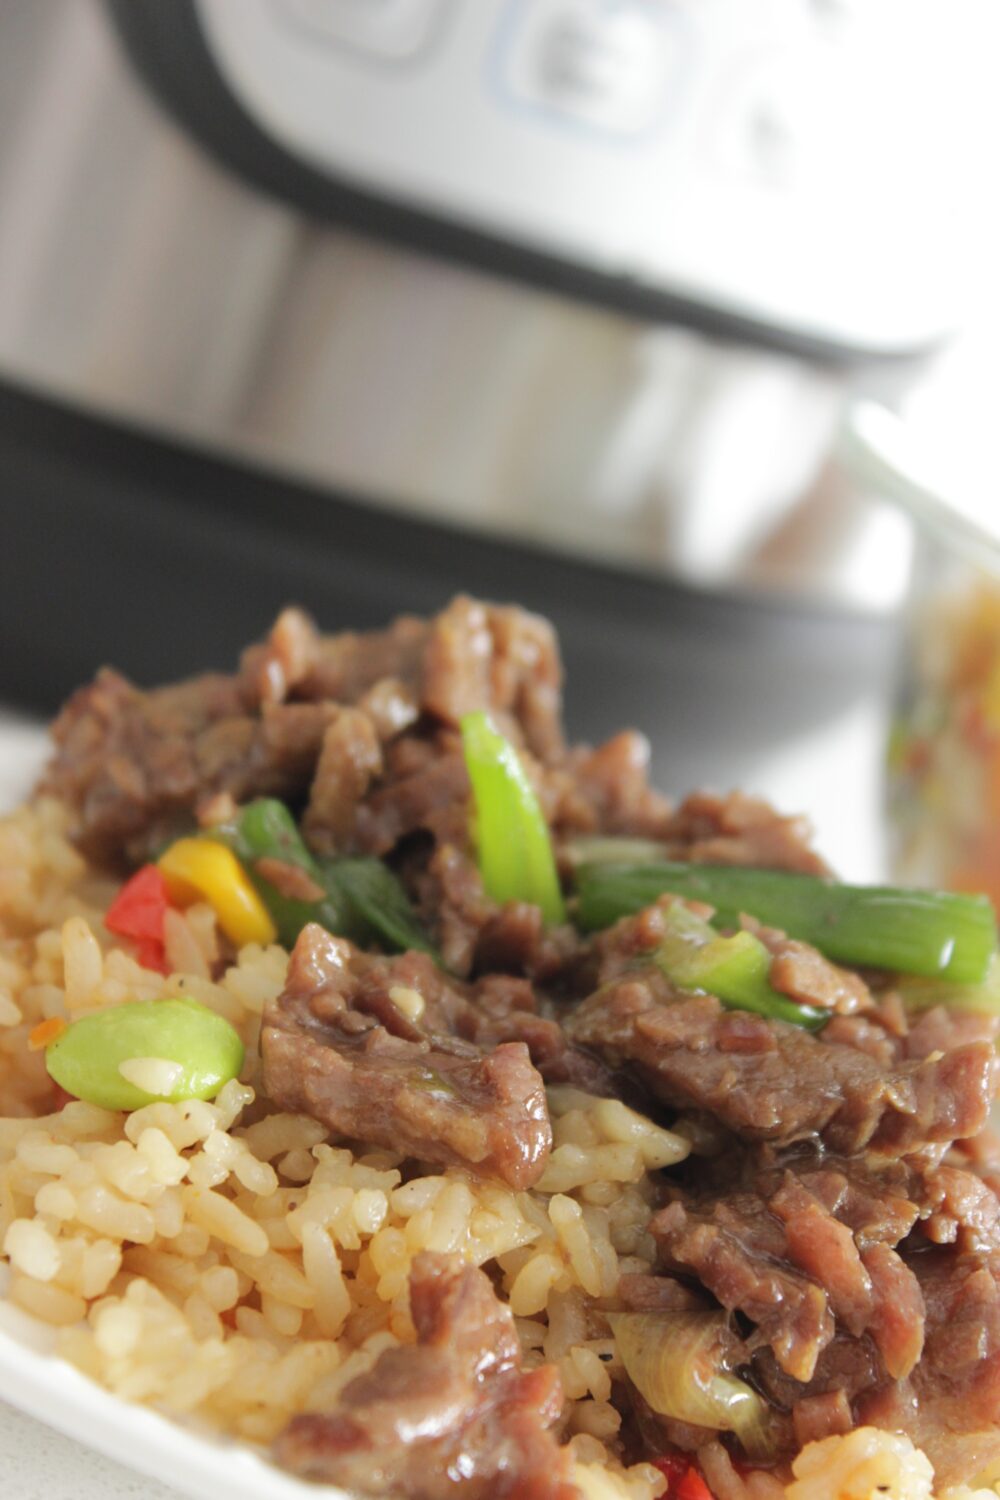
Instant Pot Mongolian Beef with Fried Rice
When you hear the name Mongolian Beef, it sounds pretty complex and is probably something you’d delegate to the restaurant you order from, but now you can make it at home with the help of the Instant Pot! Your flank steak will be done in no time with the garlic and ginger sauce and the whole meal will take you under thirty minutes to make! When served over fried rice, it’s a complete meal with no stress.
The real-year cooker does the work here. Flank steak — which can turn tough and chewy if you’re not careful — comes out truly tender after only 12 minutes of high pressure cooking. After you add a quick cornstarch slurry, the sauce thickens and becomes shiny and glossy. This is the type of weeknight meal that tastes good but you really didn’t do much.
What Makes This Recipe Reliable
- Flank steak gets tender under pressure. This cut is lean and can be chewy on the stovetop if you rush it. The Instant Pot breaks it down without drying it out — 12 minutes high pressure is the sweet spot.
- The sauté step matters. Browning the beef before pressure cooking builds depth in the sauce. Don’t skip it, don’t rush it, and don’t crowd the pot or you’ll steam instead of sear.
- The cornstarch slurry at the end gives you control. The sauce comes out of the pressure cycle thin — that’s expected. The sauté finish lets you thicken it exactly to the consistency you want.
- Garlic and ginger do the real work. The sauce isn’t complicated, but the aromatics give it that restaurant-style flavor that makes people ask what’s in it.
- It scales easily. Two pounds of flank steak feeds four generously. Got six people? The sauce ratios hold up well if you bump the beef to 2.5 pounds.
What to Know Before You Start
Before you fire up that Instant Pot, here are some tips that will make your prep even easier:
Have your butcher cut the beef for you. We want flank steak sliced into 1/4-inch strips, cutting against the grain. If you are doing it at home, you’ll want to freeze the steak for about 20-30 minutes to make cutting it into even strips easier. If you ask at the butcher counter, they will do it for you for free while you shop.
Assuming the total time is about 30 minutes, the time in the pressure cooker is only 12 minutes but you will have to consider the time it takes to (11-12 minutes) come up to pressure, the time it takes to Sauté (5 minutes to do in batches), and the time it takes for the cornstarch finish. So don’t be surprised if it takes longer than 15 minutes.
Use quick release. This recipe specifies quick pressure release and not natural release. That’s purposeful — after 12 minutes, the beef is already the consistency you want, and natural release would keep cooking it. Use a kitchen towel to direct the steam away from your face and your cabinets.
Prepare your cornstarch slurry. Mix your cornstarch and water before you even begin cooking so it’s ready when you get to the thickening step. After you add the sauce, it takes only around 2 minutes to thicken and you want to be stirring the whole time.
Ingredients
Here’s what you’re looking for and the importance of each component:
The Beef
I’m using flank steak, as it is the standard option for Mongolian beef, plus it works great for this recipe too. It has a lovely beefy flavor and, when cut properly against the grain, can be truly tender. I aim for two pounds since that’s enough to fill the pot without crowding too much when we get to the sauté step.
If flank steak is unavailable, you can use flat iron or skirt steak as a substitute. Do not use stew meat or chuck. The ratios of pressure time and sauce are made for a leaner and quicker cooking cut.
The Sauce
Soy sauce adds that saltiness and umami flavor needed in many dishes. With the addition of 1/4 cup soy sauce, your dish won’t taste as if it is drowning in soy sauce. Use regular soy sauce and not low-sodium soy sauce as it will give you a better flavor balance with the brown sugar.
For the Instant Pot to reach the necessary pressure, you need to use 3/4 cup beef broth. It will also be used for the sauce, so it works for two ingredients. If you substitute this for water, you will lose a lot of flavor.
Dark brown sugar — 1/3 cup. This is what makes Mongolian beef Mongolian beef.
The sauce is supposed to have sweetness to it. If you prefer it less sweet, you can pull it back to 1/4 cup, but I’d try it as written first.
Dark brown sugar has more molasses than light, which gives the sauce a slightly richer, deeper flavor.
Fresh ginger does real work in this recipe; just a 1/2 teaspoon minced ginger is enough, and if you have ground ginger instead, you only need 1/4 teaspoon since it’s more concentrated. If you have fresh ginger, it’s better to use that.
Garlic – 4 cloves, minced. You’ll want to sauté these directly in the pot after you’ve browned the beef because that blooms the flavor nice and good before everything goes under pressure.
You can use 2 tbsp of vegetable oil for sautéing, and any neutral oil will work here. Olive oil can work in a pinch but it’s not the best choice.
To Finish
Cornstarch + water = 2 tablespoons of cornstarch blended with 3 tablespoons of cold water. This is your thickener. When sauce is pressure cooked, it comes out thin, and this slurry gives it that glossy, coat-the-beef quality you desire.
Green onions — 3 green onions that are sliced into 1-inch pieces and stirred in at the very end for color and a mild onion bite. They also look good in the bowl.
How to Make Instant Pot Mongolian Beef
Step 1: Brown the Beef
Pour some vegtable oil into the Instant Pot, then select the Sauté function. Once the pot has heated up, the oil will begin to show some movement in it, and shimmer.
Add the beef strips in separate batches. Make sure they do not crowd the pot. By adding all the beef in one go, the temperature of the pot drops which leads to steaming of the beef instead of proper searing. You’ll lose caramelization which adds depth to the finished dish. Do two or three batches, making sure each piece has enough room to brown. Sear for 1–2 minutes on each side until browned, then move them to a separate plate. At this point, it isn’t necessary for them to be fully cooked.
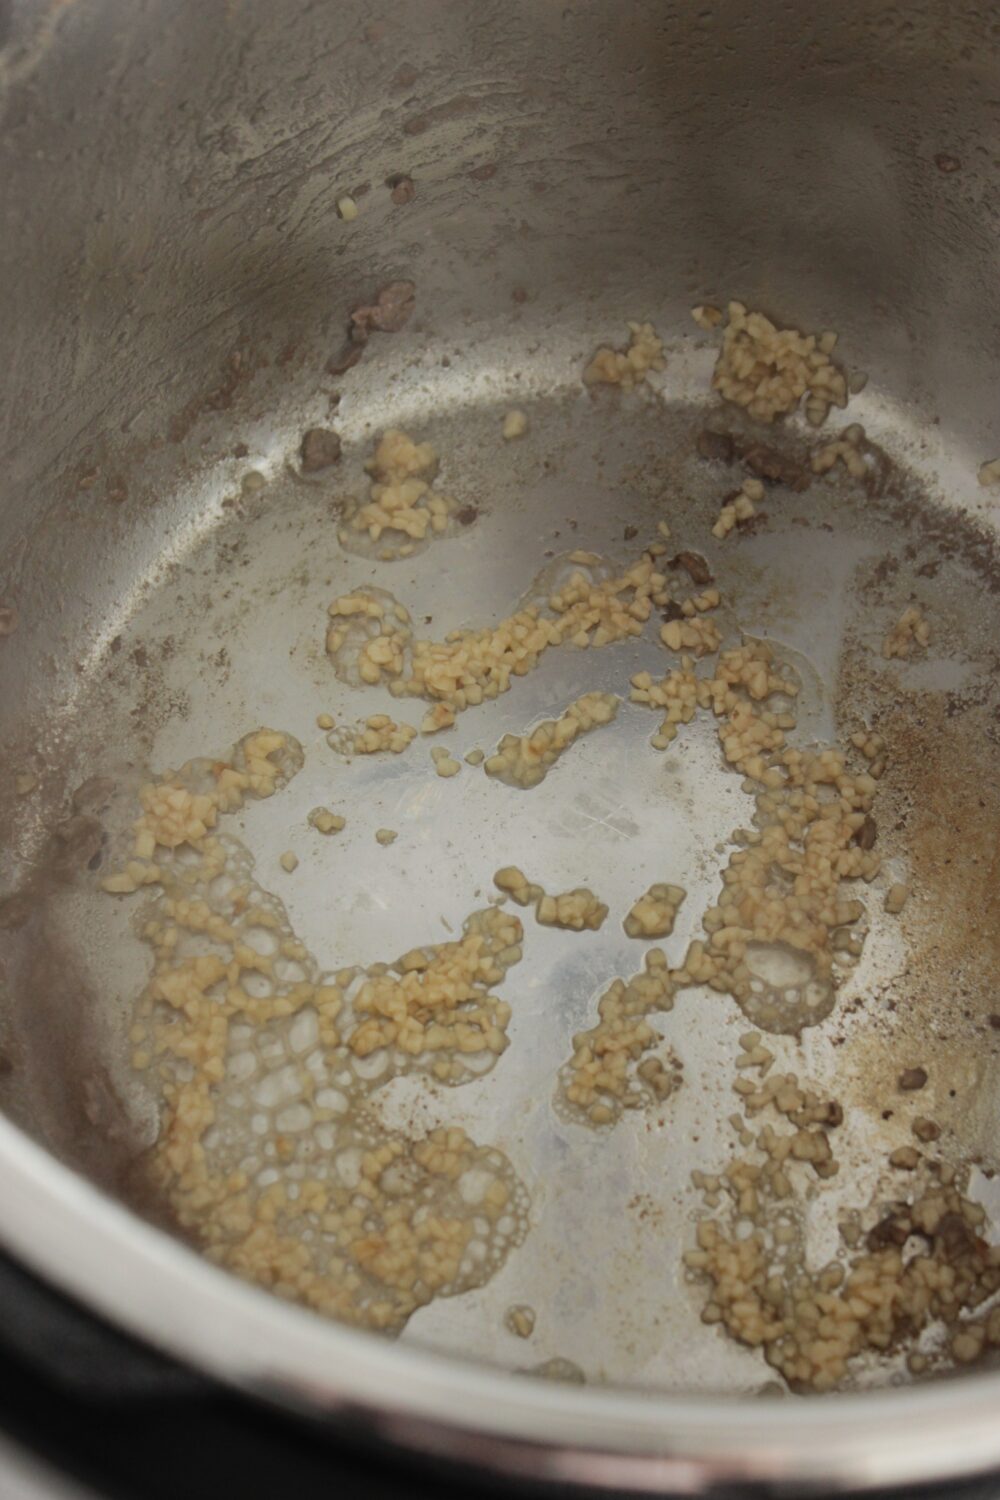
Step 2: Sauté the Garlic
After all the beef is gone, put the minced garlic in the pot (while still on saute) for about a minute and stir so it becomes golden and fragrant. The garlic burns quickly so be careful not to walk away.
Step 3: Build the Sauce
Add soy sauce, beef broth, brown sugar, and ginger to the pot. Stir to combine everything, scraping up the brown bits on the bottom to prevent a burn notice and for flavor.
Put the browned beef and the juices collected on the plate back into the pot. Stir it a little.
Step 4: Pressure Cook
Close the lid, set the valve to Sealing, and choose High Pressure. Then, set the timer for 12 minutes.
It will take the pot around 8-10 minutes to come to pressure, and once it does it will start the countdown. When it starts, leave it alone! Once the 12 minutes is up, and you hear that lovely beep, turn the pot off, and then carefully move the valve to venting to do a quick pressure release.
The steam that you’re going to encounter is very hot. Grab a kitchen towel and place it over the valve and aim the steam towards the back of your stove or wall, not towards you and not towards the cabinets above.
Once the float valve drops, you can safely lift the lid.

Step 5: Thicken the Sauce
When you open the lid and see that the sauce is thin, don’t worry — that’s normal. Please turn the Instant Pot back to Sauté.
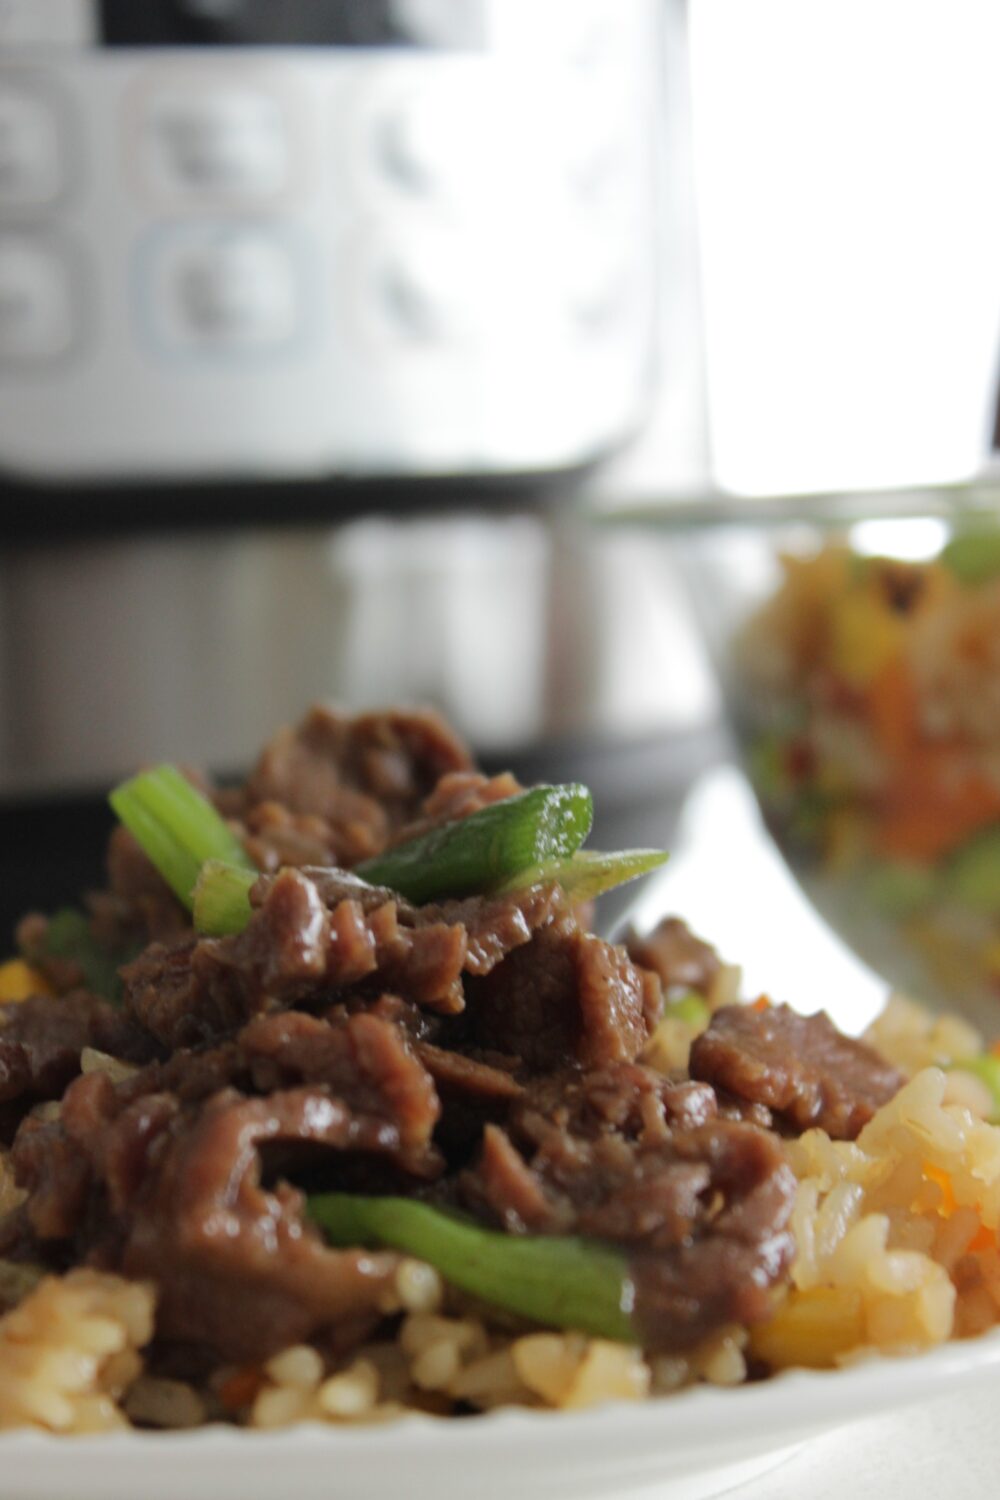
In a small bowl, mix the 2 tablespoons cornstarch with 3 tablespoons cold water and whisk until smooth. While stirring the sauce continuously, add the slurry to the pot. Continue to stir the sauce as it heats up. The sauce will start to thicken again in 1-2 minutes. You will know it is done when the sauce looks glossy, and it coats a spoon.
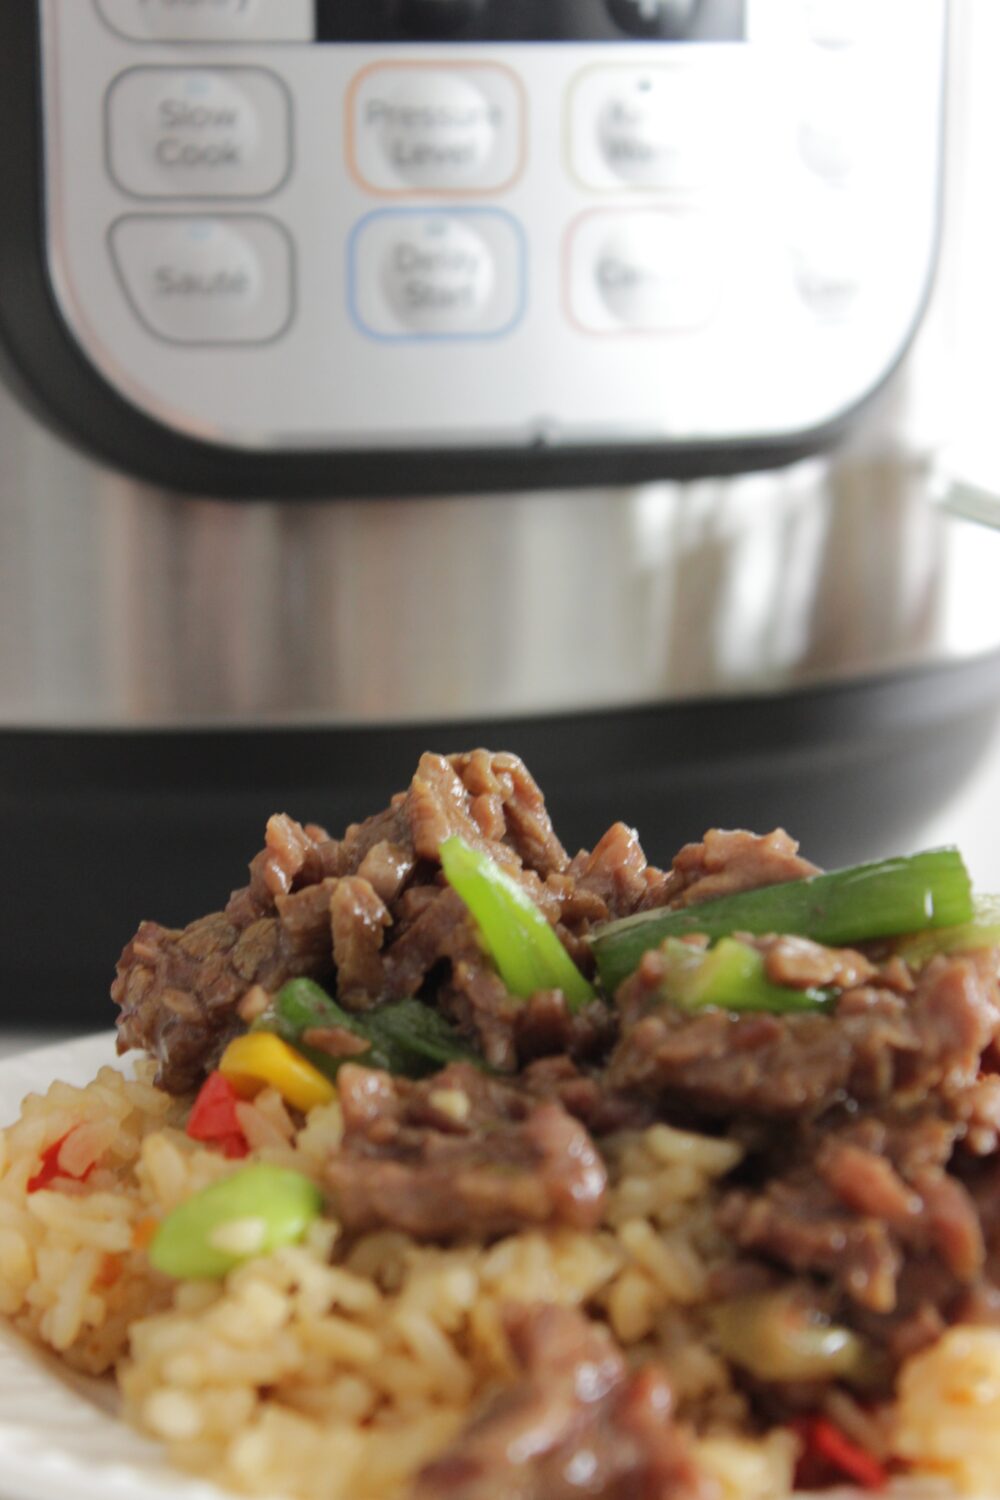
Mix in the green onions and serve right away.
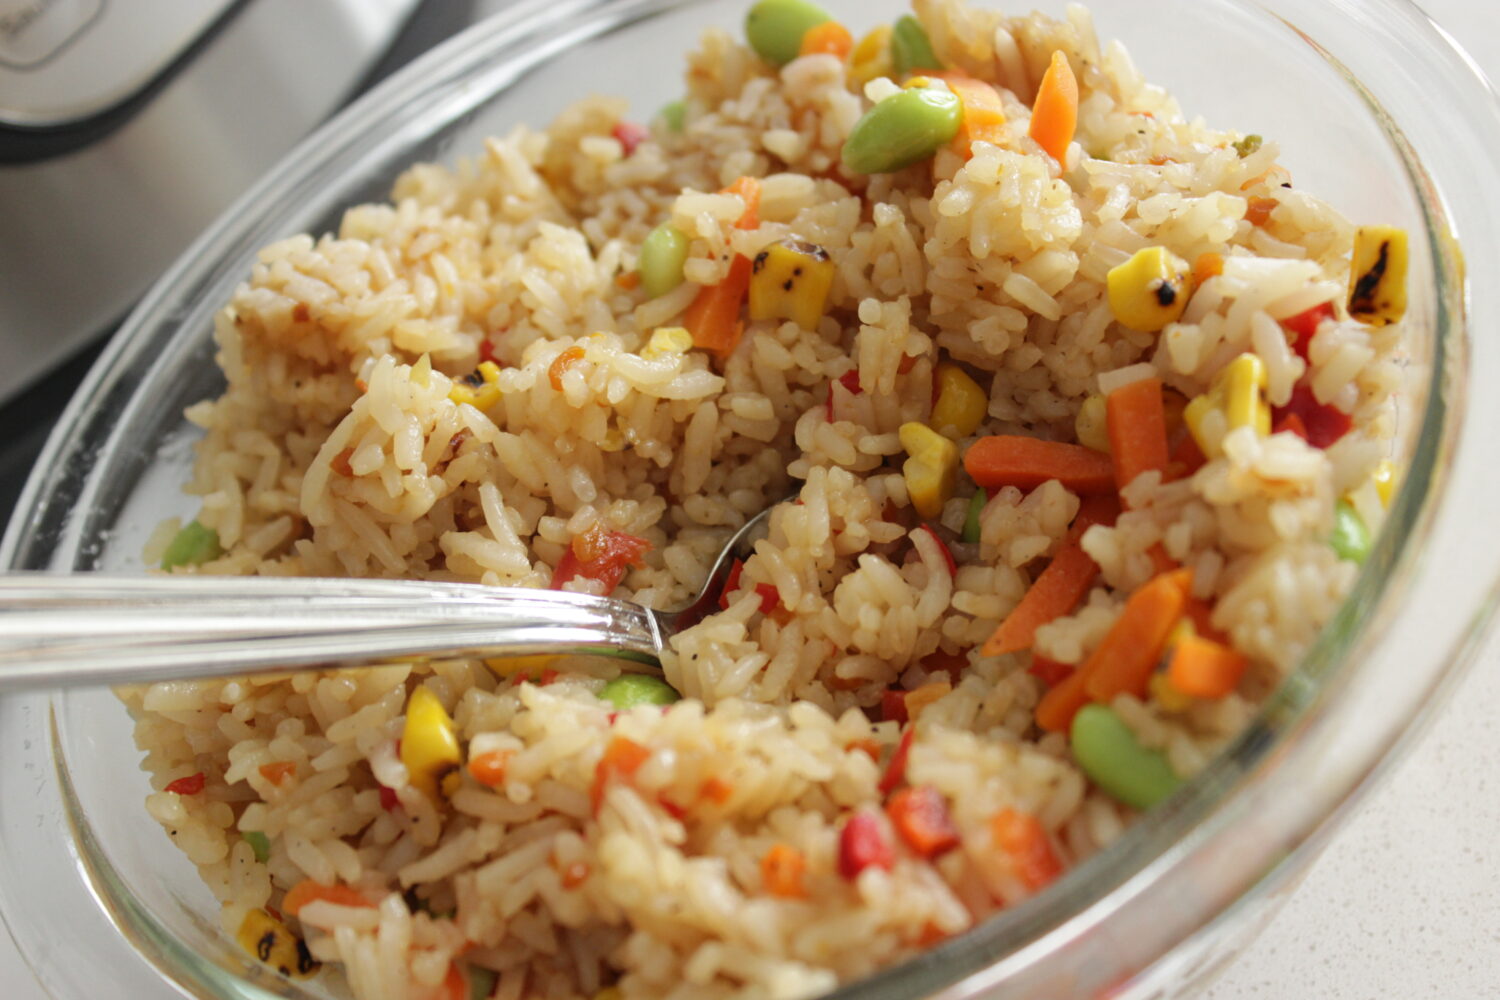
What to Serve It With
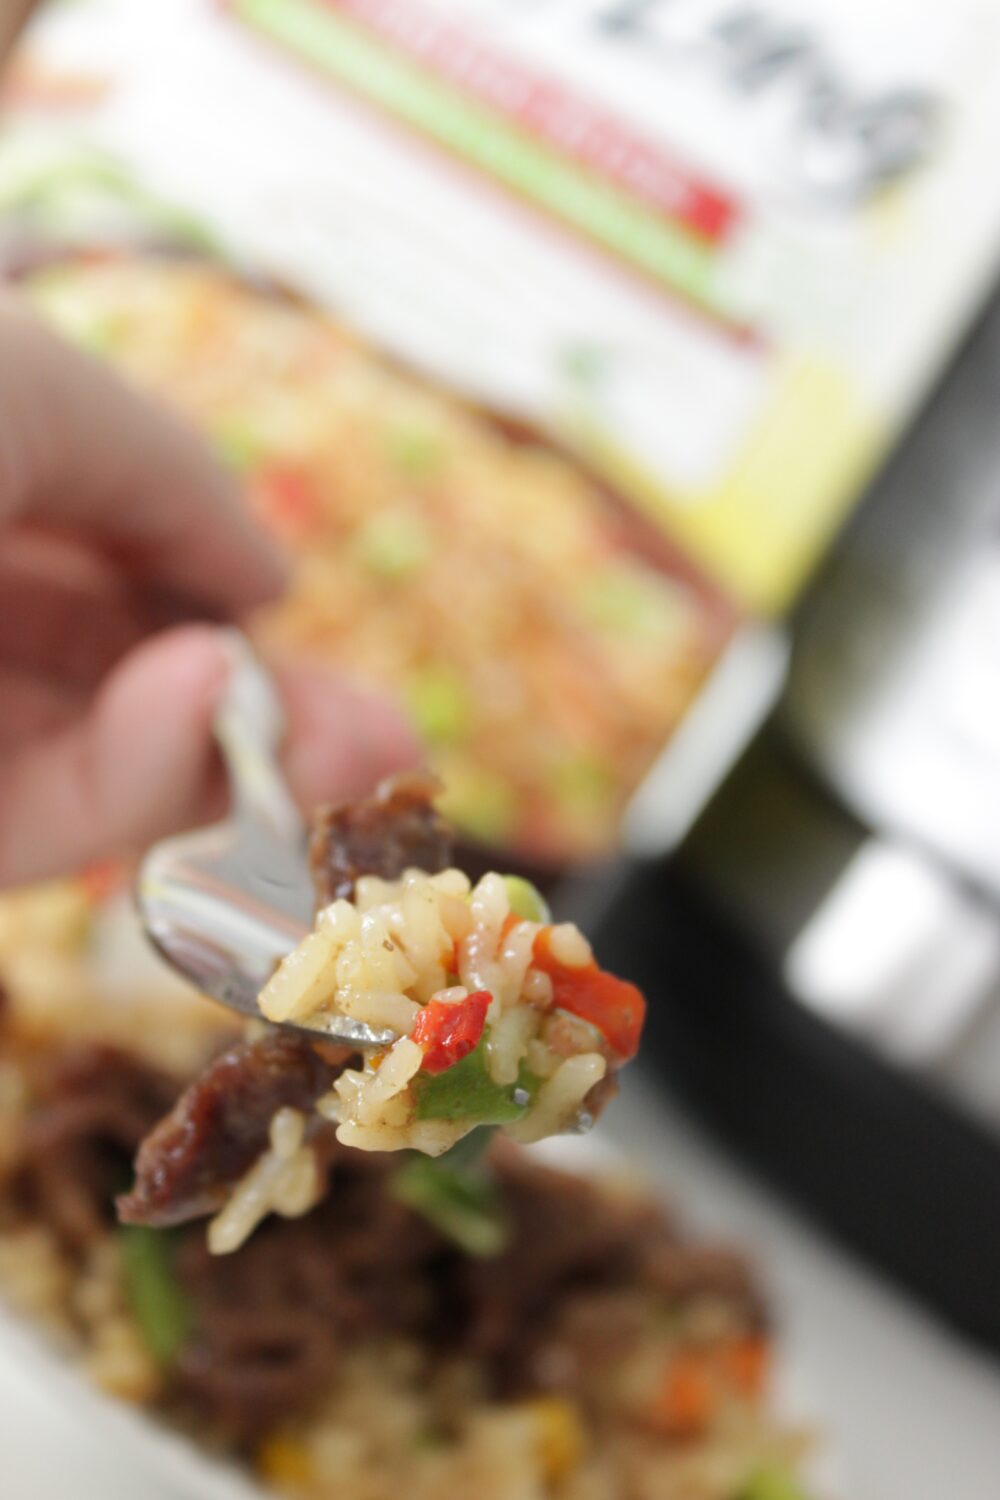
Fried rice is the classic option and the one I always come back to. The sauce soaks right into the rice and every bite gets some soy-ginger flavor. If you want something easier, steamed white rice works too.
If you want vegetables with your meal, you can easily add steamed broccoli or snap peas. Alternatively, you can add broccoli florets directly into the Instant Pot. Just add these to the pot during the sauté or thickening step, and let it cook for about 3 to 4 minutes until they are tender-crisp.
To feed more people, you can use lo mein noodles instead of rice. Cook the noodles and toss them in a little sesame oil before serving, then top with the Mongolian beef and sauce.
Helpful Tips
Don’t skip the browning step
While it’s easy to be tempted to dump everything into the pot and press the cooking button, the 5 to 7 minutes spent browning the meat, even if you do it in batches, helps build real flavor in this dish. What you are trying to build here is something called the Maillard reaction. Maillard is a reaction that causes the outside of the meat to turn brown, and it builds a layer of complexity that pressure cooking just cannot achieve. The time is actually worth it.
Scrape the bottom before pressure cooking
Once you’ve added the liquid and stirred it, use a wooden spoon or silicone spatula to go under the pot, as stir well to make sure nothing is stuck. Food stuck to the bottom is the number one reason for a burn notice on the Instant Pot. Taking 30 seconds to scrape the bottom before sealing the lid will save you a lot of hassle.
Adjust sweetness before serving
Once the sauce has thickened, give it a taste test. If it seems a bit too sweet, just a splash of rice vinegar (1/2 teaspoon) will level things out, and it won’t make it taste vinegar-y. If you prefer it saltier, then you can add a teaspoon of soy sauce instead of regular salt – it’ll blend in better.
Cut the beef thin and consistent
Strips that are easily thicker than a quarter inch will take a longer time to reach the desired texture. Thin strips that are uniform in size will cook and absorb the sauce better. If a few of your strips are a little thicker, they won’t ruin the dish, just keep in mind that the texture may vary a bit.
Variations and Substitutions
Make It Spicy
For some spice without overshadowing other flavors, add 1/2 teaspoon of red pepper flakes into the sauce before pressure cooking, or mix in a teaspoon of Chili Garlic sauce (Sambal Oelek) at the end.
Lower the Sweetness
This recipe calls for 1/3 a cup of brown sugar which is on the sweeter side for Mongolian beef. If you’d like to make a more savory version, feel free to use 3-4 tablespoons instead. With less sugar, the sauce will still glaze the beef well, just without the sugar to start.
Make It Gluten-Free
Instead of soy sauce, use tamari or coconut aminos. Coconut aminos tend to be a little sweeter than soy sauce, so if you choose that option you may want to reduce the brown sugar to 1/4 cup.
Add Vegetables
Broccoli, snap peas, and bell peppers go well in this dish. You only need to sauté them for about 3-5 minutes so add them after the pressure cooking step. Don’t add them before pressure cooking, or they will become mush.
Storage, Make-Ahead, and Leftovers
Refrigerator
Place any remaining food in an air-tight container and store it in the fridge where it will be good for up to four days. An added bonus for this meal? The beef will soak up more sauce as it sits, making it even more delicious the next day.
Freezer
The dish freezes very well! Allow the dish to cool. Move it into bags or containers that are safe for the freezer. It’ll stay good for 3 months. Move the bag or container to the refrigerator one night to thaw. Then heat it on the stove or in the microwave to warm it back up. While it is true that the sauce may separate after freezing, all it needs is a stir to get it back to how itwas.
Reheating
Keeping sauce at a medium-low stovetop is the best method for keeping sauce consistent. You can use a microwave too. Loose covering the container and heating it at 60-second intervals (stir between every interval).
Make Ahead
You can slice the beef and refrigerate it or you can mix up the sauce ingredients (except for the cornstarch slurry) the day before. Everything goes in the fridge until you’re ready to cook. It saves a few minutes for the active prep time and makes it easier to cook during the week.
Recommended Tools
The Instant Pot itself is all you really need, but a few extras make things easier:
The model I would recommend for beginners would be the Instant Pot Duo 7-in-1, which is what I have been using for years. The 6-quart size will have no issues with this recipe, and you’ll want the 8-quart size if you frequently prepare meals for 6 or more people.
I use a silicone spatula to scrape the insert after I finish sautéing. It is flexible and allows me to get into the edges of the insert and won’t scratch the pot. It is a small detail, but it prevents a lot of burn marks.
Frequently Asked Questions
Can I use a different cut of beef?
Definitely. Skirt steak and flat iron steak work just as well. They both have comparable fat content and texture to flank and respond to the same cook time. Sirloin is okay but tends to be a bit more inconsistent — thinner pieces may be softer than desired. Don’t use chuck or stew beef; these cuts require longer pressure cook times and this recipe isn’t designed for that.
My sauce came out too thin. What happened?
Here are some guesses as to why: maybe the cornstarch slurry was poorly mixed prior to adding (unmixed clumps won’t thicken uniformly), perhaps the Sauté setting was not hot enough to fully activate the cornstarch, or you may not have stirred steadily throughout the thickening process. If the sauce was still thin after 2 minutes on Sauté, mix another teaspoon of cornstarch with a tablespoon of cold water and add that to the sauce. You should give it another minute of stirring, and it should finally come together.
I got a burn notice. What do I do?
Shut off the pot, turn the valve to Venting to release the pressure, and lift the lid carefully. The most common reason is that the bottom has brown bits that weren’t scraped off before pressure cooking. Pour in a splash of broth (about 2–3 tablespoons) and scrape the bottom again. Then, seal the lid and restart the cook. It’ll be all right. This is something that could have been avoided, not a ruined dinner.
Can I double the recipe?
Yes, though there are some restrictions. With a 6-quart Instant Pot, if you double it to 4 pounds of beef, you will be very close to the max fill line. You can do it, but you will have to brown the beef in even more batches so you don’t overfill. The cook time will remain the same — 12 minutes at high pressure. Doubling on an 8-quart is much more comfortable.
Can I make this without a pressure cooker?
Although this recipe is designed for the oven, you can try it on your stovetop. Just know that your beef will have a different texture. In a large skillet or wok, sear the beef in batches and set aside. Then, sauté the garlic, add the sauce ingredients, and return the beef to the wok. Cover and simmer on medium low for about 15 to 20 minutes to let the beef become tender. Then, use the same method to thicken the sauce with cornstarch slurry. This method works, but if you use flank steak, you have to be really careful with the heat and timing, or it can get chewy.
Is this recipe sweet? Can I adjust it?
Of course Mongolian beef has a certain level of sweetness. That is part of its identity. This recipe has 1/3 cup of dark brown sugar, which falls into the moderately sweet category. If you would like it to be less sweet, feel free to reduce the sugar to 3-4 tablespoons. If your preference leans more towards the savory and salty end of the spectrum, then you can counterbalance the sugar reduction by adding an extra tablespoon of soy sauce. After the sauce has thickened, take a taste and see if you would like to make any more adjustments. It’s easy to adjust.
More Instant Pot Recipes You’ll Want to Try
If this one is good for you, here are some more that follow the same weeknight-friendly formula:
- Instant Pot Chicken and Rice — one pot, minimal cleanup, and the rice cooks right in the broth.
- Instant Pot Beef Stew — hearty, thick, and the pressure cooker gets the potatoes and carrots to the exact right texture.
- Instant Pot Orange Chicken — if the Mongolian beef sauce hit the sweet-savory note you were looking for, orange chicken is the next logical step.
- Instant Pot Fried Rice — make the fried rice in the same pot and you’ve got a fully homemade version of this meal.
- Instant Pot Teriyaki Chicken — similar sauce profile to Mongolian beef but lighter, with chicken thighs that come out fall-apart tender.

Instant Pot Mongolian Beef with Fried Rice
Ingredients
- 2 pounds flank steak sliced thinly against the grain
- 2 tablespoons vegetable oil
- 4 cloves garlic minced
- 1/4 cup soy sauce
- 3/4 cup beef broth
- 1/3 cup dark brown sugar
- 1/2 teaspoon fresh minced ginger
- 2 tablespoons cornstarch
- 3 tablespoons cold water
- 3 green onions sliced into 1-inch pieces
- Fried rice or steamed rice for serving
Instructions
- Add vegetable oil to the Instant Pot and select Sauté. Let the oil heat until shimmering.
- Brown beef strips in batches for 1 to 2 minutes per side. Do not crowd the pot. Transfer browned beef to a plate.
- Add minced garlic to the pot and sauté about 1 minute, stirring constantly.
- Add soy sauce, beef broth, brown sugar, and ginger. Scrape up browned bits from the bottom of the pot.
- Return beef and any juices to the pot. Lock the lid, set valve to sealing, and cook on high pressure for 12 minutes.
- Quick release the pressure carefully, then switch back to Sauté.
- Whisk cornstarch with cold water to make a slurry. Stir it into the pot and simmer 1 to 2 minutes, stirring, until the sauce is glossy and thickened.
- Stir in green onions and serve immediately over fried rice or steamed rice.