Easy Homemade Pizza Dough Dinner Recipe
Homemade pizza dough is probably gonna seem like a lot of work. Well, that’s not the case. Once you make pizza dough a few times, it’ll become a Friday night thing on autopilot. You mix the ingredients, let it rise, and stretch it out. You now have a pizza that is better than something you could get from a delivery service. This is the recipe I’ve come up with after many different versions, and it works perfectly every time. It doesn’t matter if you’re using a bread machine, stand mixer, or just your hands and a bowl.
The dough needs time. And no, I don’t mean your time, I mean time on a clock. Plan for about an hour and forty-five minutes before the pizza goes in the oven. If ya get the dough going at 3, don’t stress. It’s ready at 5:30. That has become a rule in my house.
Why This Pizza Dough Works
Many recipes for homemade pizza dough taste decent but feel awful to work with. The dough can tear easily as it’s being stretched, and it can also have a tendency to spring back. Once baked, it can even come out with a cardboard-like texture. Thankfully, this dough avoids all of those problems and that is due to a few specific choices in ingredients.
Olive oil is the first ingredient. It is incorporated into the dough before it rises so that the gluten doesn’t tighten. This results in a dough that stretches easily and then bakes to a slight crisp on the outside and a chewy texture on the inside, as opposed to being a cracker or a loaf of bread. That balance is what makes a great pizza crust.
The next option is adding garlic powder and Italian seasoning into the dough. You only need half a teaspoon of each, and it helps the crust not just be a bland canvas for the toppings. That is especially important when you’re having a slice with just a few toppings.
Next is the resting period after the dough cycle has completed. Let the dough rest for thirty minutes on the counter. Make sure it’s covered. Please don’t skip this step. The gluten relaxes and the dough will be much easier to handle and the end result will be much better. If you want to achieve nice results, this step is not optional.
And fourth: prebake the crust for toppings. Bake the crust for fifteen minutes at 450°F before adding any toppings. This is the step people most often forget, and is why many homemade pizzas end up with a soggy bottom. Give the crust a head start.
What You Need to Know Before You Start
A bread machine makes this recipe almost completely hands-off. You just have to add the ingredients in order, press a button and walk away. When the cycle finishes, the dough is ready to shape. If you don’t have one, a KitchenAid stand mixer with a dough hook works just as well — mix on low for 2 minutes and then on medium for 6–8 minutes until the dough is smooth and pulls away from the bowl. You can also do this entirely by hand, just with about 10 minutes of kneading.
Water temperature is important for recipes and how warm the water is to start with is important. Around 110°F is warm enough to activate yeast. If the water is too cold, that yeast will die too. If you do not have a thermometer, you can estimate this by microwaving 1⅓ cups of water for about 45 seconds. If the water is you wrist is warm then it is good water for the yeast. If You have to wait for it to be warm for 2 minutes and then you can go ahead and activate the yeast.
A word of real caution: don’t open the bread machine to check on the dough whilst it’s cooking. The dough rises due to a specific temperature and humidity that the machine creates. If you open it, the yeast could stall, causing your bread to not rise properly. It’s best to just set the machine and leave it alone.
This recipe will make enough dough for one large sheet pan pizza — the kind that comfortably feeds four to six people. If you would like a thinner crust, or two smaller pizzas, you can divide the dough in half after the rest period. The other half freezes nicely (see Storage section below).
Ingredients
No special types of flour or other unusual ingredients here. Everything listed can be found right at home.
- 1⅓ cups warm water (microwave 45 seconds)
- ¼ cup extra virgin olive oil
- 3½ cups unbleached all-purpose flour
- 1 tablespoon sugar
- 1½ teaspoons sea salt
- ½ teaspoon garlic powder
- ½ teaspoon Italian seasoning
- One ¼ oz packet of Active Dry Yeast (or 2¼ teaspoons if buying in bulk)
A note on flour: Unbleached flour is a suitable option because it has a bit more protein than bleached flour. The additional protein helps to improve the texture of the gluten structure. Since bread flour has a higher protein content than all-purpose flour, it also creates a chewier crust. If all-purpose bleached flour is the only option, it will also work in a pinch, just know the texture won’t be as good.
Active Dry Yeast vs. Instant Yeast: Most bread makers expect Active Dry Yeast, so this recipe is written that way. If your machine has a setting for Instant Yeast (sometimes labeled Rapid Rise), you can use it to substitute the Active Dry Yeast on a 1:1 basis, but the cycle time is likely to be shorter so check your machine manual.
How to Make Homemade Pizza Dough
Step 1: Load the Bread Machine
Start with the warm water in the bread machine pan, add the olive oil, add the flour, then the sugar, salt, garlic powder, and the Italian seasoning. Make a small well in the center of the flour and add the yeast last, directly into the well. It’s important to keep the yeast separated from the salt so that the salt doesn’t inhibit the yeast before it becomes active.
Program your machine for the dough cycle and hit start. Most bread machines take about 90 minutes for the dough cycle. Next step, walk away.
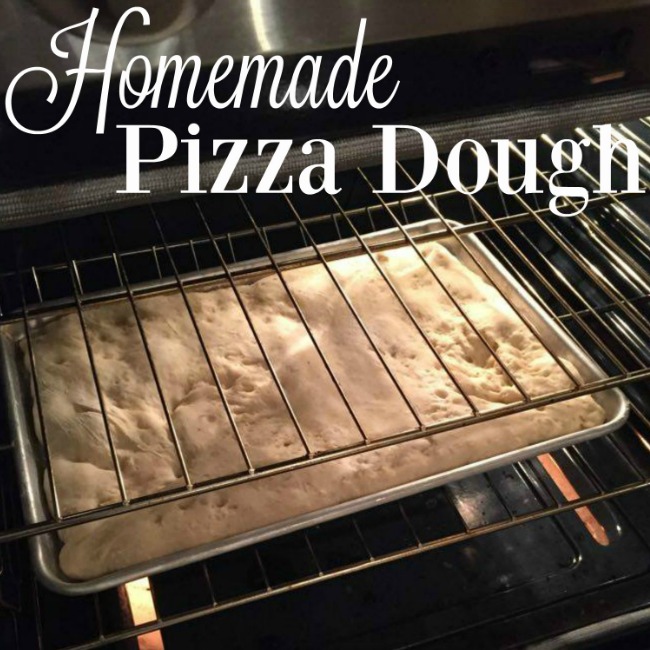
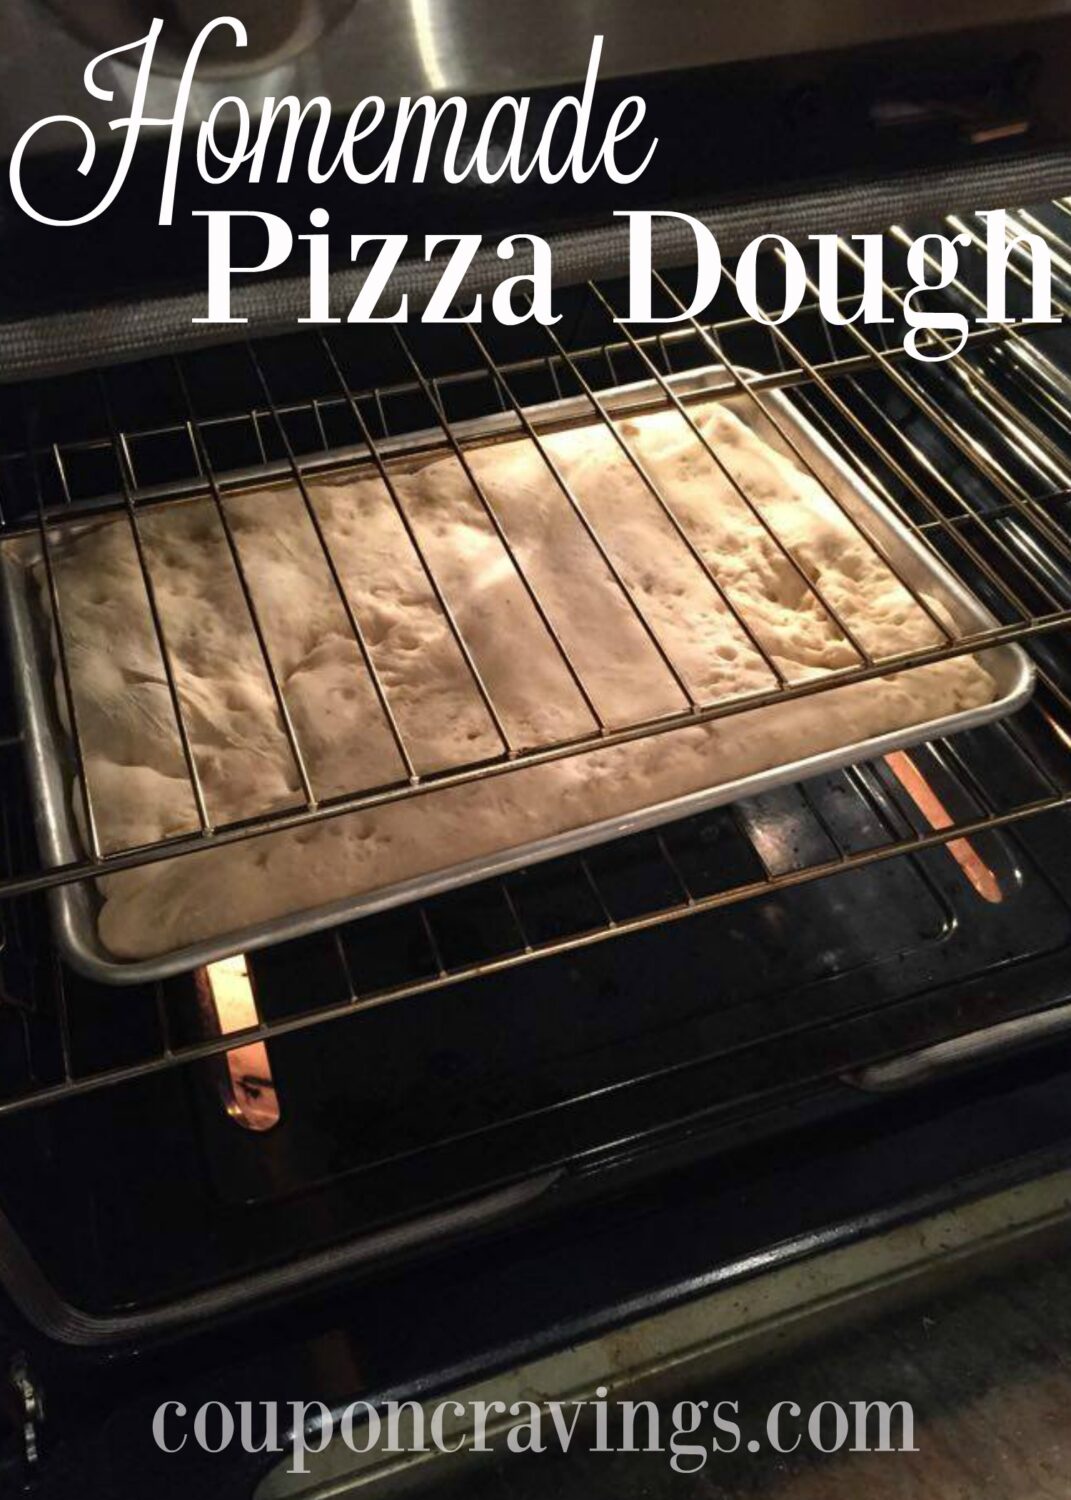
Step 2: Rest the Dough
After the process is complete, take the dough out of the container and put it on a surface that you have sprinkled with flour. Form it lightly into a ball shape, cover it with a clean kitchen towel or with some plastic wrap, and let it sit for half an hour. The dough will expand a little and will be noticeably softer and easier to work with. This period of rest is what determine dough that tears from dough that can be easily stretched.
Step 3: Shape the Dough
Using olive oil or cooking spray, grease a half-sheet pan (18×13 inches). Place the dough in the pan, and using your fingers and palms, press it along the edges. If the dough continues to snap back, stop, cover it with plastic, and try again in a few minutes — it just needs a short rest. You don’t need a dough roller for a sheet pan pizza, but it will make the job quicker if you have one. Start from the middle and work your way out until the dough reaches the edges of the pan in a uniform manner.
Step 4: Prebake the Crust
Set your oven temperature to 450 degrees F. While your oven is heating up, allow the shaped dough to sit on the pan for another 10 minutes. This will help the dough to puff slightly and aid in achieving an even lighter texture in the final crust. Once preheated, slide the pan into the oven and bake the crust for 15 minutes. It’s ready to come out when it has set and the edges are starting to turn a light golden brown color. Remove it from the oven.
Step 5: Top and Finish Baking
Add your sauce, cheese, and toppings, then bake your pizza in the 450°F oven for 10-12 minutes. Take the pizza out of the oven when the cheese is melted and bubbly, and the crust is brown and crispy along the edges. Let the cheese set for about 5 minutes on the pan before cutting your pizza or else the cheese will be super gooey and the first slices will be a mess.
The best type of pizza cutter is one with a large wheel, as it cuts through a sheet pan pizza a lot better than a knife would. Rocking style cutters are good too, but for cutting rectangular pan pizzas a wheel cutter is more convenient.
Tips for Better Results
Don’t Skimp on the Olive Oil
A quarter cup may seem like a lot for a bread dough, and it is more than a lot of sandwich bread recipes call for. But remember this isn’t a loaf dough, it’s pizza dough. The fat in the dough is what gives it a crisp, chewy texture instead of a soft, bready texture. So don’t cut the fat.
Use a Scale If You Can
Make sure you measure your flour correctly! Measuring 3½ cups can vary based on how you scoop. If you pack the cup too much, you will have excess flour causing the dough to stiff and hard to stretch. A more accurate way of measuring would be 420 grams which can be done easily using a kitchen scale. If you are measuring out 3½ cups using the scoop method, use the spoon and level method. Flour should be spooned into the measuring cup and leveled off with a knife.
Grease the Pan Generously
A pizza that sticks to the pan can be terribly frustrating. Go ahead and use more oil than you think you need. You should have enough oil so that there is a visible slick on the bottom of the pan. Using a lot of oil like this will ultimately help the bottom of the crust crisp up and steam instead of just being soft and soggy.
Don’t Overload the Toppings
All toppings add moisture leading to a possibility of a soggy crust, even after prebaking. For loads of toppings and to help avoid crust sogginess, prebake for the full 15 minutes, not 12. Also ensure vegetables get patted dry before topping the pizza. Blot fresh tomatoes after draining.
Try a Pizza Stone for Individual Pizzas
A pizza stone definitely helps. If you split the dough into individual portions, and want something crispier than a sheet pan offers, preheat the stone in the oven for 30 minutes at 500°F. Place each shaped pizza directly onto the stone. This is how you get that pizzeria-style bottom crust. It’s the one piece of equipment that noticeably changes the outcome. If you aren’t planning on making round pizzas often, a pizza stone isn’t required for sheet pan pizzas. If you are making round pizzas, the pizza stone is definitely worth it.
Stand Mixer Method (No Bread Machine)
Combine warm water and yeast in the mixer bowl and let it stand for five minutes until it gets foamy. Next, add the olive oil and the dry ingredients. Beat with the dough hook set on low for two minutes then on medium for six to eight minutes, until the dough is smooth, lighty tacky and cleans the side. Put it in a bowl that has a light coat of oil and cover it. Let it rise in a warm place for one hour until it doubles. When it doubles, continue with the shaping.
Hand Method
In a big mixing bowl, combine the dry ingredients. Create a small crater, add the water and oil. Stir until you see clumps of dough, then pour onto a surface that has been dusted with flour. Knead the dough for about 10 minutes until it becomes smooth and elastic. Dough should slowly spring back after being poked. Cover the dough and let it rise for about 1 hour. Same result, more effort – totally doable.
Storage and Make-Ahead
Refrigerator
After the dough cycle ends (or once it has risen if using a different method), the dough could be kept in the fridge for up to three days before using it. Just put the dough in a bowl that is slightly oiled, wrap it in plastic wrap, and stick it in the fridge. When you’re ready to use the dough, take it out of the fridge 30-60 minutes in advance so it can get to room temperature. Dough that is cold will fight you when you try to stretch it.
Freezer
The dough can be frozen for up to 3 months. Once the dough has risen, divide it into sections, whether it be a full batch, half batch or a single pizza-sized section. Shape the sections into balls, lightly coat them with olive oil, and tightly wrap them in plastic wrap and place them in a freezer bag. To use the dough after it has been frozen, thaw it in the refrigerator overnight and then let it sit at room temperature for 30 to 60 minutes before shaping it. Do not try to thaw it at room temperature before this. This dough is unique in that when it is thawed at room temperature, the outside gets warm, but the inside stays cold. This will also cause the yeast to reactivate in an uneven manner.
Leftover Baked Pizza
When refrigerated, leftover pizza lasts for 3-4 days if kept wrapped or in an airtight container. It can be reheated in the oven at 375°F for 8-10 minutes or on the skillet at medium-low heat for 5-6 minutes (keep the lid on). Soggy crust is the dreaded outcome of pizza reheating, and nobody wants that! The oven and skillet methods preserve crust status while microwaving just doesn’t work. The skillet method is also quicker and gives your pizza an extra crispy crust.
Frequently Asked Questions
Can I make this without a bread machine?
Sure! One of the simplest options would be using a stand mixer with a dough hook attachment, but it would require an additional hour of rise time. The estimated time for the process would be around 15 minutes of active time. It can also be done completely by hand, in which case you would need to add 10 minutes of kneading. The only difference in the methods is that you get more of a break when using a bread machine. If you bake a lot of bread, a bread machine is definitely worth it. Even if you don’t end up using it much, you’ll often be able to find them at thrift stores and garage sales for next to nothing, and the timesaving aspect is definitely nice.
My dough isn’t rising. What went wrong?
In most cases, the yeast is the problem. It is possible the water was too hot and killed it, or the yeast may have been expired and inactive. To test yeast before using, mix the yeast with 1/4 cup of warm water and add a little sugar. Let it sit for 10 minutes. If it foams and bubbles up, then the yeast is active. If nothing happened, then the yeast is expired and must be replaced. Dry yeast has a shorter lifespan when it is kept in a warm pantry. For a longer shelf life, keep it in the freezer.
Can I use this dough for more than sheet pan pizza?
Yes. This dough can be used for round pizzas, calzones, stromboli, breadsticks, and flatbreads. To make round pizzas on a pizza stone, divide the dough in half, as this will make two 12-inch pizzas. For breadsticks, after the rest period, cut the dough into strips, brush them with garlic butter, and then bake for 12–15 minutes at 425°F.
Can I use whole wheat flour?
You can substitute about 50 percent of the flour with whole wheat flour and not have to change much about the handling or the the texture of the dough, a substitute of all of the flour will create a much denser and heavier crust that is more difficult to stretch and will affect the chew of the crust. If you are looking for the nutritional advantages of whole wheat, start with a 50/50 blend and change it from there depending on how you like the end product.
How do I know when the pizza is done?
The cheese needs to be completely melted and have a few spots of light brown or golden discoloration. The crust’s edges have to be deep golden brown. They shouldn’t be a light shade of yellow. If you can’t tell for sure, lift the edge with a spatula and look at the bottom crust — it should be golden and not white. Most of the time, 10–12 minutes at 450°F after the prebake is spot-on, but remember that every oven is a little different.
Can I make the dough ahead of time?
Yes! This is one of the best elements of this recipe. You can prepare the dough the day prior, store it in the refrigerator overnight, and take it out 45 minutes before you start shaping. Dough that is cold-fermented develops more flavor than dough that is used on the same day. Many great pizzerias use a similar method as they do overnight refridgerated rises. If you have the time, then definitely do this. It is worth it!
What’s the best sauce for homemade pizza?
For a sheet pan pizza and this crust, an easy raw sauce can be made with canned crushed tomatoes that’s seasoned with a little salt, some minced garlic, and a little dried oregano. Thinly spread sauce over the crust. Too thick of a layer of sauce will create moisture and make the crust soggy, even after it’s been pre-baked. Approximately ¾ cup of sauce for the entire pan should be just about right. If you’d prefer a white pizza, it’s even possible to spread a thin layer of ricotta, mixed with garlic and herbs, in place of the tomato sauce.
Related Recipes
Should you prepare this dough frequently, you can use it for the following recipes:
- Homemade Garlic Butter Breadsticks — use the same dough, skip the pizza step
- Easy Calzone Recipe — fold dough over ricotta and pepperoni, seal edges, bake at 425°F for 20 minutes
- Sheet Pan Stromboli — roll dough thin, layer fillings, roll up and bake
- Homemade Focaccia — this dough adapts well with extra olive oil and rosemary pressed in before baking
After you’ve mastered the dough, it becomes a base for other weeknight dinners, not just for pizza.
Easy Homemade Pizza Dough
Equipment
- Bread machine
- Half sheet pan
Ingredients
Ingredients
- 1 1/3 cups warm water
- 1/4 cup extra virgin olive oil
- 3 1/2 cups unbleached all-purpose flour
- 1 tablespoon sugar
- 1 1/2 teaspoons sea salt
- 1/2 teaspoon garlic powder
- 1/2 teaspoon Italian seasoning
- 1 packet active dry yeast or 2 1/4 teaspoons
Instructions
Instructions
- Add warm water to the bread machine pan, followed by olive oil, flour, sugar, salt, garlic powder, and Italian seasoning.
- Make a small well in the flour and add yeast last.
- Run the bread machine dough cycle, about 90 minutes.
- Remove dough to a lightly floured surface, shape loosely into a ball, cover, and rest 30 minutes.
- Grease a half sheet pan and press dough toward the edges. Rest 5 minutes if it snaps back.
- Preheat oven to 450°F and let shaped dough sit 10 minutes.
- Bake bare crust for 15 minutes, until set and lightly golden at the edges.
- Add sauce, cheese, and toppings. Bake 10 to 12 minutes more, until cheese is melted and crust is deep golden.
- Cool 5 minutes before cutting.