

Refrigerator Pickles Recipe
All there is to making pickles is slicing up some cucumbers, making a simple brine and then WAITING. That’s the hard part.
These refrigerator pickles are so easy to make with no canning equipment required. No boiling water bath to worry about either.
The recipe below makes enough to fill a one-gallon container.
These are hands-down the easiest, tastiest pickles to make. There’s nothing like a batch of these in the refrigerator.
My husband hates it when I make them because he can’t wait to eat them but I’m not letting him get away with raiding the refrigerator and ruining a perfectly good batch of pickles. Not on my hands.
You have to wait at least THREE DAYS before eating them for the BEST refrigerator pickles EVER. Seriously, they are so much better than store-bought and worth the wait.
Trust me.
Why Three Days Makes All the Difference
Some people (my husband included) want to dig in early. But the pickles are not going to be ready.
After a day in the brine, the liquid has penetrated the cucumbers on the outside but not all the way through so if you happen to bite into one and eat mostly the middle, it’ll taste like a cucumber. Not a pickle.
After three days in the brine, the pickles are ready and the liquid has made its way all the way through each slice making them tasty from edge to edge. Refrigerator pickles keep up to 3 months in cold refrigeration.
What Goes Into Refrigerator Pickles
It’s tempting to change things in recipes but each item plays an important role so changing or substituting will result in different end product.
- 8 cups sliced cucumbers, about 1/4 inch slices or about 4-5 medium cucumbers
- 4-5 small onions, sliced
You can use regular cucumbers but Kirby cucumbers aka pickling cucumbers are much crisper because they have firmer flesh and a thinner skin. Start out with crisp cucumbers for crispier pickles.
Once they’re in the pickling liquid that’s how they’ll be. If your cucumbers are giving you a little in your hand, the pickles will be too.
No helpin’ that situation but choosing crispy ones to start with will help.
We know it’s cucumber season right now, but did you know onions mellow out in a pickle brine and seem even sweeter? We call these bread and butter pickles but you could call these sweet onion and cucumber refrigerator pickles, too.
White, yellow, or red onions work well, as red ones will be a tad spicier and will lend a pretty pink hue to the vinegar.
- 1/3 cup salt, because you should use non-iodized salt for pickling since iodized table salt changes the flavor and will make the pickling brine cloudy. Pickling salt dissolves clear, and kosher salt works well, though use a tad less than called for as the grains are larger.
- 3 1/2 cups sugar – The recipe has just the right balance of sugar and vinegar. Cutting back on the sugar too much will result in pickles that are uncomfortably vinegary. Bread and butter pickles are supposed to be on the sweeter side, they’re not trying to be a dill pickle.
- 3 cups vinegar, and we recommend plain white distilled for a more crisp flavor, whereas apple cider vinegar has a milder flavor with a hint of fruity notes and lends a gorgeous deep golden hue to the brine.
- 1 teaspoon turmeric – Lends color to the recipe. You’re looking for that gorgeous yellow hue and don’t really detect any flavor.
- 1 teaspoon celery seed – Lends a bit of scent and bitterness to the recipe. Definitely needed for the perfect bread-and-butter pickle flavor.
- 1 teaspoon mustard seed – You’ll see these clinging to your pickles, and they lend a nice heat and crunch. Mustard seeds are expected in bread-and-butter pickles, because they’re pretty natch.
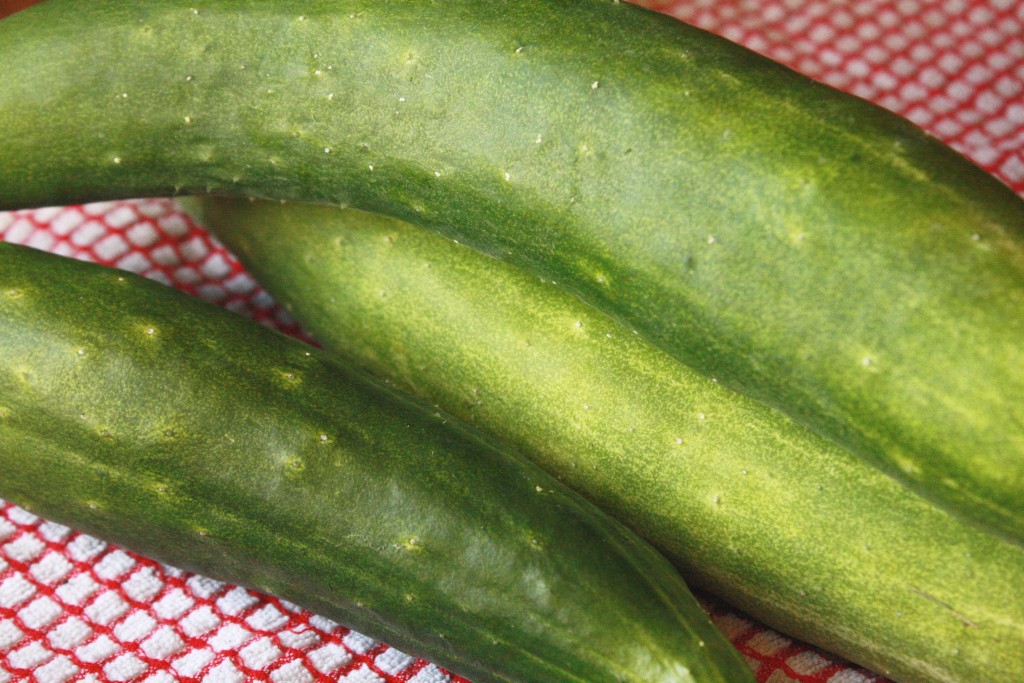
How to Make Refrigerator Pickles
Preparation Time: about 15 minutes. Refrigeration Time: lotsa.
Step 1: Prep the cucumbers and onions
Clean off all of that nasty dirt from your cucumbers.
You do not have to peel your pickles. It’s easier to leave the peel on (trust me) and they hold their shape better, being not overly firm and not overly soft.
The skin adds a nice texture.
Try to keep your cucumber slices an even thickness. Some may be softer and others firmer by day three.
A mandoline is helpful and quick for this. Otherwise, a sharp knife works well.
I promise it’s easier than it sounds. Just take your time and cut 1/4-inch rounds.
It’s a lot easier than I remember it being.
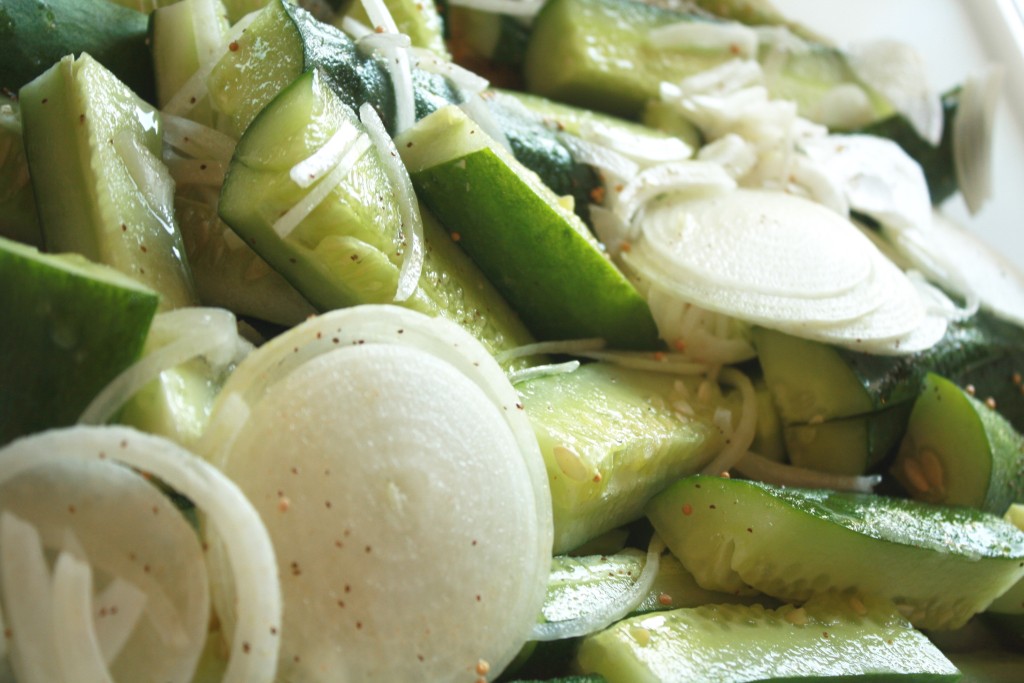
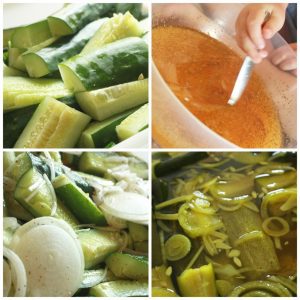
The gallon container pictured here holds pickling cucumbers sliced into rounds and sliced onions. Add sliced onions if you like.
Give them a toss with cucumbers before adding the vinegar/sugar/salt mixture.
Step 2: Mix the brine
Add the salt, sugar, vinegar, turmeric, celery seed, and mustard seed in a bowl or large measuring cup. Stir for a minute or two.
It will start to smell really good, being sweet and pungent. The turmeric gives it a nice, golden yellow color.
Make sure that the sugar has all dissolved, because otherwise, your pickles will be a little grainy.
Step 3: Pour the brine over the cucumbers
Give the pickles a gentle stir so the brine gets to all of the slices. They may not be submerged yet but they will sink as they sit.
Cover and store in the refrigerator.
Step 4: Wait three days and stir once a day
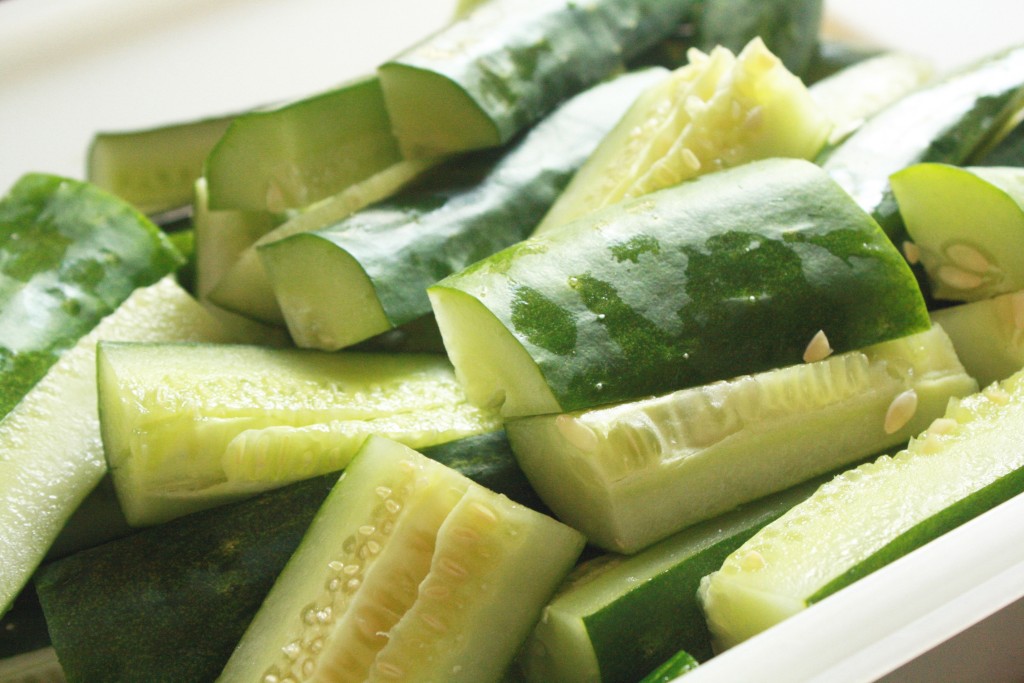
I know…waiting is the hardest part. Try to resist the temptation to taste them early.
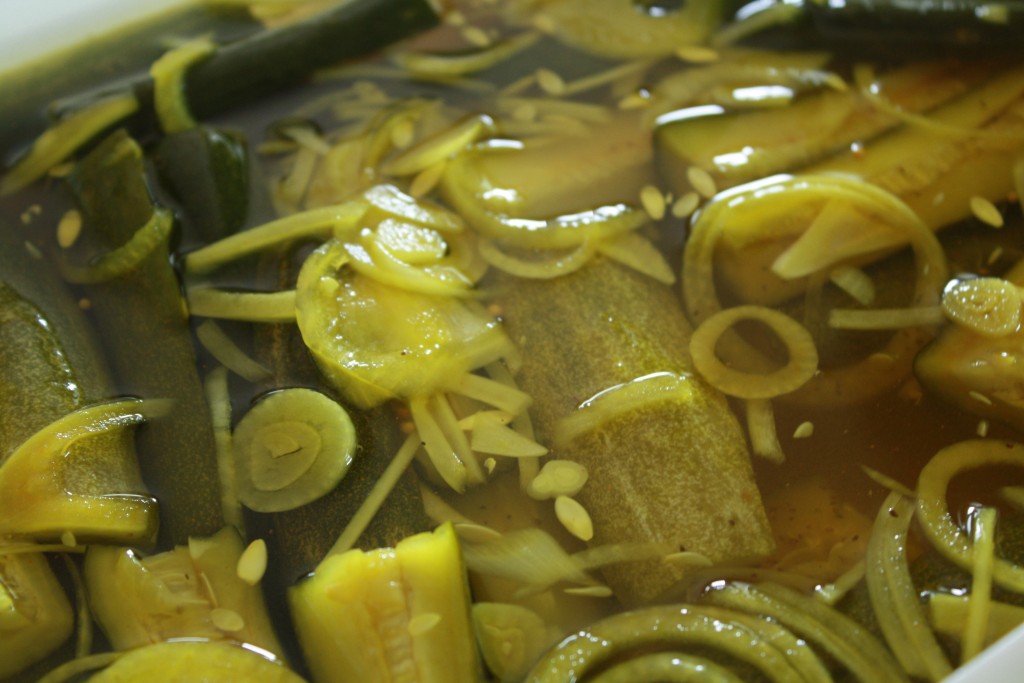
By the end of day three, they’ll be pickled all the way to the middle of each slice. Give the jar a good shake or stir once a day so that all of the slices get an even amount of pickle-y goodness.
Things Worth Knowing Before Day Three
I used to make refrigerator pickles in takeout containers and they absorbed a lot of refrigerator smells because the lids were loose. Invest in a mason jar and lid.
Save me and you the hassle. I promise.
Label them
Label the jar, even if it’s just with masking tape, with the date. It will take you about five seconds, and it will save you in October when you have no idea if those pickles have been sitting for three months.
Give ‘em a stir
This is an opportunity to give them a stir. Otherwise, the ones at the top will not be as brined and the ones at the bottom will be over-brined.
On the third day, taste one, not to see if they taste like dill pickles, but to make sure they taste sweet. Enjoy.
Pull them out a bit ahead of time before serving, especially in warm weather at a cookout, as their flavor is not as pronounced when they are ice-cold from the refrigerator.
Four Ways to Change It Up Once You Have the Base Recipe Down
Add garlic
In my multiple batches of pickles made using this recipe, I’ve made them plain (shown here), with red pepper flakes (below) and with garlic, though not photographed. The latter two are tested additions.
The plain and the garlic versions are my favorites and what I am most likely to make. Garlic.
Add 3-4 cloves, smashed, to the pickles before adding the brine. The garlic lends a savory note that is very nice in the brine.
The garlic does not overpower the pickles, I promise.
Add red pepper flakes
I started by adding 1 tsp. and letting them sit. The longer they sit the spicier they get.
Add as many as you’d like, but start with less because you may be expecting sweet and have the entire batch ruined.
Swap to apple cider vinegar
Apple cider vinegar offers a darker, golden colored pickle. It’s a bit of a personal preference.
The apple cider vinegar offers a more fruity, mellow pickle. The white vinegar offers a brighter, sharper flavor.
Add other vegetables: Feel free to add other veggie choices to the jars, such as green bell peppers, cauliflower, even jalapeño peppers. The jalapeños soak up the pickle juice like crazy.
How Long Refrigerator Pickles Keep (and What Happens After)
Keep them refrigerated: These are refrigerator pickles for a reason. They can be stored in the refrigerator for up to 3 months and will start to get a little less firm and flavorful after that point.
Discard pickle jars that develop an off smelling or cloudy pickle juice. Unlike traditional canned pickles, these pickles need to remain refrigerated because they are not processed and don’t create an airtight seal.
Do not leave out on the counter.
Freeze them?
Pickled cucumbers do not fare well when frozen. The texture changes drastically and cannot be undone.
Refrigerator Pickles FAQ
Can I use regular table salt instead of pickling or kosher salt?
You can, but table salt contains additives including iodine that will result in a murky, cloudy pickle juice. It will not affect texture.
For best results, use kosher or pickling salt. You should be able to find pickling salt in the baking section at your local grocery store.
Why do my pickles taste more like cucumbers than pickles on day one?
You cannot negotiate the three-day wait. On the first day, the pickle juice has penetrated the cucumbers on the outside only.
It takes a few days for the pickle juice to make its way to the middle of the cucumbers. Trust me, they will be so much better after sitting for three days.
Can I eat them after 24 hours?
Technically, but again, I promise that they will be so much better after waiting. Trust me.
Why do my pickles taste more like cucumbers in sweet vinegar?
If you’re pulling slices out after they’ve been soaking only a day, that’s what you’ll taste. There are tons of recipes for “quick-pickled cucumbers,” which use hot brine and are ready to eat right away, but if you’re hoping for actual refrigerator pickles, give them more time.
Why is there so much liquid in my pickle jar?
As the pickles cure, the cucumbers will give up some of their liquid and the level will rise. Stir them daily to make sure the slices that float to the top are getting plenty of pickle juice.
If needed, fill a small zip-lock bag with some of the brine and rest it on top of the pickles on day 1. Remove the bag once the cucumbers submerge.
Can I use the pickle juice a second time?
Sure, why not. Start another batch of pickles with a few slices of cucumber and some onion.
They won’t be as flavorful, because the cucumbers release a lot of liquid as they pickle, diluting the brine, but they’ll be perfectly edible. But save yourself some work, as I wouldn’t go so far as to pickle a third time.
Start fresh.
What kind of cucumbers do I use?
Kirby cucumbers (also sold as “pickling cucumbers”) are best, as they’ll be the crunchiest. But any kind will work.
You could even use the long, soft English cucumbers. Avoid yellow or soft cucumbers.
Can I pickle them without garlic?
Sure, if you’d like. Simply omit it.
Equipment That Makes This Easier
- Mandoline slicer, because a mandoline helps ensure that you’ll be able to slice cucumbers in an even thickness, resulting in an even texture. Definitely use the guard. Definitely.
- Wide-mouth gallon mason jar, since narrow-mouthed jars are annoying to fill, stir, and fish around in, which is exactly what you’ll be doing with refrigerator pickles. A wide-mouthed gallon jar makes this recipe so much easier.
- Pickling salt — Pickling salt will dissolve faster than kosher salt and won’t leave a murky brine as some other salts do.
More Easy Sides and Summer Staples
Refrigerator Pickles
Ingredients
Ingredients
- 8 cups sliced cucumbers about 4 to 5 medium cucumbers
- 4-5 small onions sliced
- 1/3 cup non-iodized salt
- 3 1/2 cups sugar
- 3 cups vinegar
- 1 teaspoon turmeric
- 1 teaspoon celery seed
- 1 teaspoon mustard seed
Instructions
Instructions
- Wash the cucumbers and slice them into rounds about 1/4 inch thick. Slice the onions thinly.
- Add the cucumbers and onions to a 1-gallon container and toss gently to combine.
- In a separate bowl, stir together the salt, sugar, vinegar, turmeric, celery seed, and mustard seed until the sugar and salt dissolve.
- Pour the brine over the cucumbers and onions. Stir gently, then cover the container.
- Refrigerate for at least 3 days, stirring or gently shaking once a day.
- Keep the pickles refrigerated and use within 3 months.