
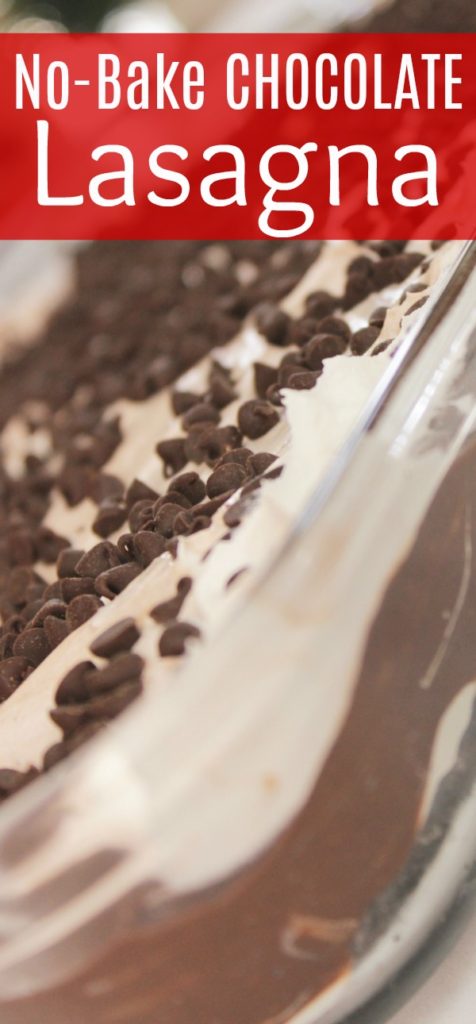
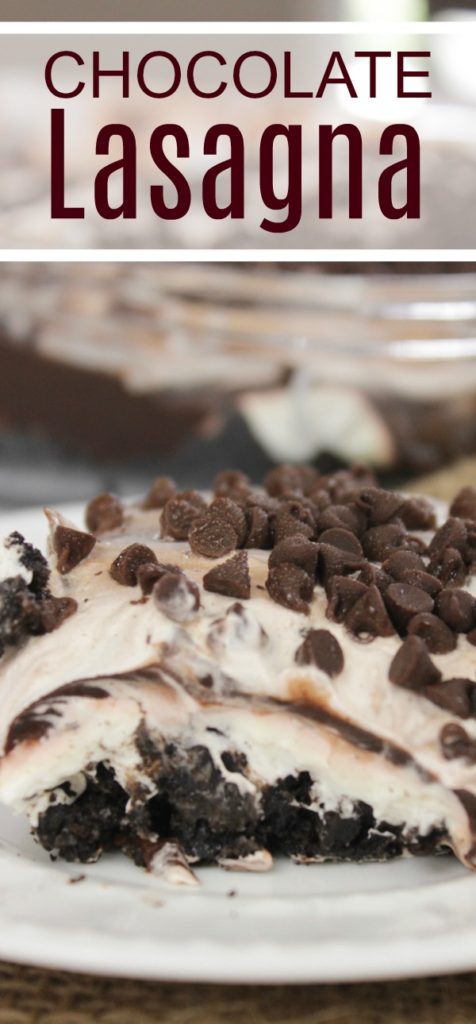
No Bake Chocolate Lasagna Cake Dessert Recipe
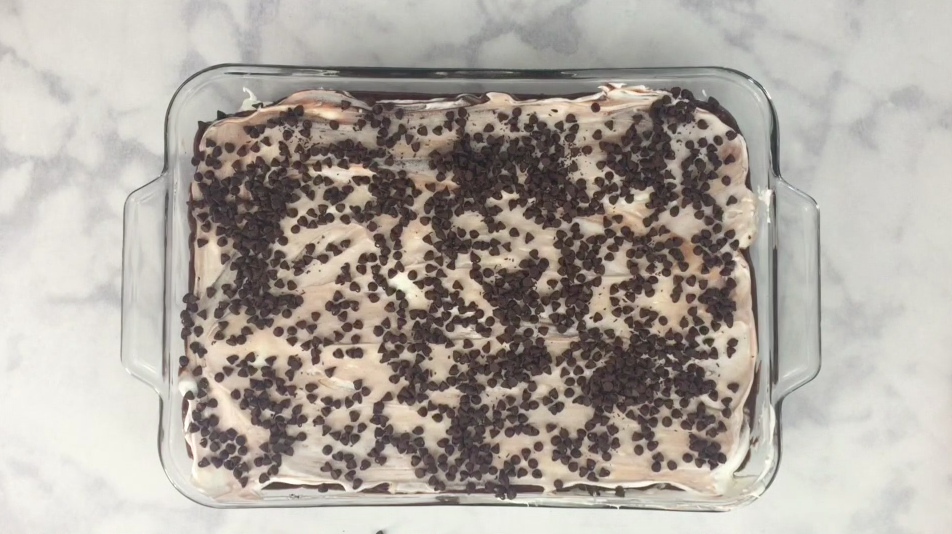
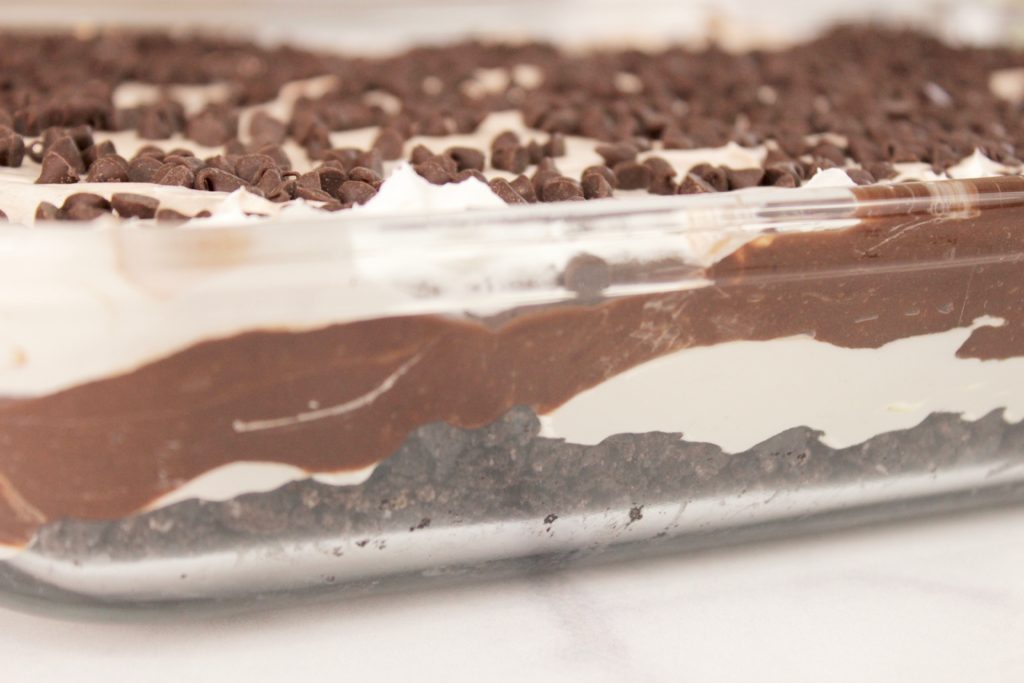
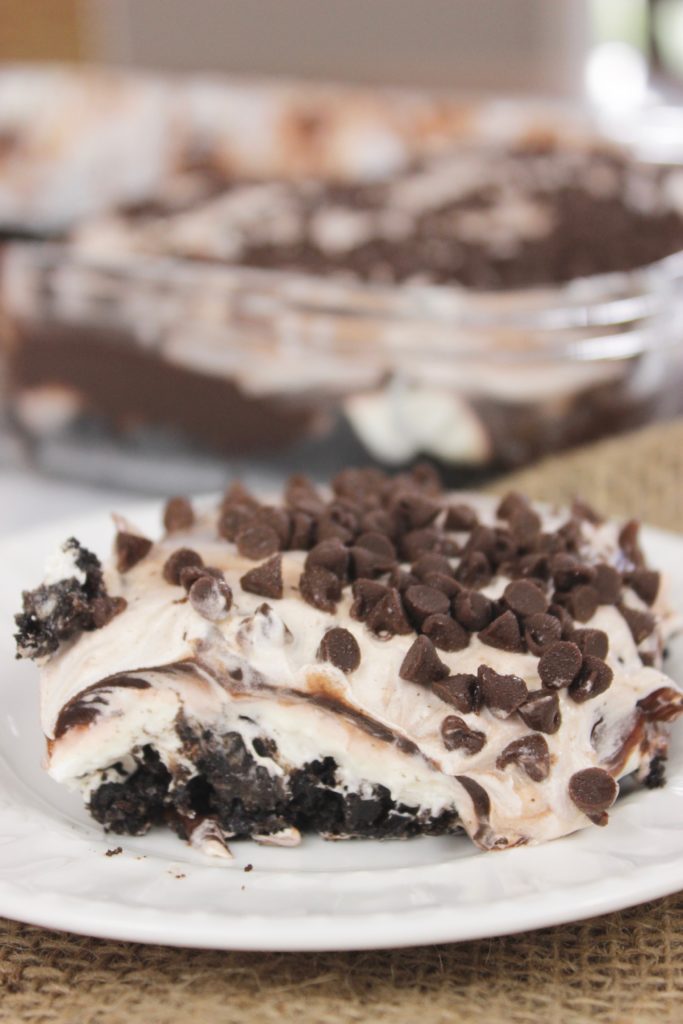
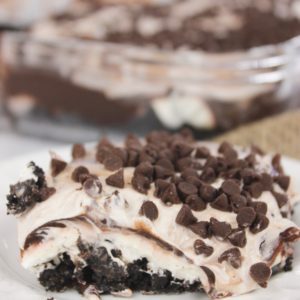
This no-bake chocolate lasagna cake features an Oreo crust lasagna-style bottom layer, a middle layer of cream cheese with Cool Whip and a top layer of thick chocolate pudding. It is finished off with additional Cool Whip and sprinkled mini chocolate chips. I originally made this for my husband’s birthday, since he prefers chocolate mousse to cake, and now I am making this over and over. Most of the time is spent waiting for the cake to set in the fridge and the actual work is only about 20 minutes.
You don’t need an oven or a mixer (other than for beating the pudding), and there’s no fancy skills involved. All you need to do is crush some Oreos and stir the pudding and you can do this. Best of all, it serves a ton of people (a full 9×13 pan) so it’s perfect for an event like a birthday or summer cookout, or even just to have something to grab in the fridge during the week.
What Makes This Pan So Good
- Layered texture in every bite. The Oreo crust stays firm and slightly crunchy, the cream cheese layer is thick and tangy, the pudding layer is rich and smooth, and the Cool Whip on top is light. That contrast is the whole point.
- No baking required. The fridge does all the setting — you just need a couple of hours of patience, or you can freeze it for a faster turnaround.
- Scales for a crowd. A 9×13 pan cuts into 20 generous squares or 24 smaller pieces. It holds up well in the fridge for days without getting soggy.
- The ingredients are all grocery store staples. Oreos, cream cheese, Cool Whip, instant pudding, butter, sugar, and mini chocolate chips — nothing obscure, nothing that requires a specialty store run.
- Make-ahead friendly. It genuinely gets better after sitting overnight. The layers firm up and meld together in a way they don’t quite do after just an hour.
What to Know Before You Start
Here are some important things to know before you begin layering:
Don’t choose Double Stuf Oreos. These alter the balance between the cookie parts and the cream filling. We don’t want the crust to get greasy and lose its shape. Instead, we want to actually use regular Oreos, filling included, and then we will be good to go.
To avoid making mistakes, let your cream cheese get completely softened. Don’t be in a hurry, cream cheese that’s too cold will cause lumps in the white layer of the frosting, and you won’t be able to get rid of them, no matter how bad you want to. You should set it out 30-45 minutes before you start making it; if you forgot you can do a quick zap in the microwave for 20 seconds (remember to remove the foil wrapper if it has one). When pressed cream cheese should indent, and be soft all the way through!
The pudding layer is quick to set. Once the instant pudding has been whisked together with the cold milk, it starts to set within just a couple of minutes. It’s best to have the cream cheese layer spread first before mixing the pudding. That way you can pour it while it’s still pourable. If you wait too long to pour it after it’s been sitting on the counter, it will thickens and becomes really difficult to spread.
Time to chill is important. The instructions say to chill it for at least one hour but two hours is better. Overnight is best. After one hour the pudding layer is set but the cream cheese layer might still be a bit soft on the edges. If you can, take more time.
If you are going to use Cool Whip as a topping, put it on right before serving. If you are making it the evening before, don’t add the last layer of Cool Whip and chocolate chips until just a couple of hours before serving or you can do it just before serving. While Cool Whip can withstand being in the fridge overnight, if you want it to look fresh and not as compacted, add it closer to serving time.
Ingredients
Here is all you need for a complete 9×13 pan:
For the Oreo Crust
- 1 package Oreo cookies (about 36 cookies) — Use regular, not Double Stuf. You’ll crush the whole cookie, filling and all.
- 6 tablespoons butter, melted — This binds the crust. Real butter works better here than margarine for holding the crust together once chilled.
For the Cream Cheese Layer
- 8 oz. cream cheese, softened — Full fat, brick style. The spreadable kind in a tub is softer and will make the layer looser than you want.
- 1/4 cup granulated sugar — Just enough sweetness to balance the tang of the cream cheese without making the layer cloying.
- 3 tablespoons cold milk — Helps loosen the cream cheese mixture so it spreads more easily without thinning it out too much.
- Half of a 12 oz. tub of Cool Whip, thawed — The other half goes on top as the final layer. Thaw it in the fridge overnight — don’t rush it on the counter.
For the Chocolate Pudding Layer
- 2 packages (3.9 oz. each) chocolate instant pudding — Instant, not cook-and-serve. The cook-and-serve kind won’t set up the same way in this recipe.
- 3 1/2 cups cold milk — Cold is important — instant pudding sets up better with cold milk. Room temperature milk will give you a thinner, slower-setting result.
For the Top Layer
- Remaining Cool Whip — The second half of the tub, spread over the set pudding layer.
- 1 cup mini chocolate chips — Scattered on top of the Cool Whip. Mini chips work better than regular here because they distribute more evenly and you get a little crunch in every bite without one big chip landing in your way.
How to Make It
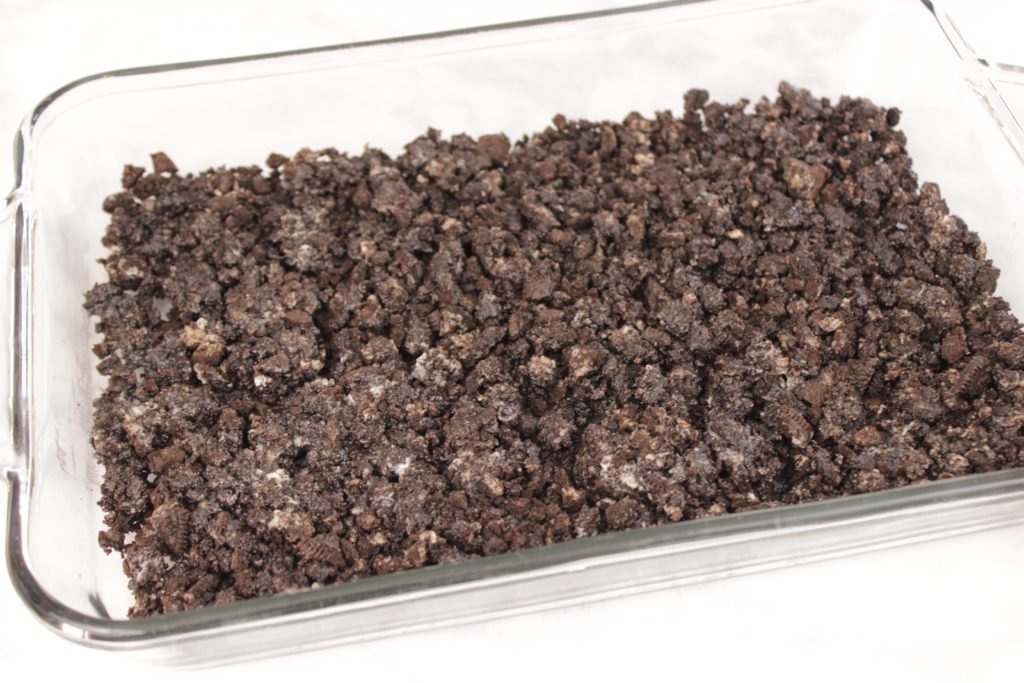
Step 1: Make the Oreo Crust
To begin, take one or two packages of Oreos and place them into a gallon-size zip-top bag. You may need to do this in intervals to avoid crowding the bag. Next, seal the bag leaving a small amount of air in the bag so that the bag has room to expand. Begin crushing the cookies within the bag using a rolling pin so that the cookies are reduced to very fine crumbs. The goal is to have the cookies broken down enough to fill a pie crust with no excess, but chunky pieces of cookies. It’s better to err on the side of crushing them more than to do it too little, so make sure that the cookies are finely crushed to buttery powder as the chances that you will lose some of the crumbs when pouring it into the butter are high.
Add the crumbs to a large bowl and add melted butter to the crumbs. When you coat the crumbs in the butter, a mixture should form that holds together when you pinch it. If the mixture seems too dry, add another half tablespoon of butter.
Evenly distribute the mixture at the bottom of a 9×13 inch baking dish. Use the flat bottom of a measuring cup or glass to press down firmly – a loose crust will crumble when cut later. While making the next layer, place the pan in the fridge for 10-15 minutes.
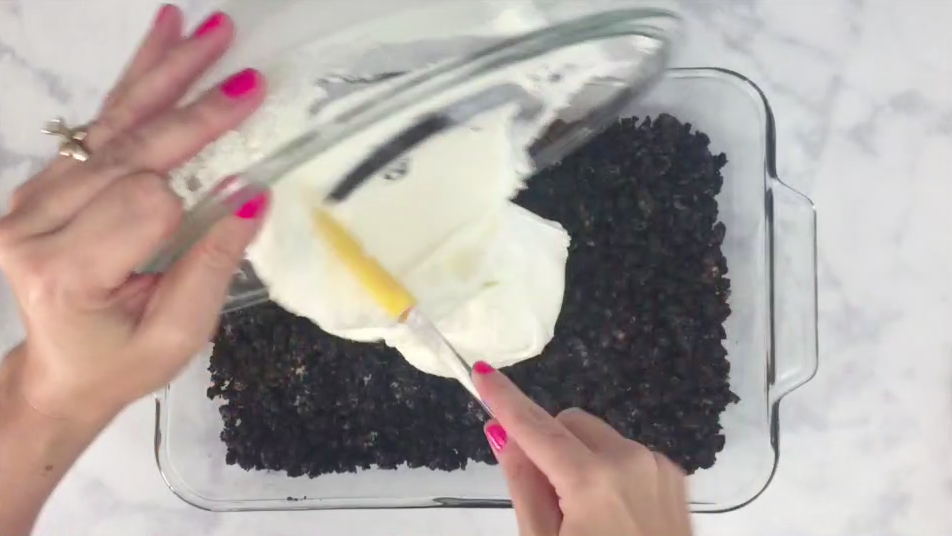
Step 2: Make the Cream Cheese Layer
Prepare a big bowl and add cream cheese. Make sure it’s smooth and lump free. Continue with the recipe and add in sugar and 3 tablespoons of milk. Beat again. Add in half the tub of Cool Whip and use a spatula to combine. Mixture should be smooth and fluffy, thick, and spreadable (not runny). If the mixture seems to stiff, add an additional 0.5 tablespoon milk.
Spread this mixture over the Oreo crust evenly. Go slow and gentle, and do not press too hard, or you will drag up pieces of the crust. If you have an offset spatula, go ahead and use that. If not, a regular spatula will be fine. Place this back in the fridge while you make the pudding.
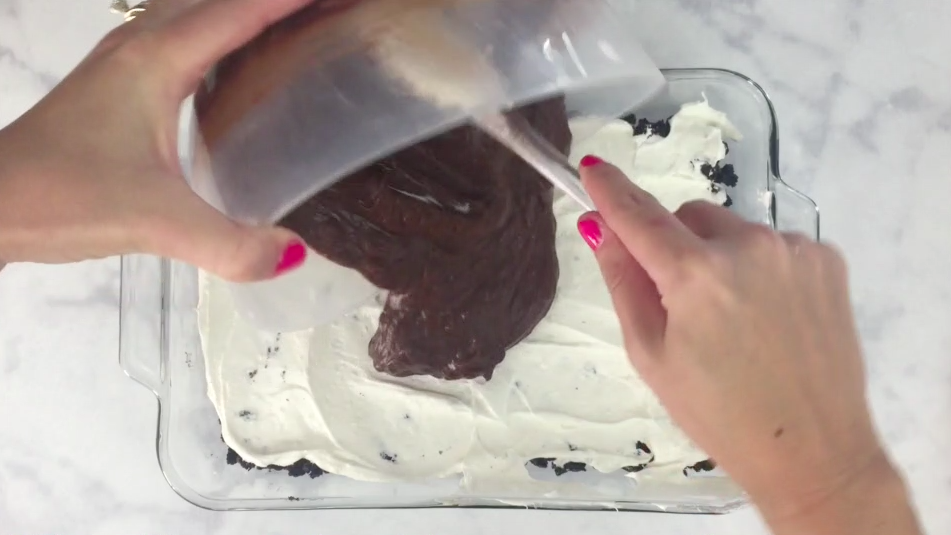
Step 3: Make the Chocolate Pudding Layer
Take a different big bowl and combine the two boxes of instant pudding with the 3 1/2 cups of cold milk. Then, using a whisk, mix for about 2 minutes. You’ll notice it will thicken almost immediately. You don’t want to walk away and let it rest. You want to pour it while it is still a pourable consistency.
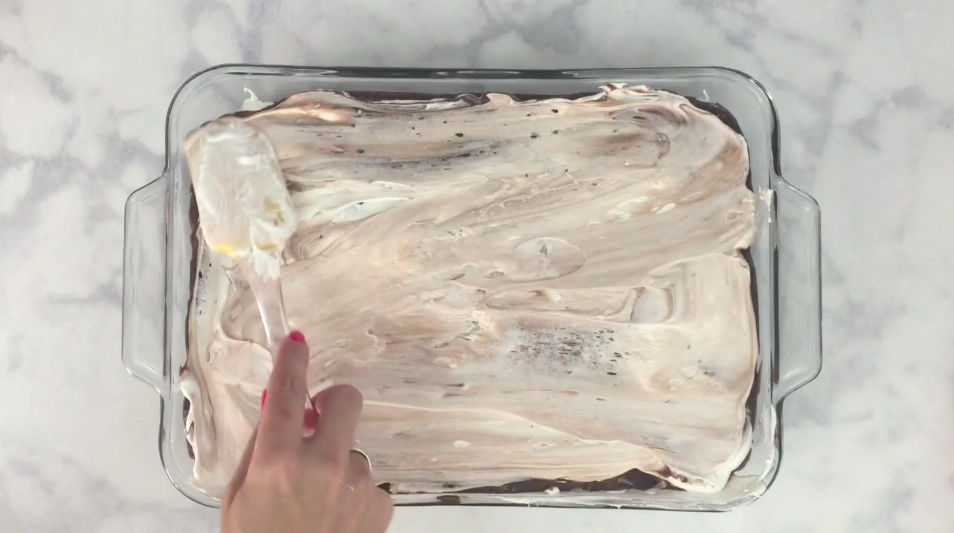
Gently pour the pudding over the cream cheese layer and spread it to the edges. It’s fine if some of it slightly merges with the cream cheese layer at the edges — the layers will be distinct after it chills and sets. Try to smooth the top as best as you can.
Step 4: Chill Until Set
Place the pan in the fridge for a minimum of 2 hours, or overnight, to really let it set. If you need it done quicker, you can also put it in the freezer for 45 minutes to 1 hour. Just be sure to check on it so that it doesn’t freeze completely. You want the mixture to be set and firm, but not completely frozen.
You will know it’s ready when the pudding layer is set, there’s no jiggling when you gently shake the pan, and a toothpick stuck in the middle comes out clean (not gooey with liquid pudding).
Step 5: Add the Top Layer
After the pudding layer has completely set, take the remaining Cool Whip and evenly spread it over the surface. Then, sprinkle the mini chocolate chips all over. The chocolate chips give the pudding and Cool Whip a little extra bite which is delicious so be sure to add them.

You can cut and serve directly from the pan. For cleaner cuts, run a sharp knife under hot water and wipe dry between slices.
Helpful Tips
Getting Clean Slices
Run your knife under hot water, dry it, and cut. Repeat between each slice. If you use a dry, cold knife, it will drag and smear when cutting your dessert. With each slice, you should use the hot water technique for a clean cut, particularly the first cut.
Pressing the Crust Firmly
Instead of just using your fingers to press down the Oreo crust, use the bottom of a measuring cup or a similar glass so that you can really pack it down. A crust that gets pressed in really well will stay together when you cut the dessert, giving you a nice, clean layer of crust at the bottom of each serving. In contrast, crusts that aren’t pressed down tightly will fall apart and crumble as soon as you try to cut them.
Getting the Cream Cheese Smooth
If your cream cheese is lumpy even after you’ve tried everything, try slightly warming the bowl — place it over a pot with hot water (not boiling) for a minute, or place it in a warm oven for 30 seconds. The goal is to have cream cheese that is fully softened with no cold spots. The most common complaint about this dessert is the lumps in the cream cheese layer. The solution is simple: use fully softened cream cheese.
Room Temperature Dishes
On warm days, if you take the pan out from the fridge just before serving, the top may get a little bit watery from condensation. To avoid this, take it out 10-15 minutes prior so it loosens up a bit without melting the Cool Whip layer.
Making It in Individual Cups
When making these treats for a party in individual serving cups or mason jars, just layer the crust, cream cheese, and pudding in that order. These are perfect for parties since you won’t have to deal with cutting up desserts. You’ll have more individual servings, but the ratios will remain the same.
Variations
Peanut Butter Layer
In the layer with cream cheese, add 1/2 cup of peanut butter. Make sure the peanut butter is well mixed into the cream cheese and sugar before you fold in the Cool Whip. What you get is a nice cream cheese–peanut butter layer that contrasts nicely with the chocolate pudding. Feel free to top with peanut butter chips instead of (or in addition to) chocolate chips.
White Chocolate Version
Instead of chocolate pudding, use white chocolate instant pudding and top withwhite chocolate chips. You can still use the Oreo crust, or for a cleaner look, use Golden Oreos.
Mint Chocolate
For the crust, you can use mint Oreos (or a few drops of peppermint extract can be mixed into the crust mixture). Use chocolate pudding as it is stated. Finish with mini chocolate chips and some Andes mints. Basically, it’s a grasshopper pie situation, layered in a 9×13.
Helpful Kitchen Tools
Here are a few things that make this easier:
- 9×13 Pyrex Baking Dish with Lid — The lid makes it easy to store in the fridge without wrestling with plastic wrap. Worth having for any layered no-bake dessert.
- Hand Mixer — For beating the cream cheese layer smooth. A stand mixer works too, but a hand mixer gives you more control over a bowl this size.
- Offset Spatula — Makes spreading each layer evenly so much easier, especially the cream cheese layer over the fragile Oreo crust.
Storage, Make-Ahead, and Leftovers
Storing Leftovers
Cover the pan with plastic wrap/ slide into an airtight container to seal. Store in the refrigerator. It stays fresh for 4-5 days- it will lose some crunch, so the crust will become soft like a cookie. Some people actually like it better after a day or two because all the flavors come together.
Can You Freeze It?
Absolutely! It’s even great frozen. Just slice it before freezing and store the pieces in a single layer in a freezer container (or plastic wrap individual slices). It will last in the freezer for 2 months. To eat a piece, let it defrost on the counter for 10-15 minutes or eat it immediately from the freezer if you want a firmer texture like an ice cream bar. The Cool Whip freezes well and the crust will become firmer.
One honest note: if you freeze the whole pan with the Cool Whip topping on it, it may get icy and a little grainy after thawing. If you plan on freezing this, please skip the Cool Whip topping and add it after thawing.
Making It Ahead
This dessert is easy to prepare a head of time since the bottom three layers (crust, cream cheese, and pudding) can be made the night before. Just keep it covered and in the fridge. The day you plan to serve, top with the Cool Whip and sprinkle on chocolate chips. This can sit in the fridge two hours before serving, though overnight is preferred.
Frequently Asked Questions
Can I use homemade whipped cream instead of Cool Whip?
Sure, it’s possible to use homemade whipped cream for the pudding cups, but there are some disadvantages. Compared to Cool Whip, homemade whipped cream doesn’t keep its form for as long. It can start to weep and deflate within just a few hours in the fridge. This tends to happen even more when it’s sitting on top of a pudding layer. If you choose to do homemade whipped cream, just know it’s possible to make it stay for a little longer. You can do this by stabilizing it with a tablespoon of powdered sugar and a teaspoon of unflavored gelatin that has been dissolved in a bit of cold water. For the cream cheese layer, it’s okay to use homemade whipped cream since the cream cheese layer will stabilize it. The topping layer is where you will see the most difference, and that’s where you will probably notice the most difference.
My cream cheese layer has lumps — what went wrong?
This is almost always due to the cream cheese not being fully softened enough to the point it can still have cold spots in the middle and it won’t smooth out no matter how long you beat them. The solution is to either allow the cream cheese to get to room temperature for at least 45 minutes from the fridge, or to carefully soften only the cream cheese in the microwave for 15–20 seconds before starting. After that, beat the cream cheese by itself until it is completely smooth before adding additional ingredients.
Can I use cook-and-serve pudding instead of instant?
No — cook-and-serve pudding won’t work in this recipe. It needs to be heated in order to thicken and then cools to set up in a way that’s different from instant pudding. You will have a pudding layer that either does not set properly or has a weird texture that will not work in a layered no-bake dessert. Use instant pudding.
How far in advance can I make this?
For best results, make it the day before and serve it the next day. If made too far ahead, like more than 24 hours, the crust tends to become soft and the layers of filling may begin to blur at the edges. You may find the filling to be somewhat more jumbled than intended. Digging in and grabbing a piece of layered filling is a fun part of the experience! The dessert is still good and edible, but the distinct textures may be less apparent. This dessert can be made a day in advance to an hour before serving. Just be sure to add the Cool Whip and chocolate chips about an hour before serving. The dessert also softens over time, so adding the chips too far in advance may not be a good idea. 24 hours or closer may be best.
Can I make this in a different size pan?
A 9×13 size is best for this recipe as it is written. If you would like to use a smaller pan (like an 8×8 or 9×9), cut the recipe by about half — one box of pudding, half of the cream cheese mixture, etc. The layers will be thicker in proportion to the size of the pan, which means that the pudding layer in particular will take longer to set. Plan on adding an extra 30 45 minutes to the chill time.
Is there a way to make this without Cool Whip?
Yes — you can use stabilized whipped cream (mentioned above), non-dairy whipped topping, or whipped coconut cream. To make whipped coconut cream, refrigerate a can of full-fat coconut milk for 24 hours. Once refrigerated, open the can, scoop the solid cream, and whip it into a light and airy consistency. Note: a coconut flavor will be present and will be noticeable against the chocolate pudding. The texture works well, and it sets up firmer than Cool Whip in the freezer.
Related Recipes
If this type of dessert interests you, check out these additional no-bake, layered desserts from CouponCravings to bookmark:
- Oreo Pudding Pie — Same Oreo crust, same pudding logic, but in a pie dish with a different layering approach.
- Dirt Cup Dessert — A crowd favorite for kids (and anyone who finds it fun). Oreo crumbles, chocolate pudding, and gummy worms.
- No Bake Peanut Butter Pie — The peanut butter version of this kind of layered dessert, with a chocolate crust and a fluffy peanut butter filling.
- French Silk Pie — Rich chocolate filling in a standard pie crust. More work than this chocolate lasagna, but worth making when you want something a little more formal.
- Chocolate Eclair Cake — Another no-bake layered dessert, this one with graham cracker layers and a chocolate glaze on top.
No Bake Chocolate Lasagna
Ingredients
- 36 Oreo cookies crushed
- 6 tablespoons butter melted
- 8 ounces cream cheese softened
- 1/4 cup granulated sugar
- 2 tablespoons milk
- 12 ounces Cool Whip divided
- 2 packages instant chocolate pudding mix
- 3 1/4 cups cold milk
- Mini chocolate chips or chocolate shavings for topping
Instructions
- Crush Oreo cookies and mix with melted butter.
- Press mixture into the bottom of a 9×13 pan to make the crust.
- Beat cream cheese, sugar, and 2 tablespoons milk until smooth.
- Fold in part of the Cool Whip and spread over the crust.
- Whisk chocolate pudding mixes with cold milk until thickened.
- Spread pudding layer over the cream cheese layer.
- Top with remaining Cool Whip.
- Sprinkle with mini chocolate chips or chocolate shavings.
- Refrigerate until set before slicing.