This post is sponsored by Savings.com but all opinions, pictures and outtakes are my own.
I’m trying everything I can to eat healthier in 2019. You can imagine that I was pretty pumped when True Leaf Market approached me about trying out and reviewing their Sectional Hydroponic Microgreens Starter Kit. I gladly obliged and in this post and review I’m going to tell you all about the process of growing hydroponic microgreens.
And although I’ve had a soil garden in the ground at a past home that we owned, I have to admit that I didn’t love it. It was just … too much. I liked planting the seeds with my kids (it was a Mother’s Day tradition) but I didn’t love harvesting the crop, other than the first harvest. It was like the zucchinis and cucumbers would never end – Ha!
And, to be honest, what I really wanted was the herbs. That is what I really use the most of in the kitchen. Keep reading to see why this makes soilless microgreens perfect for what I was after.
Growing Microgreens Hydroponically
Let’s start with the hydroponic definition:
Hydroponics is a subset of hydroculture, which is a method of growing plants without soil by using mineral nutrient solutions in a water solvent. Terrestrial plants may be grown with only their roots exposed to the mineral solution, or the roots may be supported by an inert medium, such as perlite or gravel.
And, now it would be fitting to get the microgreens 101 and discuss the definition of microgreens, right?
Microgreens are a vegetable green, harvested after sprouting as shoots, that are used both as a visual and flavor component or ingredient primarily in fine dining restaurants. … Smaller than “baby greens,” and harvested later than sprouts, microgreens can provide a variety of leaf flavors, such as sweet and spicy.
So, with that being said, this True Leaf Market microgreens product review was perfect for me – if I could figure out how to grow microgreens without soil, I am golden.
And, with a started kit guide like this, I mean … how could I not grow microgreens?? (hello, easy button!)
True Leaf Market has been in business since 1974 promoting their Mountain Valley Seed and Handy Pantry brands, which are high quality seeds perfect for residential and professional growers alike, which include flowers, vegetables, grasses, herbs, sprouting, long-term storage, and wild flowers.
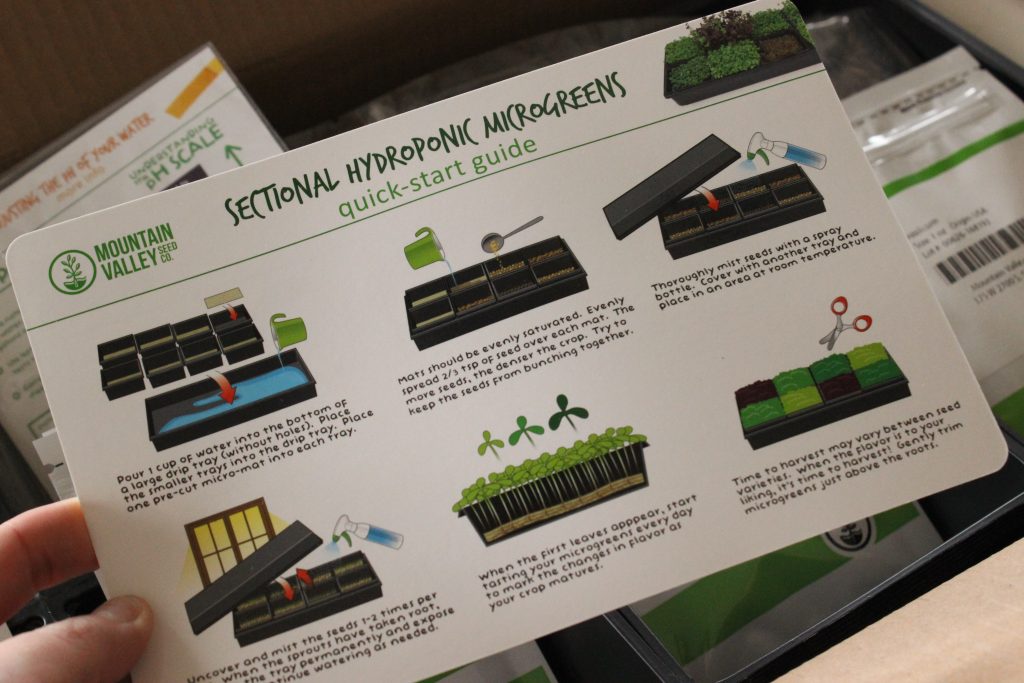
Ready to commit instead of reading my entire review? Get your Sectional Hydroponic Microgreens Starter Kit here!
Why would you grow microgreens hydroponically?
There are several reasons:
- Microgreens are tiny edible plants, harvested at the peak of tenderness, nutritional content and flavor. Instead of only seeing these tiny bits of nutrient dense plants at upscale restaurants, now you can easily have them at home, too.
- They are fun and easy to grow, educational for the kids, and make a perfect introduction to hydroponics.
- The entire process only takes 10 days from seed sprout to harvest, so this hydro garden project provides instant gratification, over and over.
And, the fact that this hydroponic micro greens set includes everything you need to learn growing microgreens without soil is fabulous. You’ll get the hydroponics tutorial with quick start guides, hydroponic seeds, hydroponic tray (actually several), a water bottle, the hydroponic microgreen pads and everything else that you’ll need to grow microgreen indoors.
Let me show you all of the hydroponic equipment and seed starter tools that came in the micro greens hydroponics set:
- Hydroponic trays (also acts as a greenhouse of sorts):
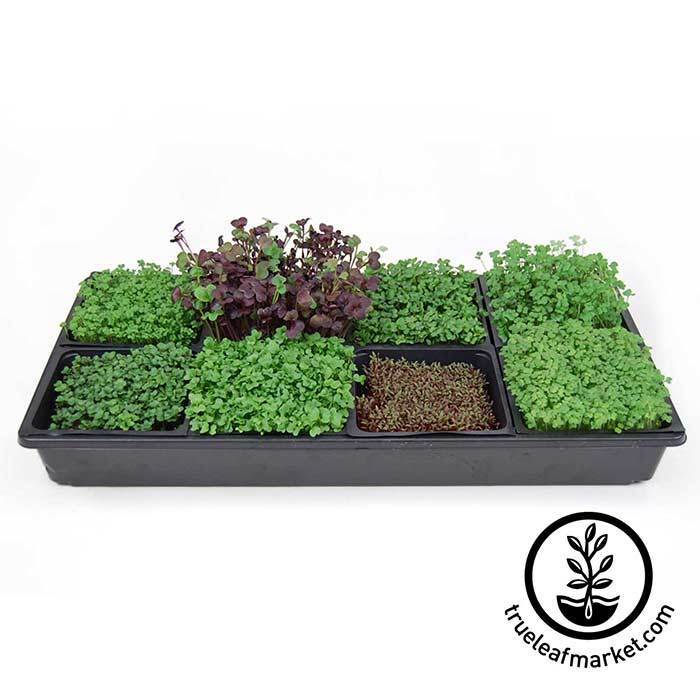
These Microgreen trays give you the perfect amount of space to grow sprouting seeds into baby salad, cauliflower, broccoli, basil, or whatever other small vegetable sprouts you wish to have and grow microgreens indoors, really.
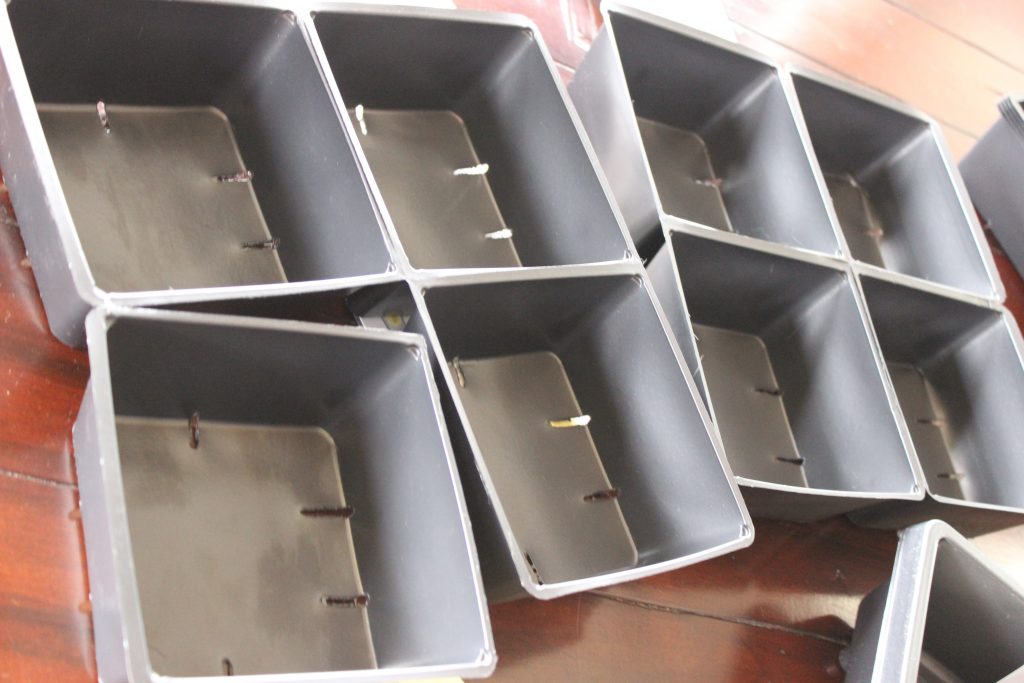
- Lid for trays.
Your seeds will need some darkness until the roots take hold.
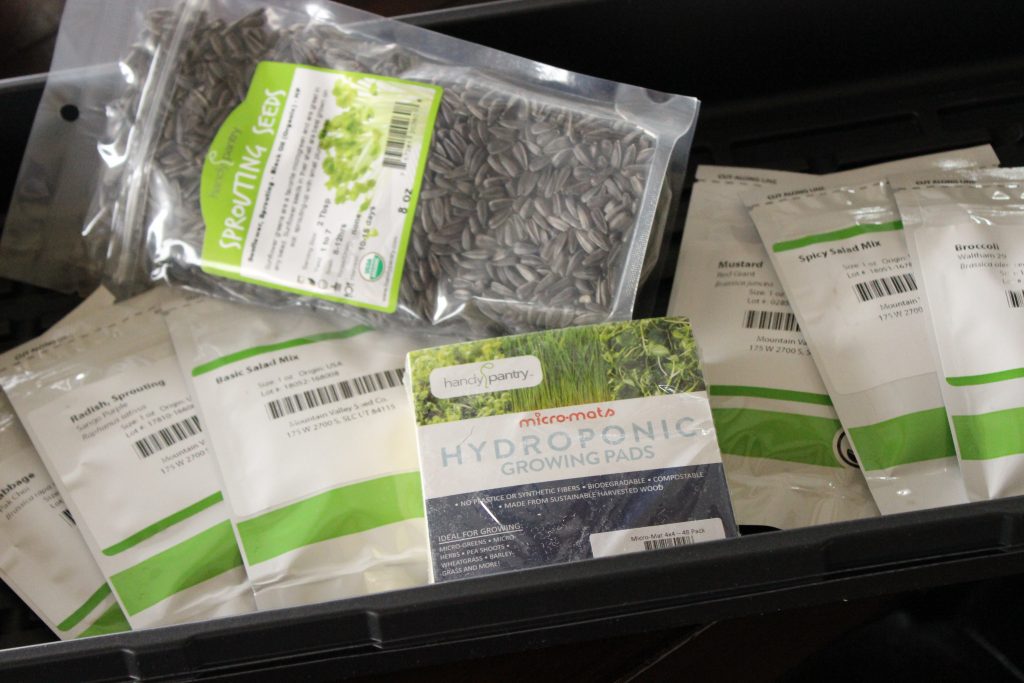
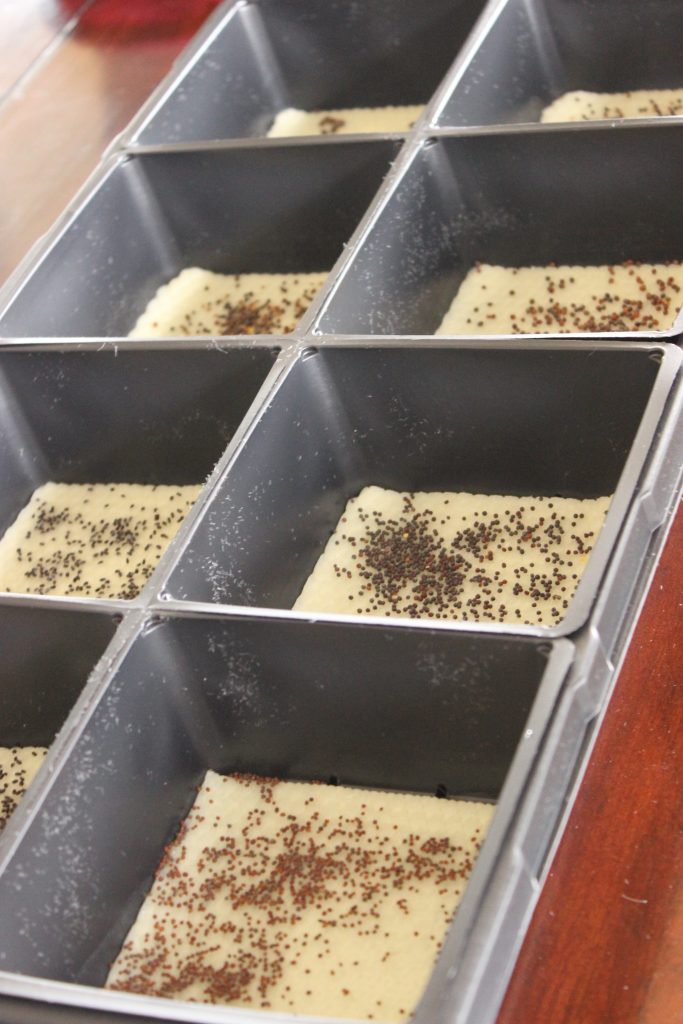
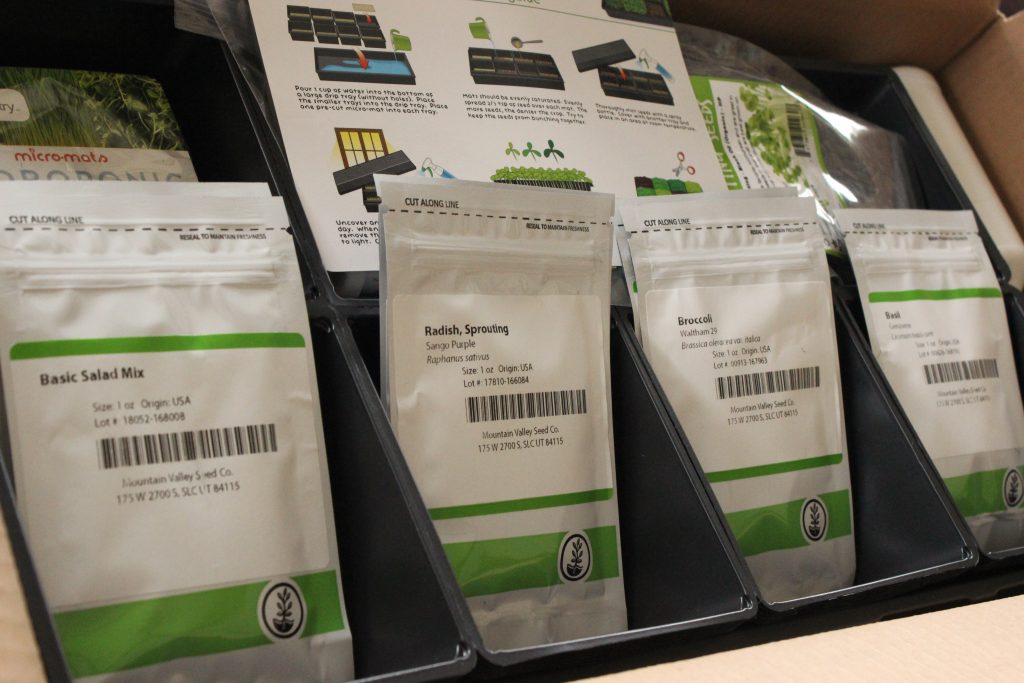
- Germinating seeds for hydroponics:
With the starter kit you get 7 types of microgreens seeds + sunflower microgreens, making your hydroponic grow setup so, so simple.
- Water bottle:
Of course your microgreens need water, right? I’m so grateful that they include a water bootle – that’s really helpful.
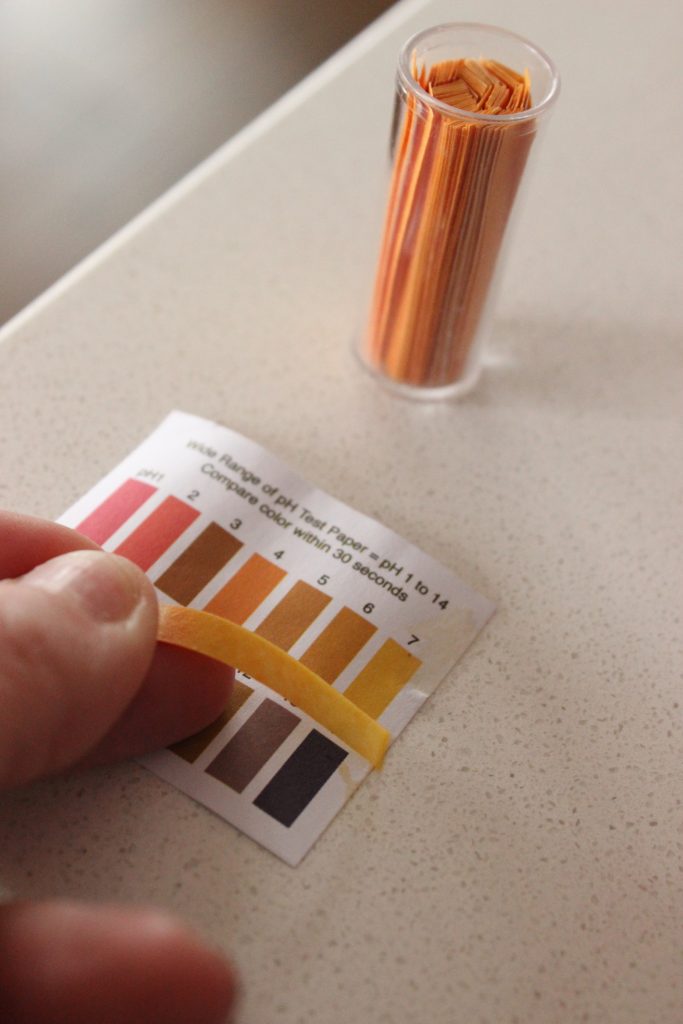
- Litmus Papers:
One of the main parts of starting an indoor microgreens kit is making sure that your water pH levels are correct, so the kit includes litmus testing papers along with a guide of how to correct the pH levels. It’s super easy to use and there are several for subsequent gardens.

With this all inclusive kit, in about 14 days you’re going to have consumable microgreens. Can you even imagine how fun learning how to grow and use microgreens would be for kids?? I will update this post as my greens start to grow (seeds were already cracking and starting to grow within 24 hours!
And, you can get free shipping on orders of $45 or more when you purchase here. Now that you know how easy growing microgreens indoors really is, get your Micro green growing systems here!
Frequently asked questions on this Hydroponic Microgreens kit:
Do hydroponic microgreens need fertilizer?
No. It’s important though that you make sure that the pH of your water is correct first. Use the litmus strips in the kit to get your water just right for growing.
How to grow hydroponic microgreens:
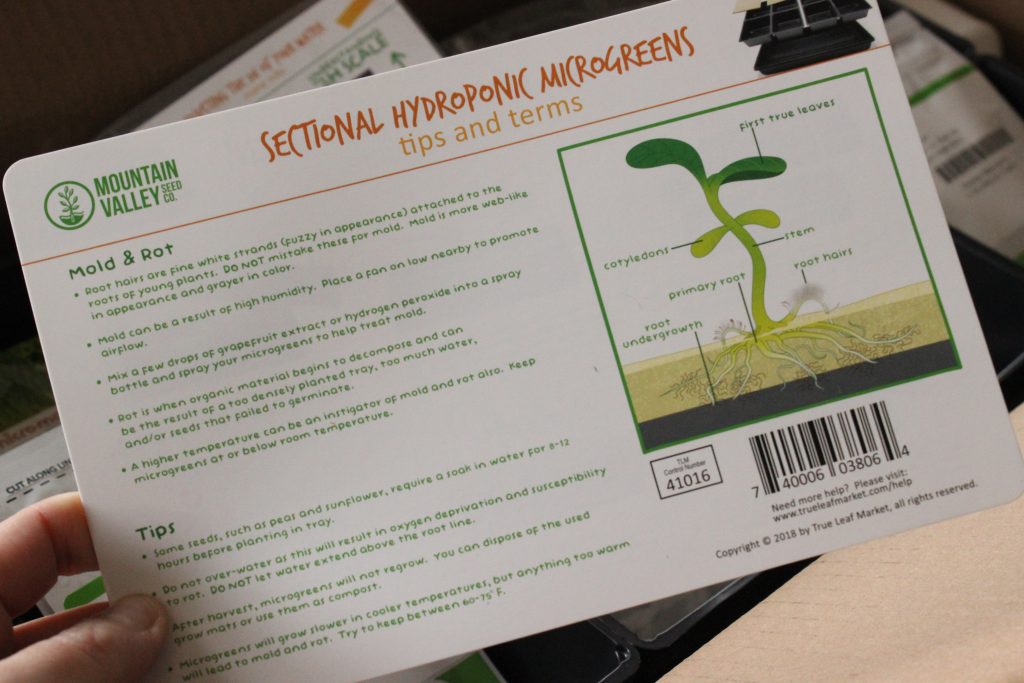
Knowing how to start hydroponic seeds indoors and growing hydroponic microgreens is not tough with this kit. Without even looking at the tutorial I imagine that you’ll immediately know what to do with each part of the kit. Plus, you’ll have the tips and terms card within an arms reach in case you run into any snags.
How to water hydroponic microgreens:
Simple – just use the water bottle that came with the kit.
How expensive is it to grow cauliflower using a hydroponic system?
When you buy this kit, you’ll be able to do several crops. It’s really a great inexpensive way to grow any veggie!
Get your Microgreen growing systems here!

Leave a Reply