Inside: We’re doing dipping powder nails at home. This is a great way to save money and stay at home.
I have been doing my own dip powder manicures at home for over a year.
Doing my own dip powder nails has been great for several reasons – the top reasons being that I can do them whenever I want, I don’t have to wait my turn and I save boatloads of money. Each dip at the nail salon costs $30 + tip, so on average $40. Every other week, this adds up to $1000 per year!
Watch as I do my nails step by step at home and I even show the steps as I go. I’ll also be showing where to get the products, so you’ll be able to order everything you need to do your own dip powder nails at home, too.
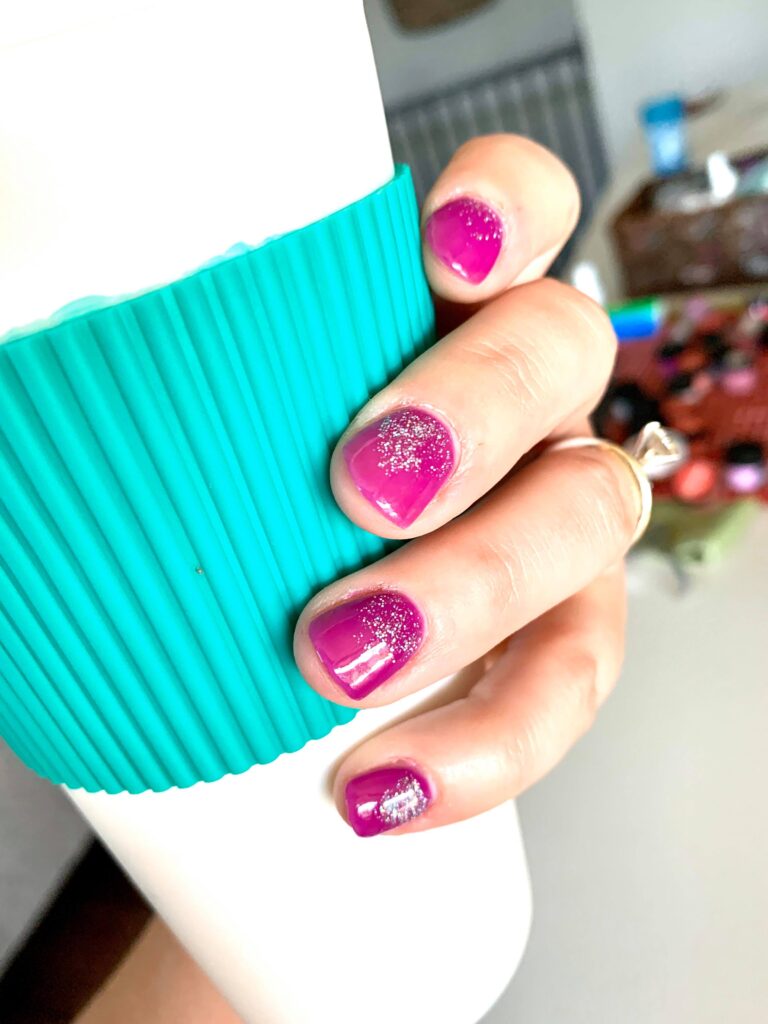
How to do Your Own Dip Powder Nail Manicures at Home
You might know this about me. I love diy’ing. But probably not the diy’ing that you might initially think of.
I love diy’ing all things beauty. Some of the prices to get things done in a salon are pricey. And, if you have even the slightest bit of artsy in you, you can do it yourself and save loads of money and time.
For example – you can save $45-$100 every month by using a Lash Lift Kit at home like I do, instead of getting a lash lift done in the salon.
See the steps for using an at home lash lift kit.
Now, onto the reason we’re all here: Let’s do dip powder nails at home!
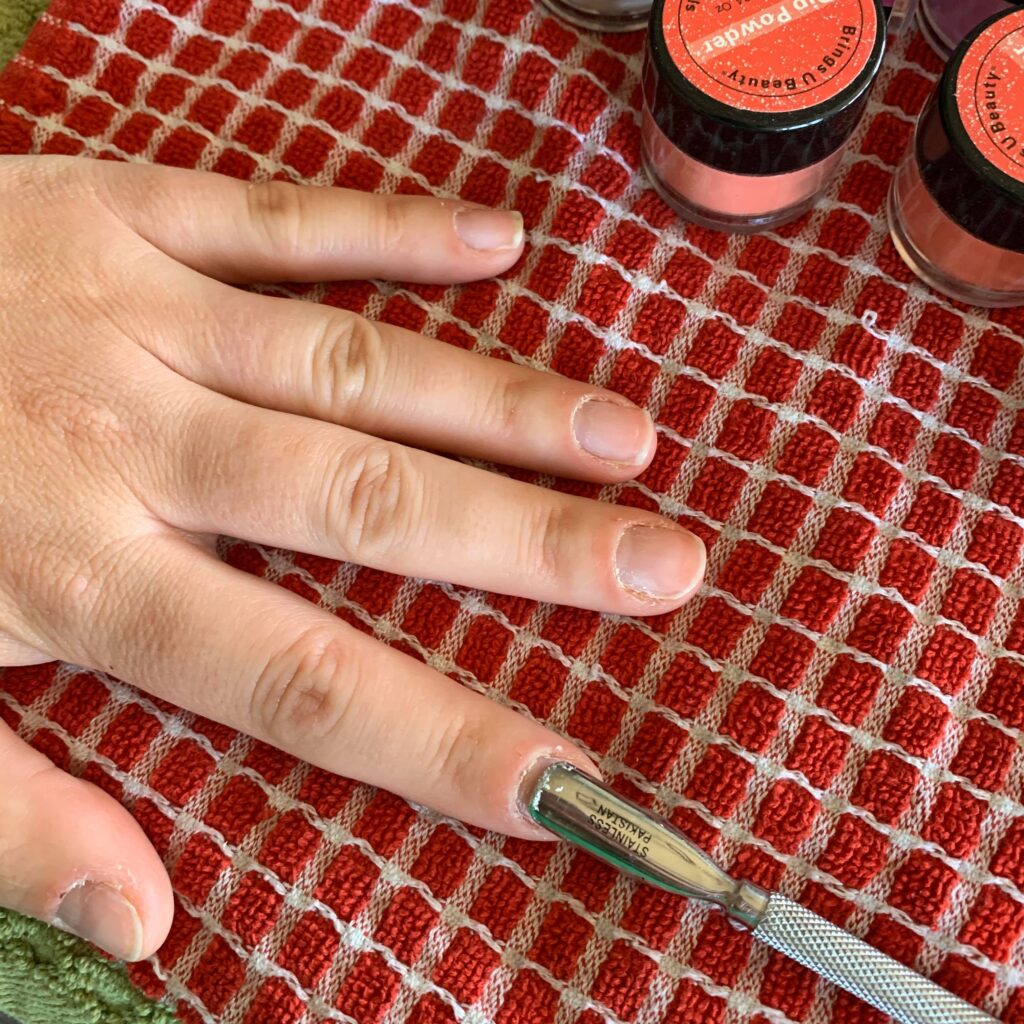
1. Prep your nails by trimming, filing, pushing down and cutting cuticles
While this might not seem important … it is actually the most important step when it comes to doing your own gel nails.
Here are the tools I use for this step:
Nail file
Cuticle pusher
Cuticle trimmer
When you’re finished, wash your hands with soap and water.
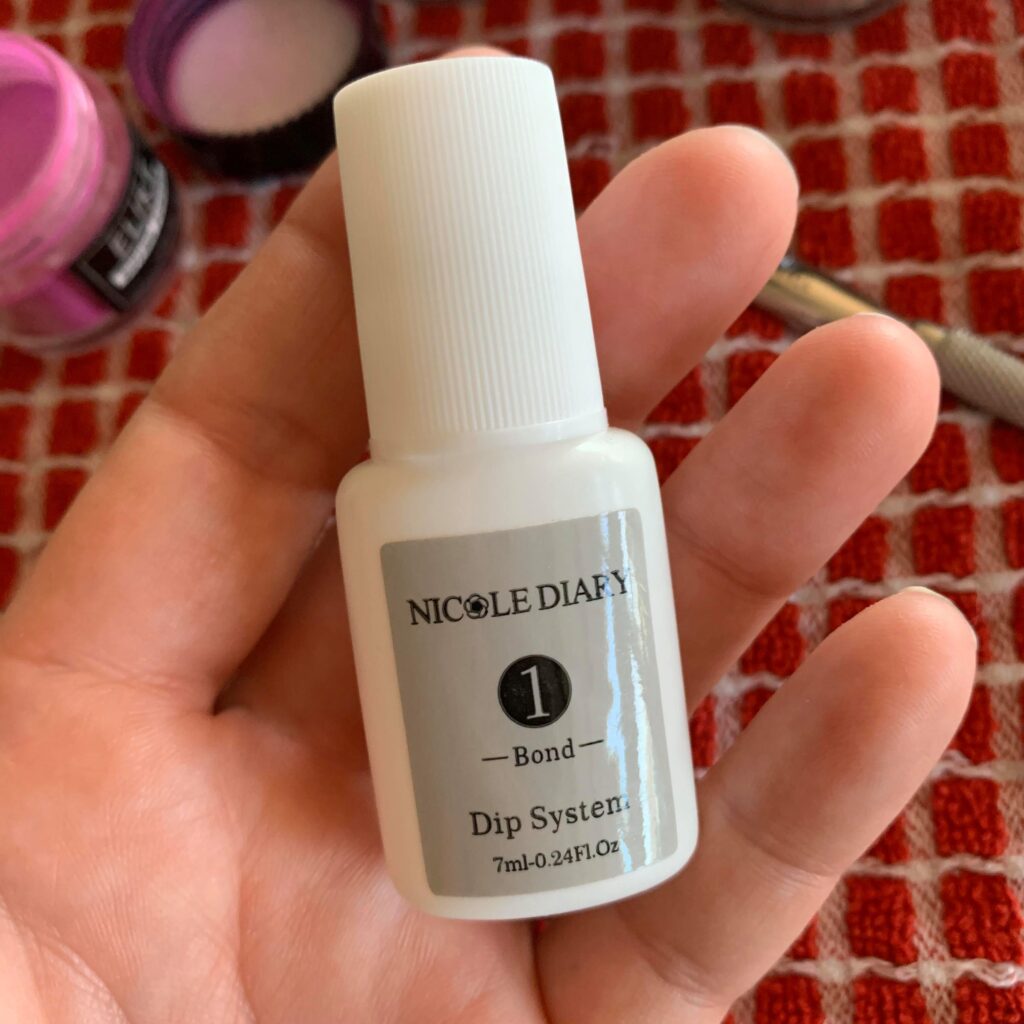
2. Use #1 bottle (bond) all over the surface of every nail and let dry
Bottle #1 is the Bond. The Bond dries your nails out so that product will stick to your nails better. Your fingernails are naturally oily
3. Use #2 bottle (base) on each nail from the tip of the nail to about 3/4 down but not all the way to the cuticle.
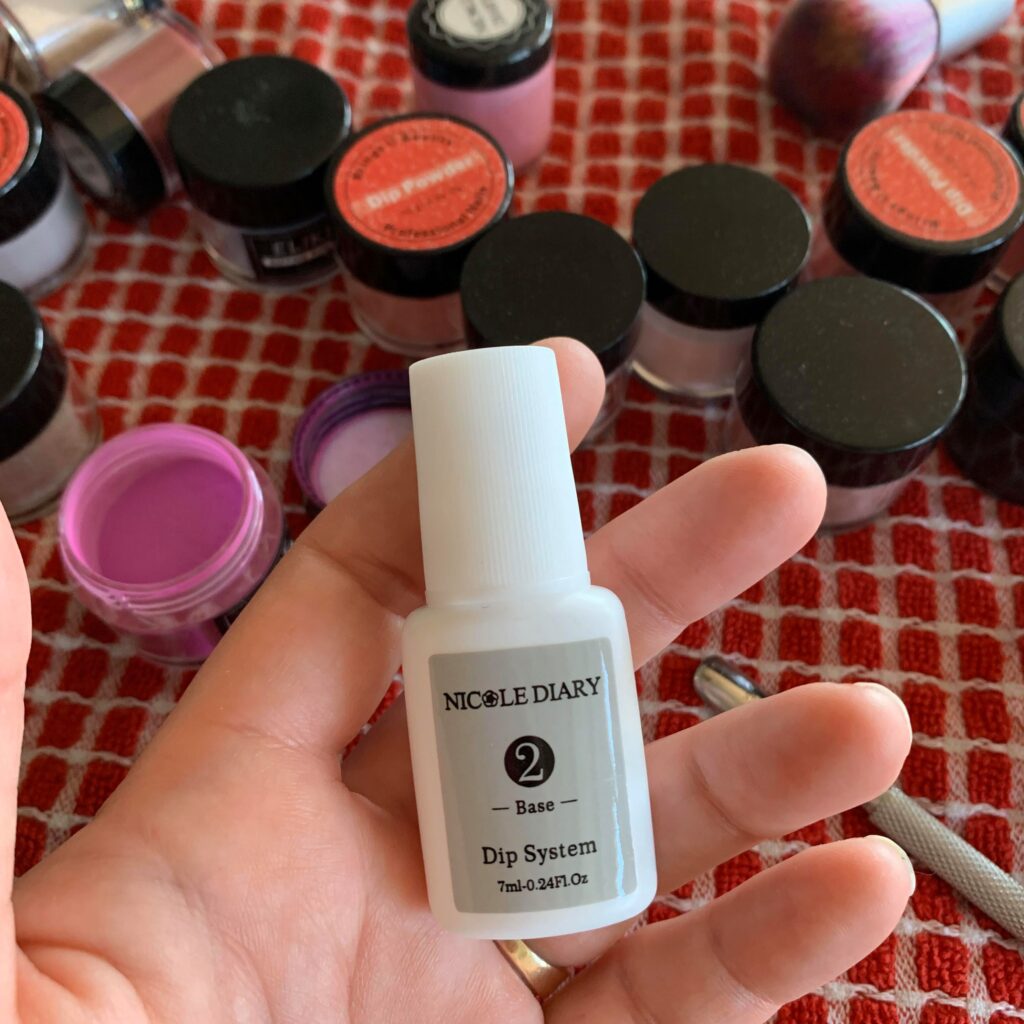
4. Immediately place nail (nail side down) into clear dipping powder, tap side of nail over dipping powder and let it sit with your hands pointed downward with the nails toward the countertop for about 10 seconds.
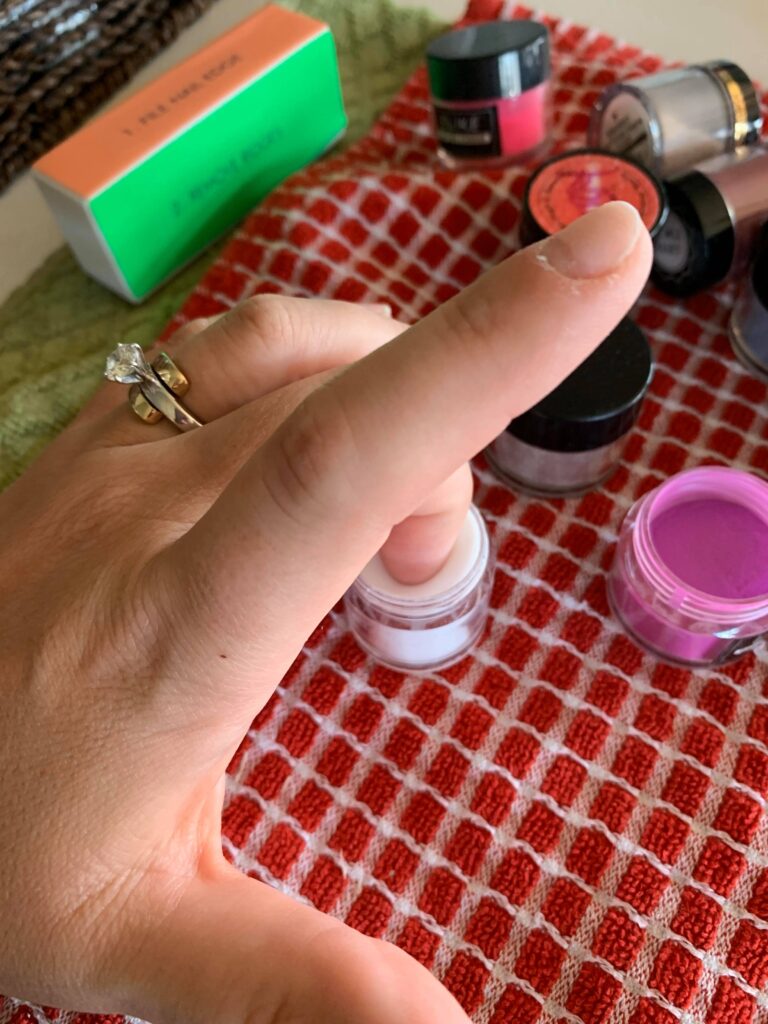
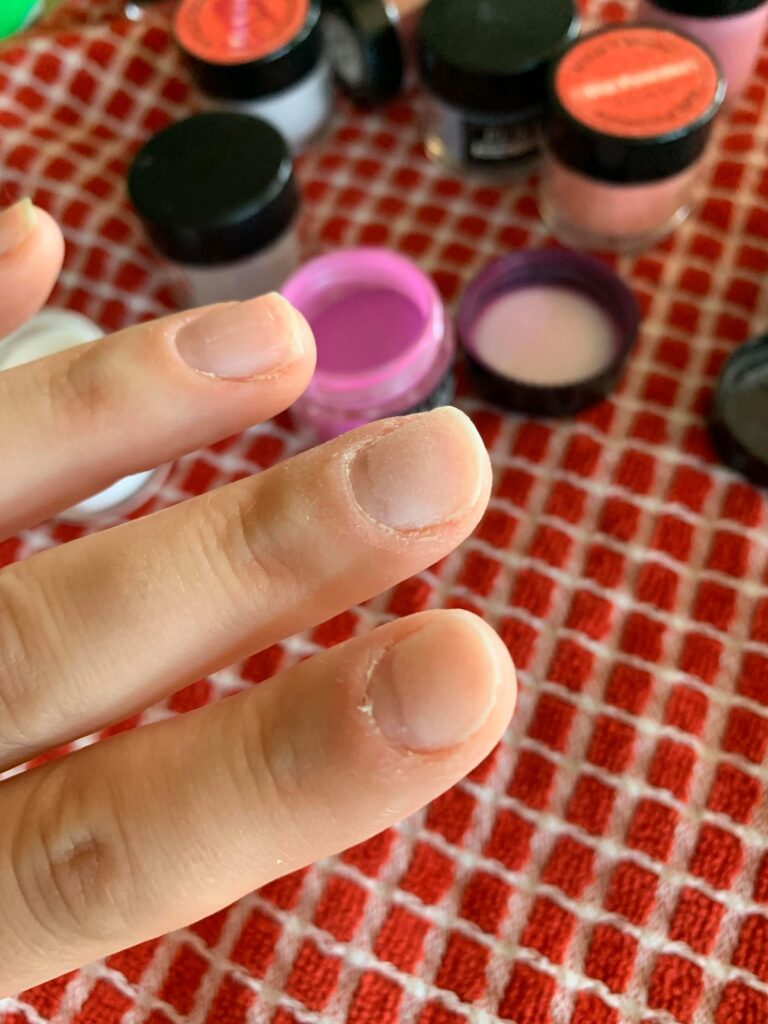
5. Use fluffy nail brush over the sink or towel to gently but effectively brush excess dipping powder off nail.
6. Use #2 bottle (base) on each nail from the tip of the nail to the cuticle.
7. Immediately place nail (nail side down) into your desired color of dipping powder, tap side of nail over dipping powder and let it sit with your hands pointed downward with the nails toward the countertop for about 10 seconds.
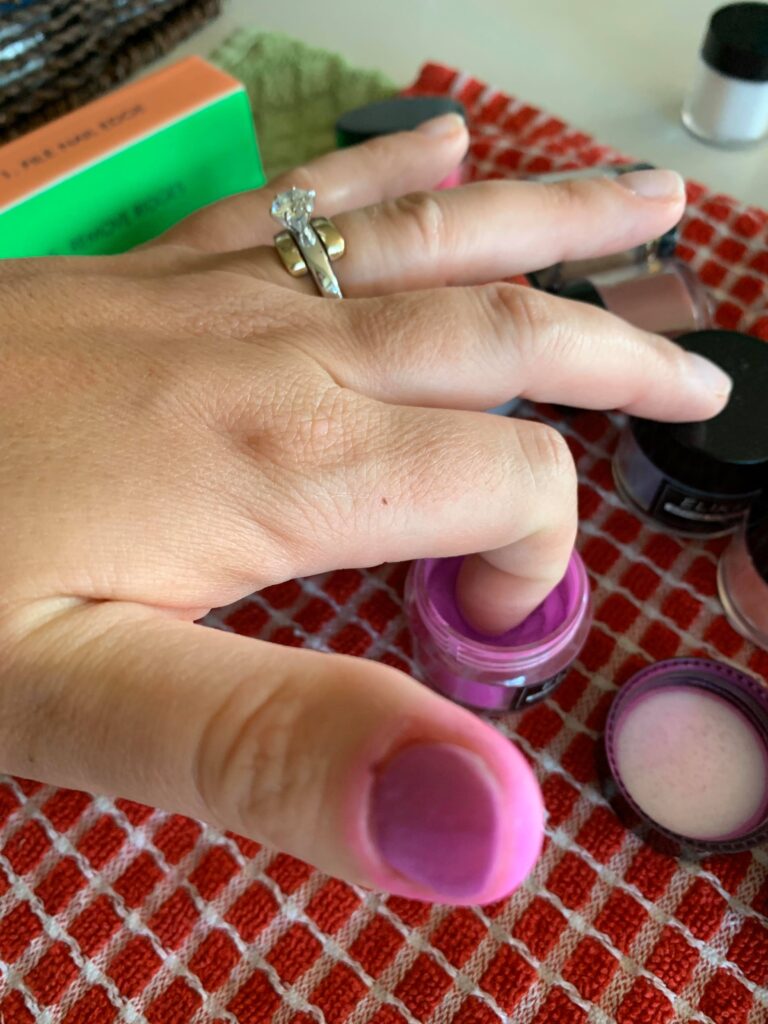
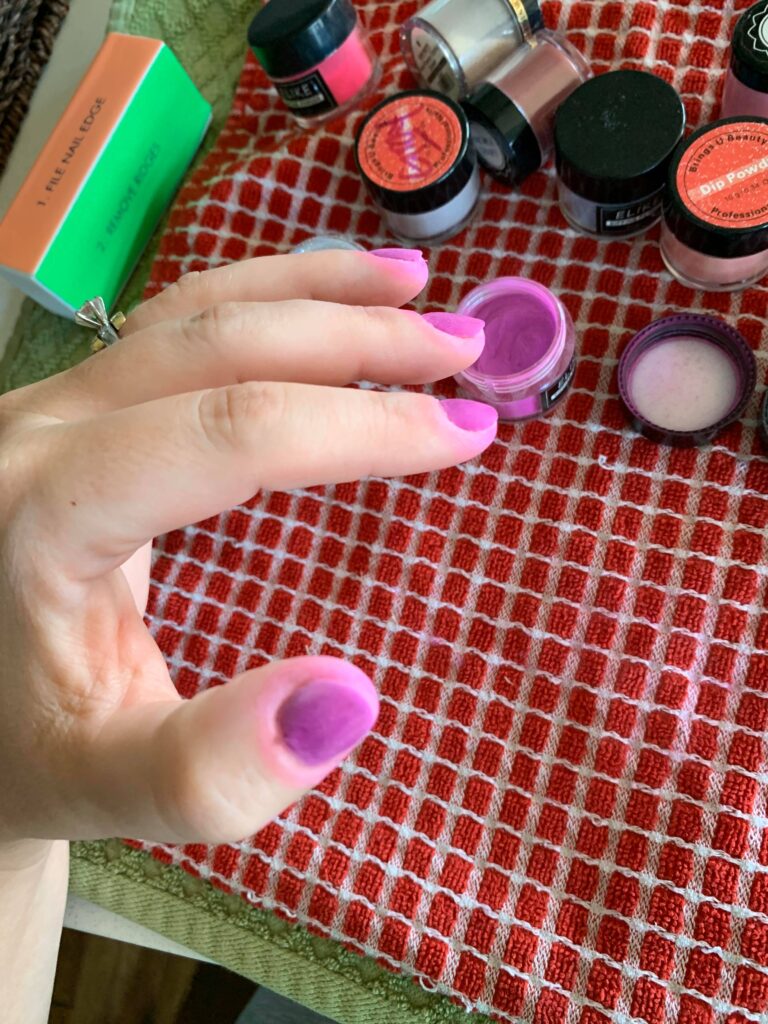
8. Use fluffy nail brush over the sink to gently but effectively brush excess dipping powder off nail.
9. Use #2 bottle (base) on each nail from the tip of the nail to the cuticle.
10. Immediately place nail (nail side down) into your desired color of dipping powder, tap side of nail over dipping powder and let it sit with your hands pointed downward with the nails toward the countertop for about 10 seconds.
(optional) after brushing excess color powder use thin base coat near cuticle to add some glitter to base. I was up for glitter. 😉
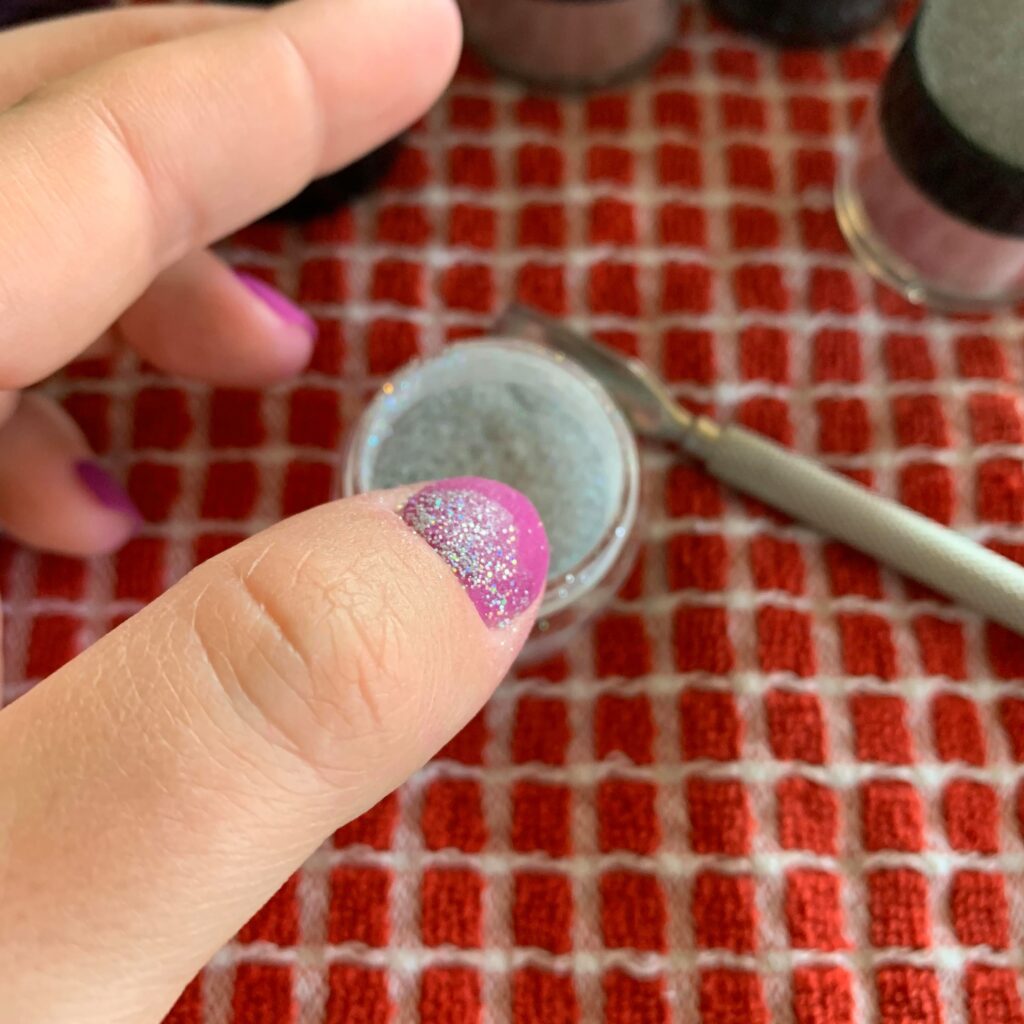
11. Use fluffy nail brush over the sink to gently but effectively brush excess dipping powder off nail.
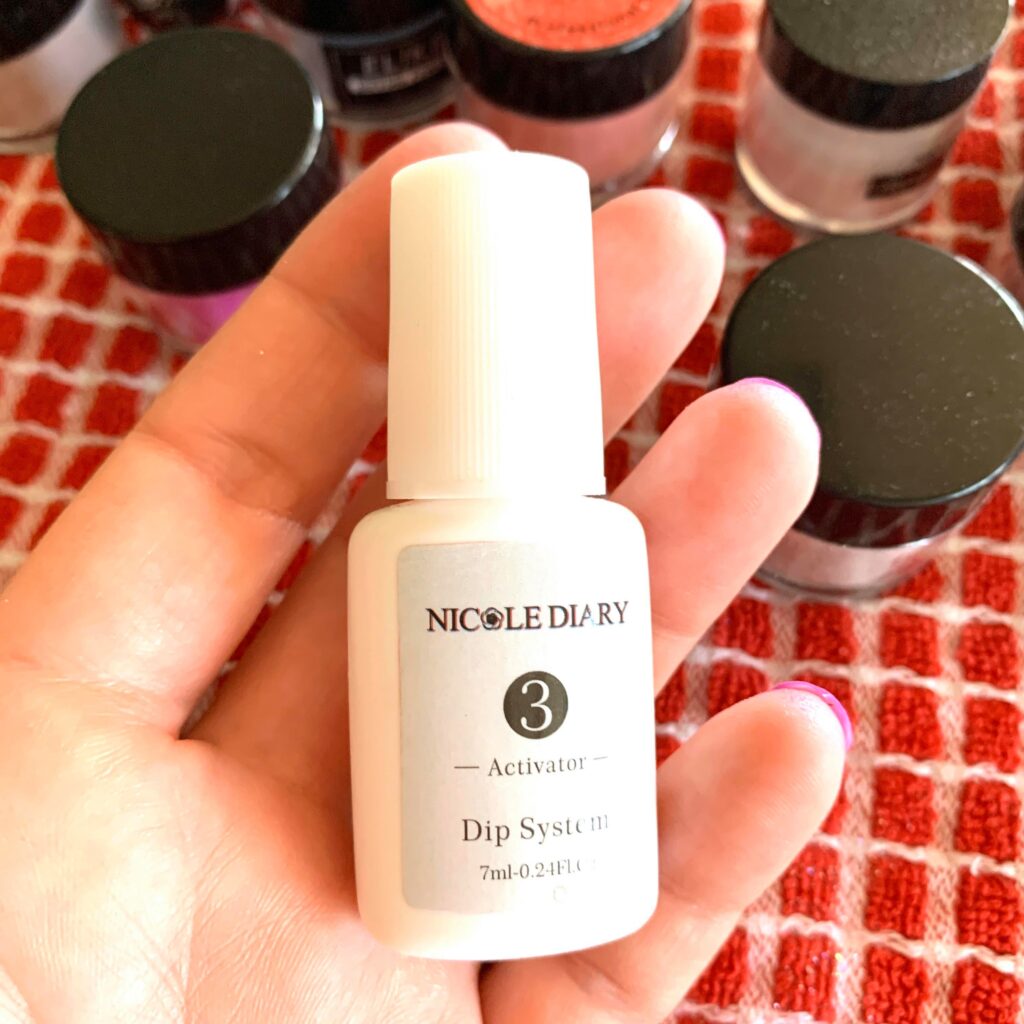
12. Use #3 bottle (activator) over each nail and let the nail dry for 30 seconds.
13. Use the nail file near the cuticles and sides of nail. Use the nail block on the tips and top of the nail to help shape the nail. The goal is to have an even surface that won’t snag on anything. Be sure to get as close to the cuticle making the dried dipping powder slope downwards towards the cuticle.
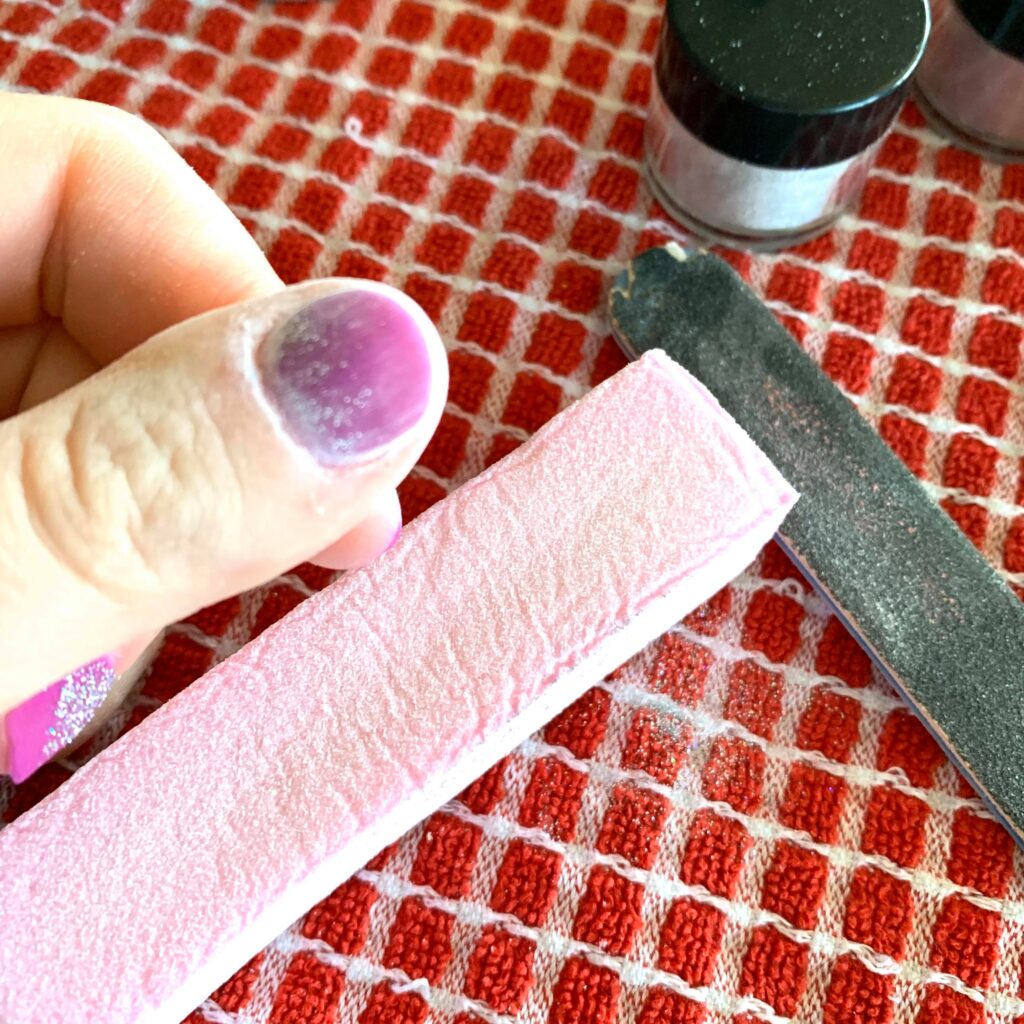
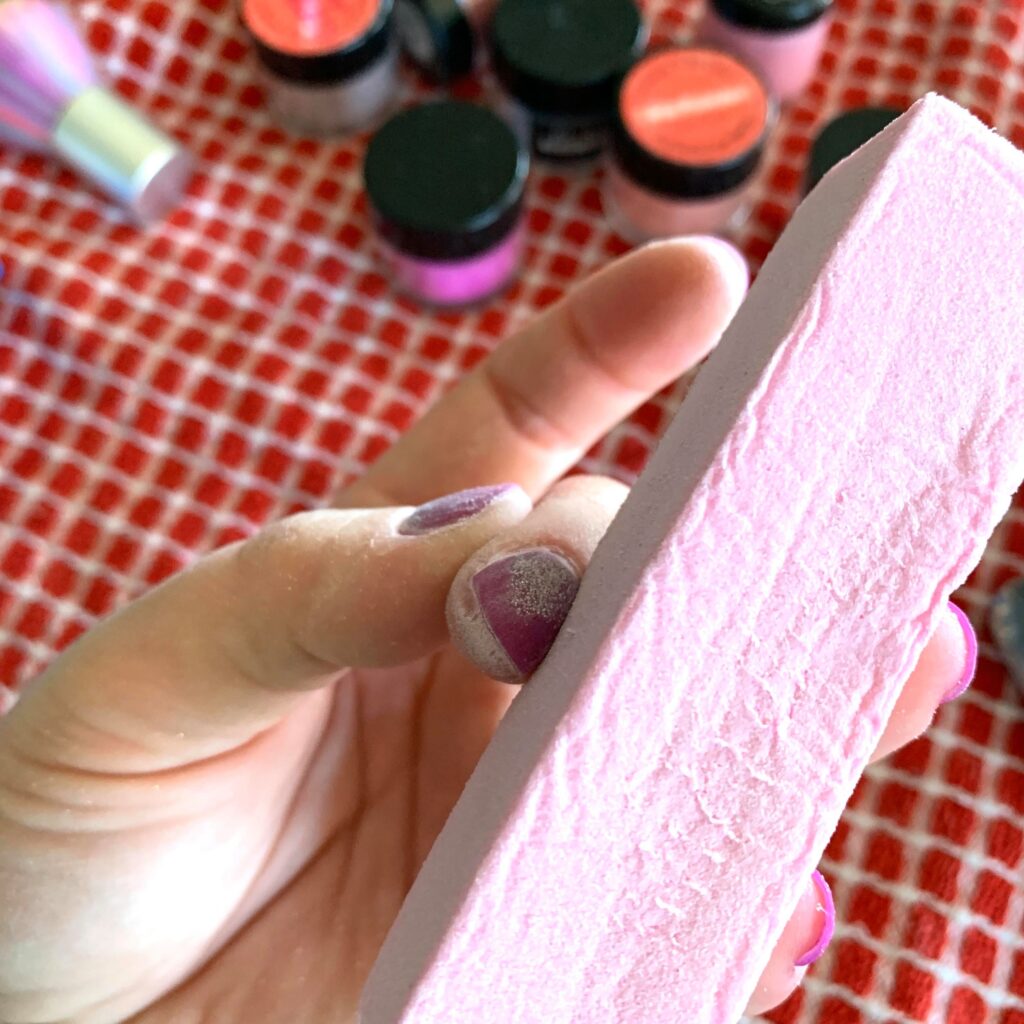
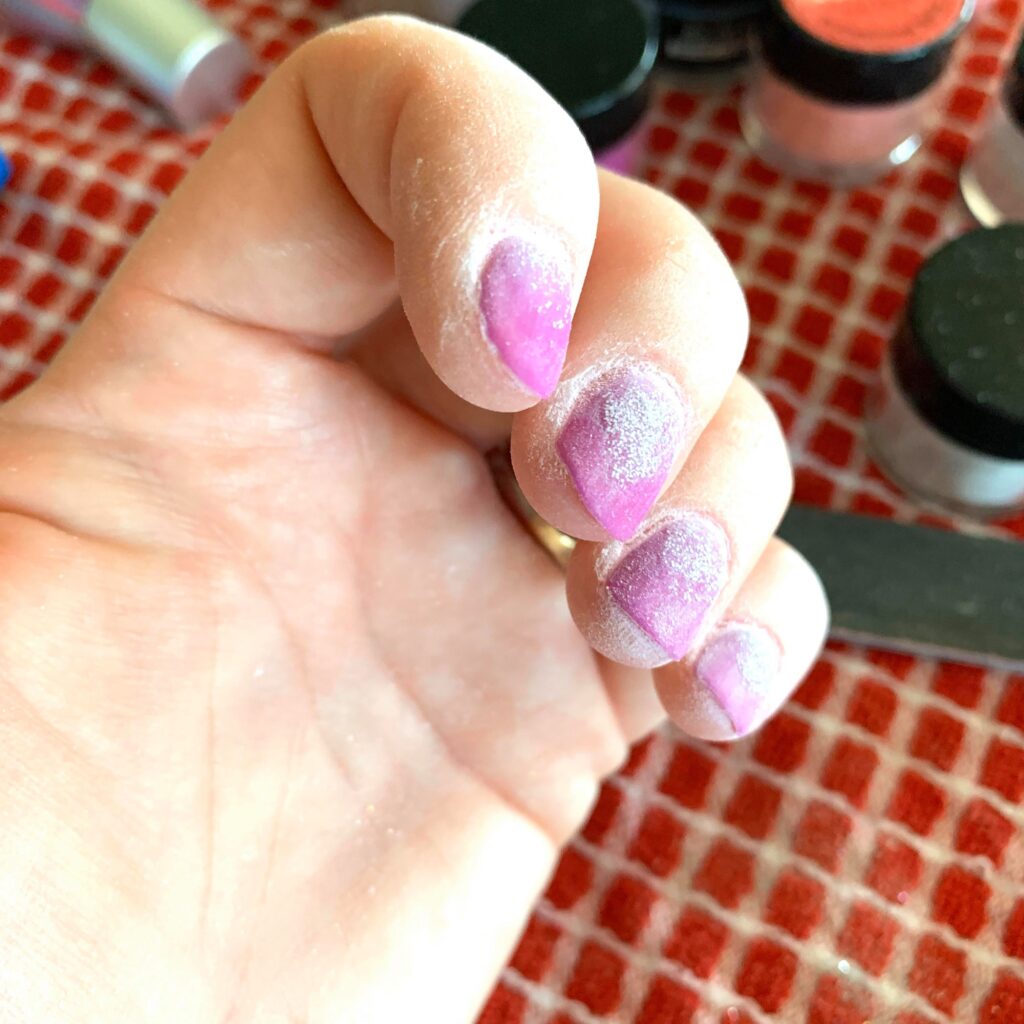
14. Wash hands with soap and water very well. Consider doing this twice.
15. Use bottle #4 (top coat) to apply a thin top coat to the color. Wait ten minutes and apply a second thin top coat. Let the second top coat dry for atleast ten minutes before touching anything.
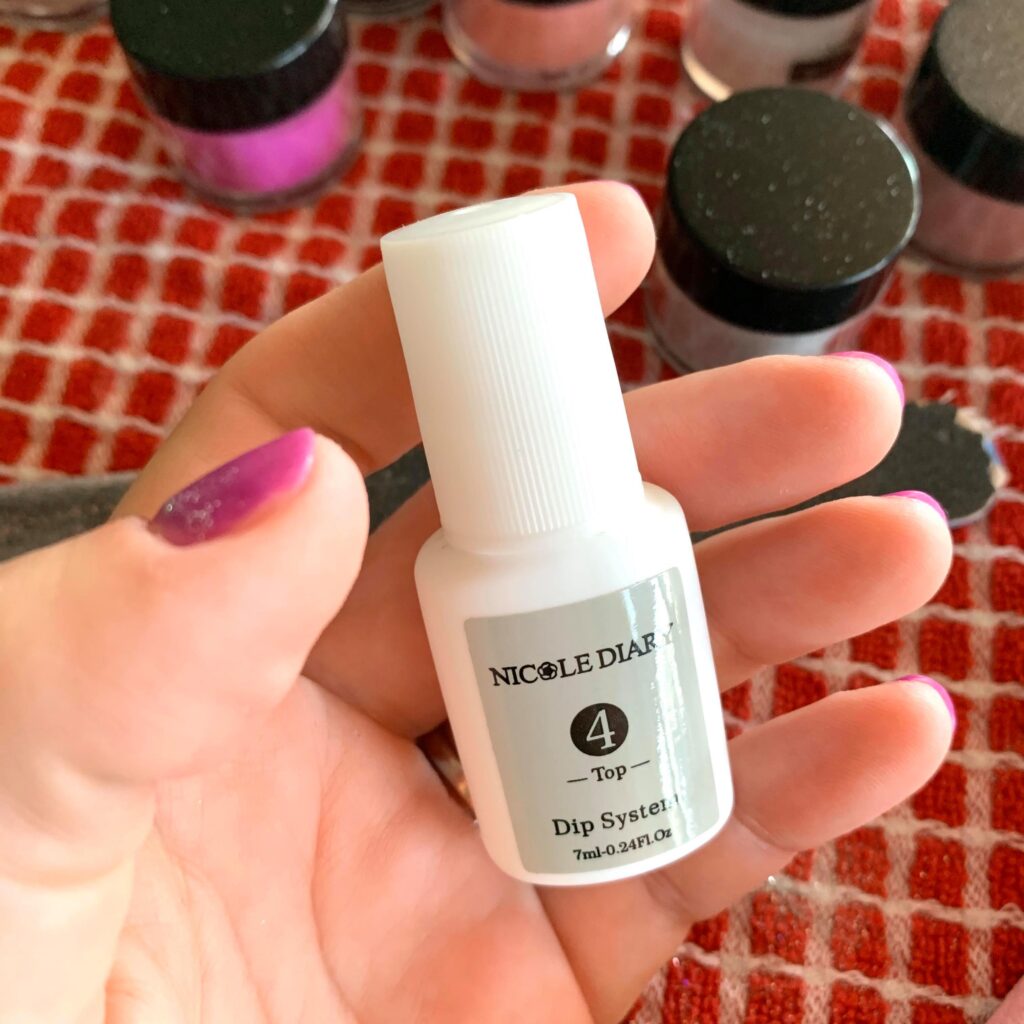
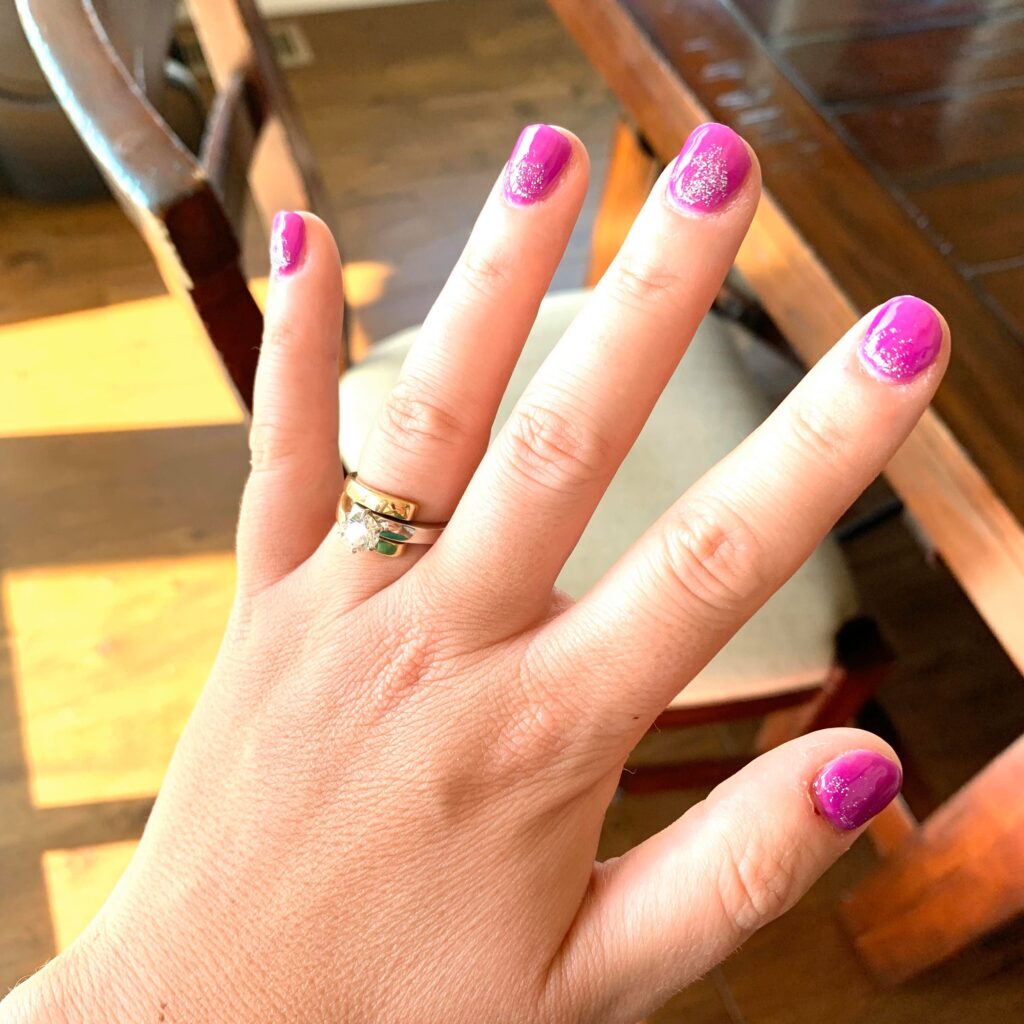
Enjoy! When you follow these dip powder nails at home steps you’ll have salon quality dip nails!
Can dip powder nails be done at home?
We’re in luck! Dip powder nails can be done at home! Powder nail kits are now a mainstay on the shelves of most retailers. Each set whether you buy a dip powder system or whether you piece together your best nail dipping powder kit like I did, should come with a minimum of five things:
To get the best results on your gel dip nails at home you will also need:
Top dip powder nails at home tips:
- Have everything nearby when you start your nails
- Do not make any of the coats too thick
- When you put any of the coats on, other than where noted in step #3, try to touch the entire surface of the nail, but don’t take too long putting the liquid on, as the powders will not stick to the liquid.
Can you remove dip powder nails at home?
You’ve probably been stuck with dip powder nails on and now can’t get in to get them removed? No worries. You it’s easy to remove dip powder nails at home.
I use these nails clips but you can also use ten pieces of foil that have been torn in 3″ x 3″ pieces to wrap around your nails.
To use these dip powder removal methods follow these directions:
- Cut or tear cotton balls into thirds
- Dip cotton ball piece in acetone nail polish remover
- Place cotton ball on top of nail and clip over the cotton ball with the clip, or wrap the cotton ball with a foil piece.
- Periodically check the polish to see when the nail is gummy enough to remove with a cuticle remover tool.
- If you’re wondering how to remove dip powder nails without any clips, cotton balls or foil, simply pour some acetone in a small bowl and place nails into bowl to let the nails soak in the acetone.
Is dip powder better than gel?
First, we should talk about the difference between gel and dip powder.
Acrylic and gel nails are artificial nail enhancements done in place of natural nails. Gel nails tend to provide a more glossy and natural look whereas dip powder (and acrylic) are more sturdy and durable as compared to gel.
For that reason, I love to do the gel nails.
And, I would also say that dip powder is better than acrylic in my opinion.
How long does dip powder last?
Dip powder lasts longer depending on how well you did the prep and the nails. So, you’ll want to make sure to do the prep as well as you can.
Can you use any powder for dip nails?
Unfortunately, you will need dipping powder that is specifically meant for doing powder nails. There are so many colors I have no doubt you’ll find a color you have!
Can you get a fill on dip nails?
Dip nails are replaced everytime.
Why are my dip nails cracking?
Maybe you’re doing the nails too thin, so consider doing an additional coat.
Be sure to remove the nail that is cracked and redo it as to not get water trapped under the nail. This can cause some molding and fungus issues.
I hope this post has answered some questions for you and given you the confidence to do your own dip nails at home, too!
I think that you’ll find that you enjoy being able to save money in the long run, do your nails whenever is convenient for you and not have to “get ready” to go to the salon.
Links to everything you need to be able to do your nails at home:
- Nail file
- Nail file block
- Cuticle pusher
- Cuticle trimmer
- Clear dipping powder
- Color dipping powder
- #1 Bond
- #2 Base
- #3 Activator
- # 4 Top Coat
If you have time to wait for products to arrive, and want to spend way less on colors, I highly recommend shopping on Aliexpress. Head here and search for nail dipping powder and you’ll be able to see all the products that I’ve also linked to above.
List of directions for doing powder dip nails in order without pictures:
- 1. Prep your nails by trimming, filing, pushing down and cutting cuticles
- 2. Use #1 bottle (bond) all over the surface of every nail and let dry
- 3. Use #2 bottle (base) on each nail from the tip of the nail to about 3/4 down but not all the way to the cuticle.
- 4. Immediately place nail (nail side down) into clear dipping powder, tap side of nail over dipping powder and let it sit with your hands pointed downward with the nails toward the countertop for about 10 seconds.
- 5. Use fluffy nail brush over the sink to gently but effectively brush excess dipping powder off nail.
- 6. Use #2 bottle (base) on each nail from the tip of the nail to the cuticle.
- 7. Immediately place nail (nail side down) into your desired color of dipping powder, tap side of nail over dipping powder and let it sit with your hands pointed downward with the nails toward the countertop for about 10 seconds.
- 8. Use fluffy nail brush over the sink to gently but effectively brush excess dipping powder off nail.
- 9. Use #2 bottle (base) on each nail from the tip of the nail to the cuticle.
- 10. Immediately place nail (nail side down) into your desired color of dipping powder, tap side of nail over dipping powder and let it sit with your hands pointed downward with the nails toward the countertop for about 10 seconds.
- 11. Use fluffy nail brush over the sink to gently but effectively brush excess dipping powder off nail.
- 12. Use #3 bottle (activator) over each nail and let the nail dry for 30 seconds.
- 13. Use the nail file near the cuticles and sides of nail. Use the nail block on the tips and top of the nail to help shape the nail.
- 14. Wash hands with soap and water very well. Consider doing this twice.
- 15. Use bottle #4 (top coat) to apply a thin top coat to the color. Wait ten minutes and apply a second thin top coat. Let the second top coat dry for atleast ten minutes before touching anything.


Leave a Reply