Do it Yourself: Photos on Wood Planks
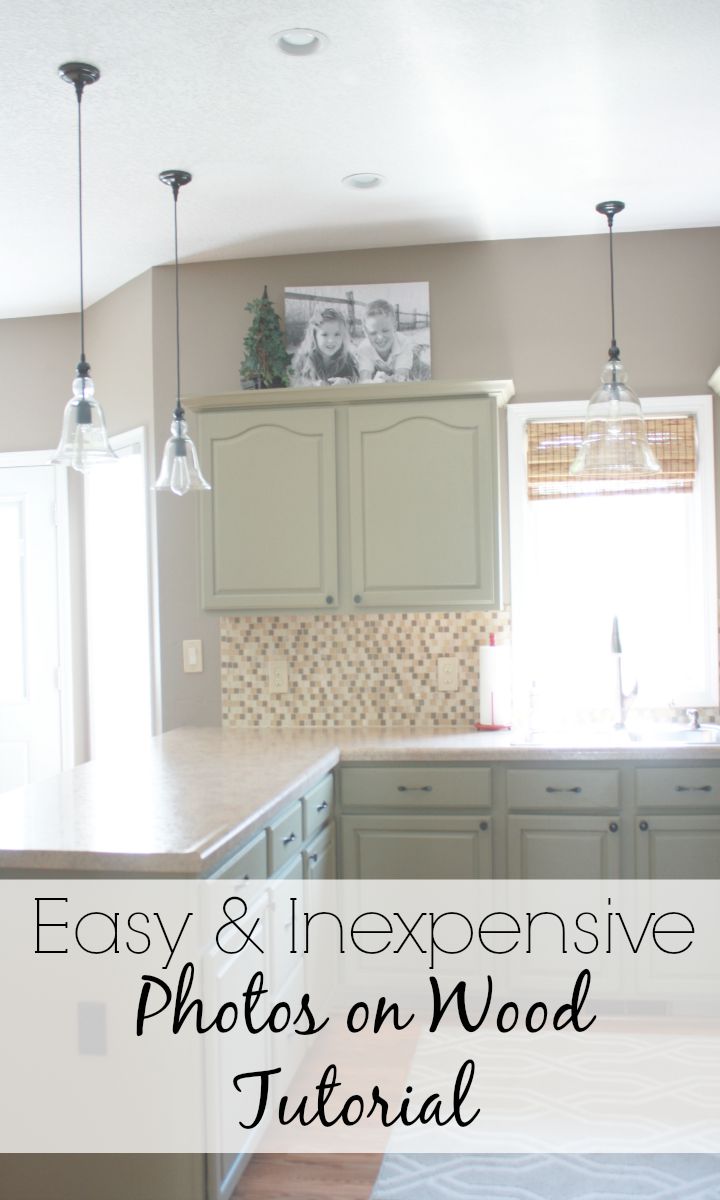
We’ve got really high kitchen cabinets and I was trying to think of a way to decorate (on a budget of course) so I headed off to Pinterest. I found a lot of wood transfer ideas, but not many that were just plain photos on wood, so I thought I’d give it a shot. And, I am so glad I did as I LOVE my prints and the way that my little sweeties faces adorn the tops of the kitchen, where our family spends a lot of time together. You guys… it was SO easy!
Let me tell you all about it.
Staples Engineering Prints DIY
First, I sent in my photos to the Staples Online Print Center here. When you’re ready to submit your prints, hit the image that reads ngineering Prints in B & W
, which is the second option in the picture below.
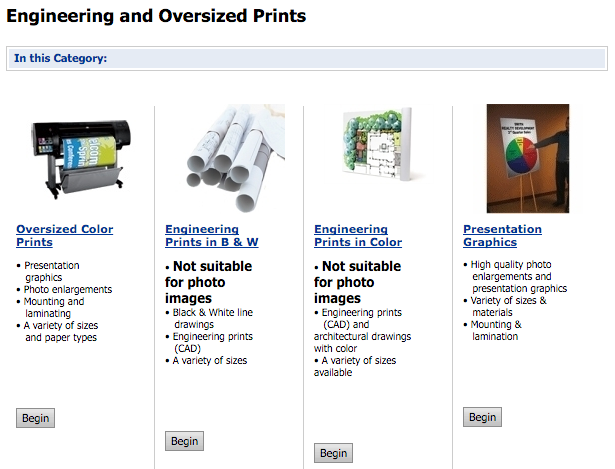
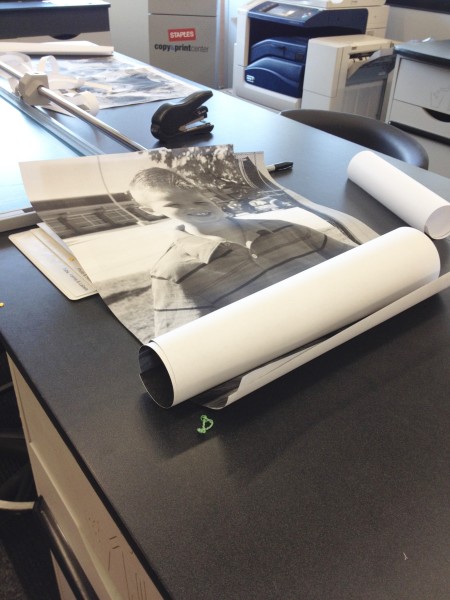
For my prints I chose 18″x24″ and that it about what size my prints were made in. Although, there was quite a bit of paper and white space on the edges, so I had the super helpful Staples employee help me cut off the edges. The Staples employees are so nice!
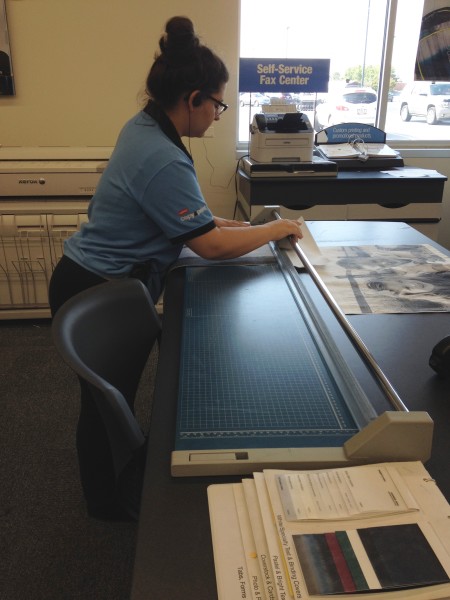
See?
Next, I headed off to my local Home Depot to get my adhesive spray, and wood. I also picked up my Mod Podge as I will want to seal my photos (for now they’re perfect the way they are… I must admit that I’m a bit of an immediate satisfaction kinda’ girl).
Who Cuts Wood to Size
If you’re looking for someone who cuts wood to size, I love going to Home Depot. When you buy wood from Home Depot or Lowe’s they’ll cut it to size for free. I have to say that I went during the week at about 10 am, so I am guessing that had something to do with getting my awesome service from this Home Depot employee, Jared. He was awesome. And, so helpful. And, so nice, and so patient. And he did everything exactly how I needed it. He could’ve ruined my happiness about my new project, but he didn’t he made it that much more fantastic. Thanks, Jared!
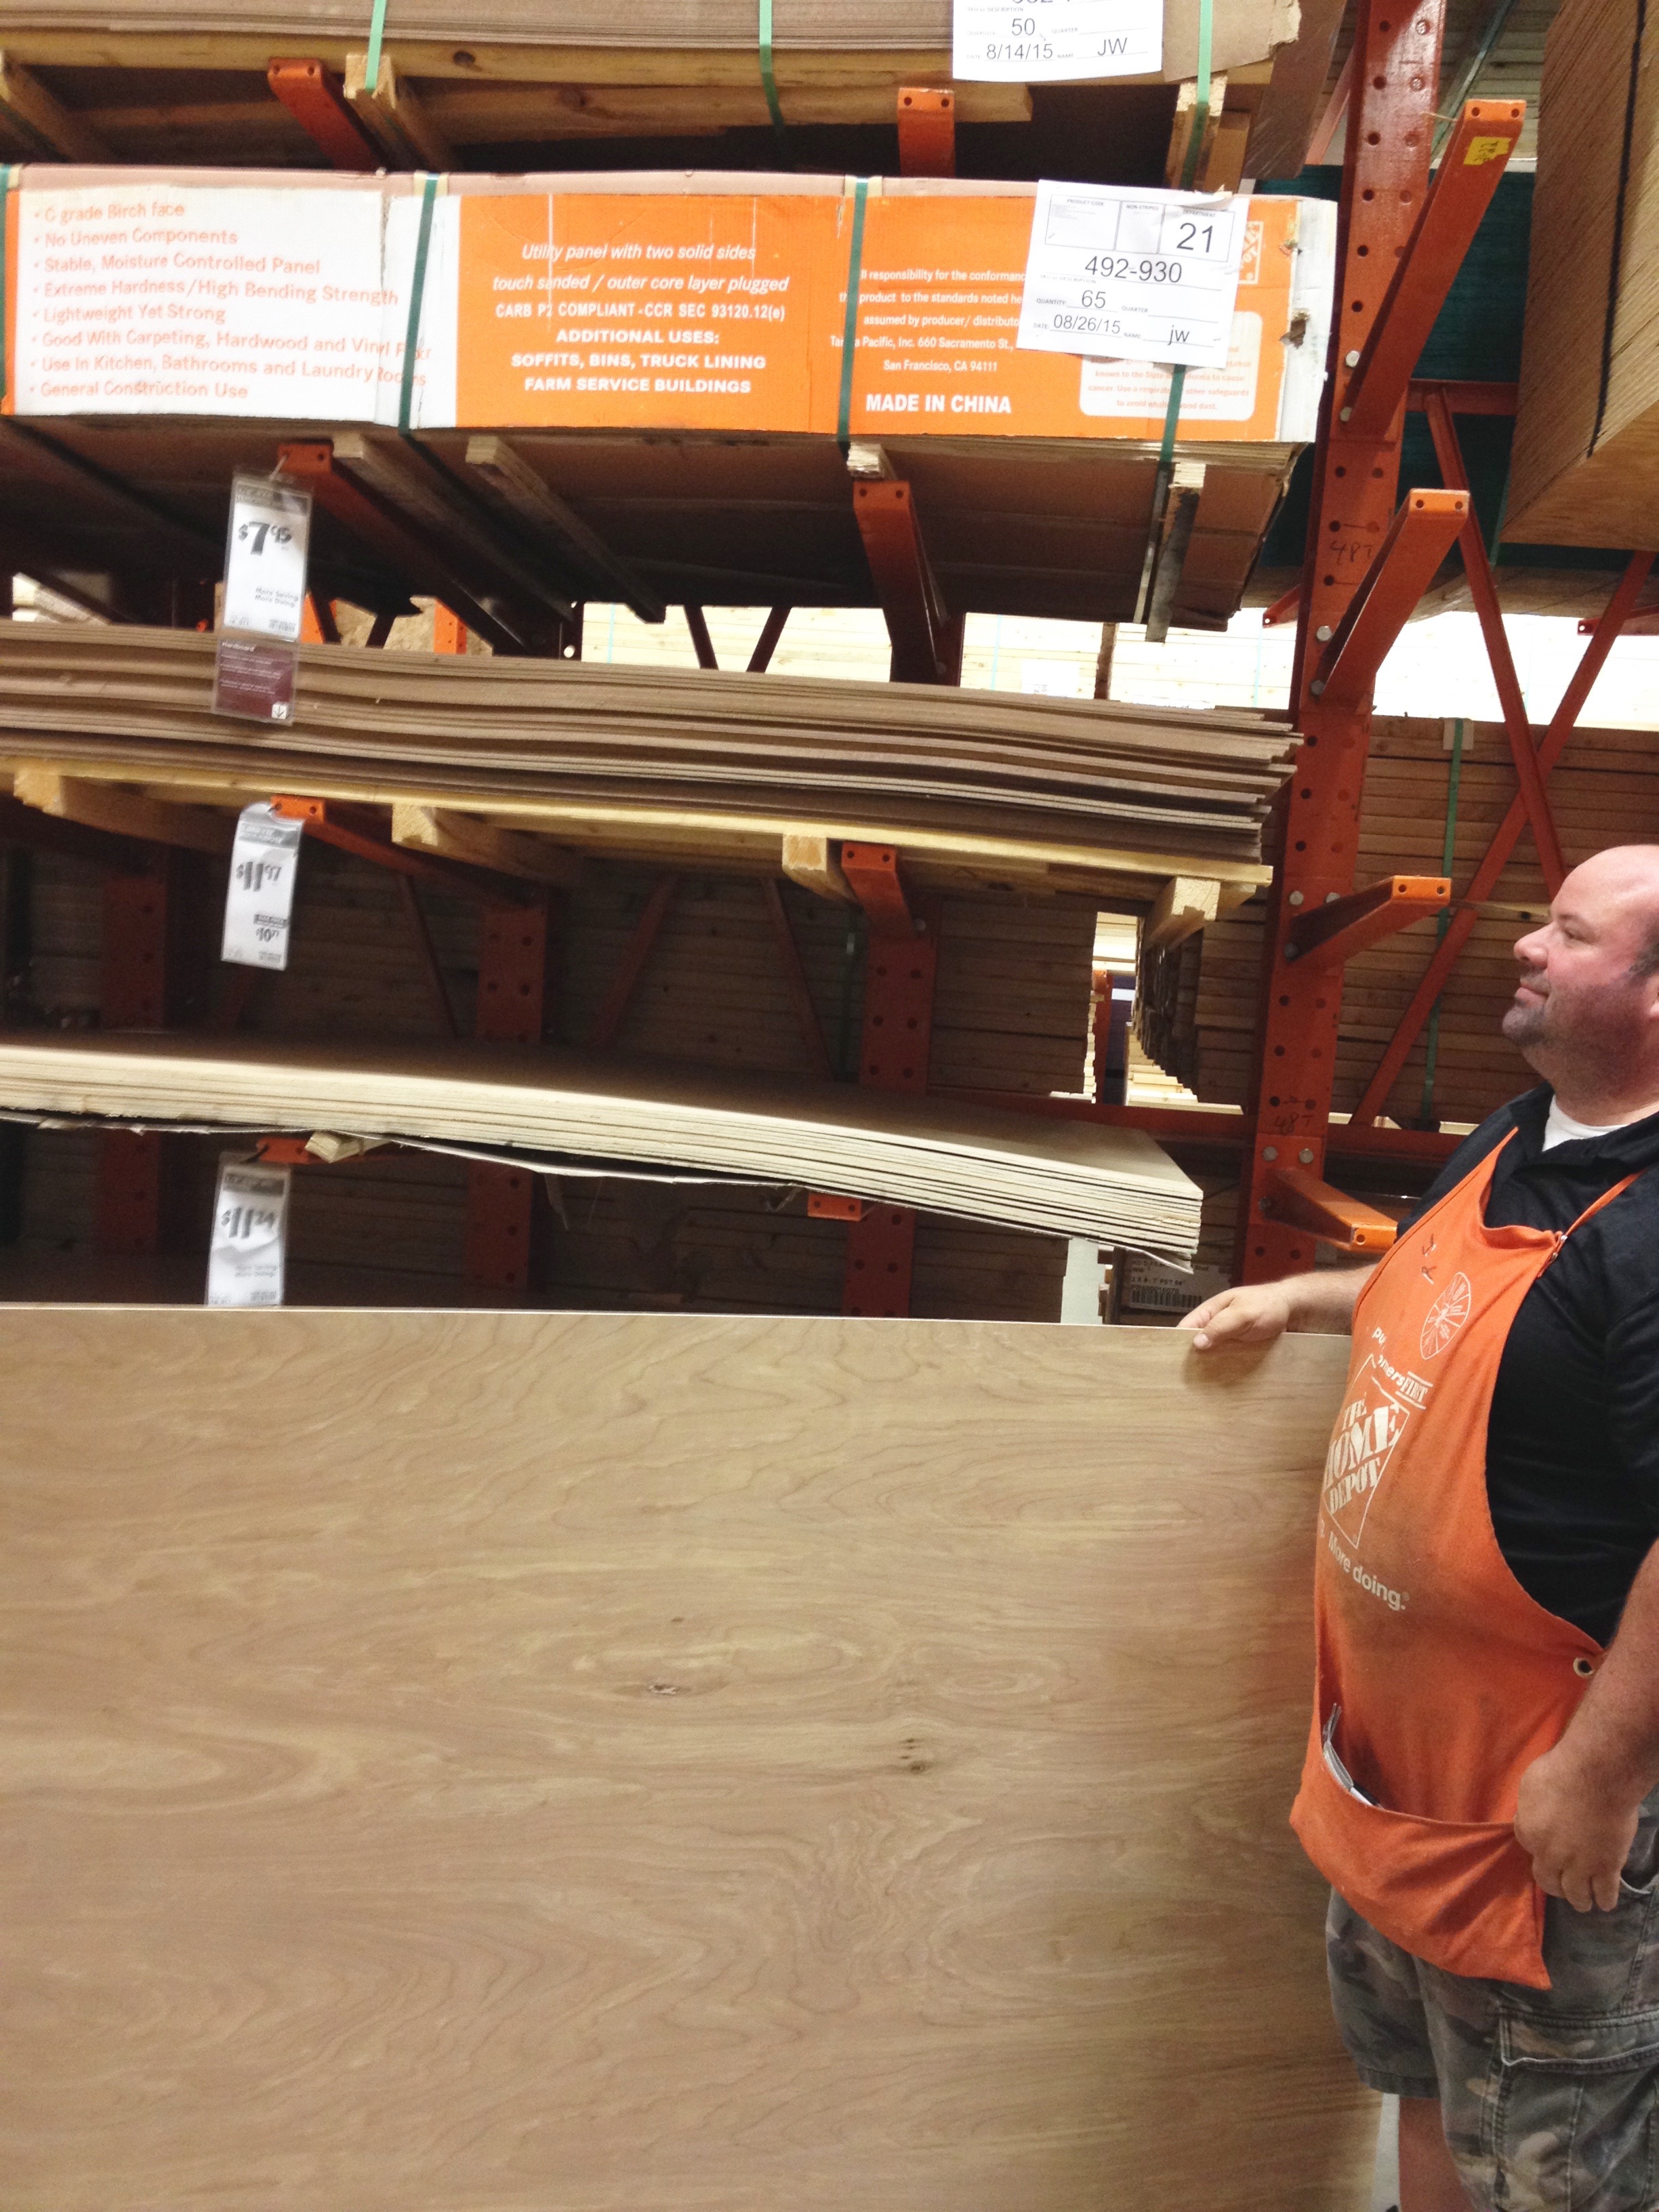
Here’s Jared with the wood that I chose which was a 5 mm plywood underlayment:
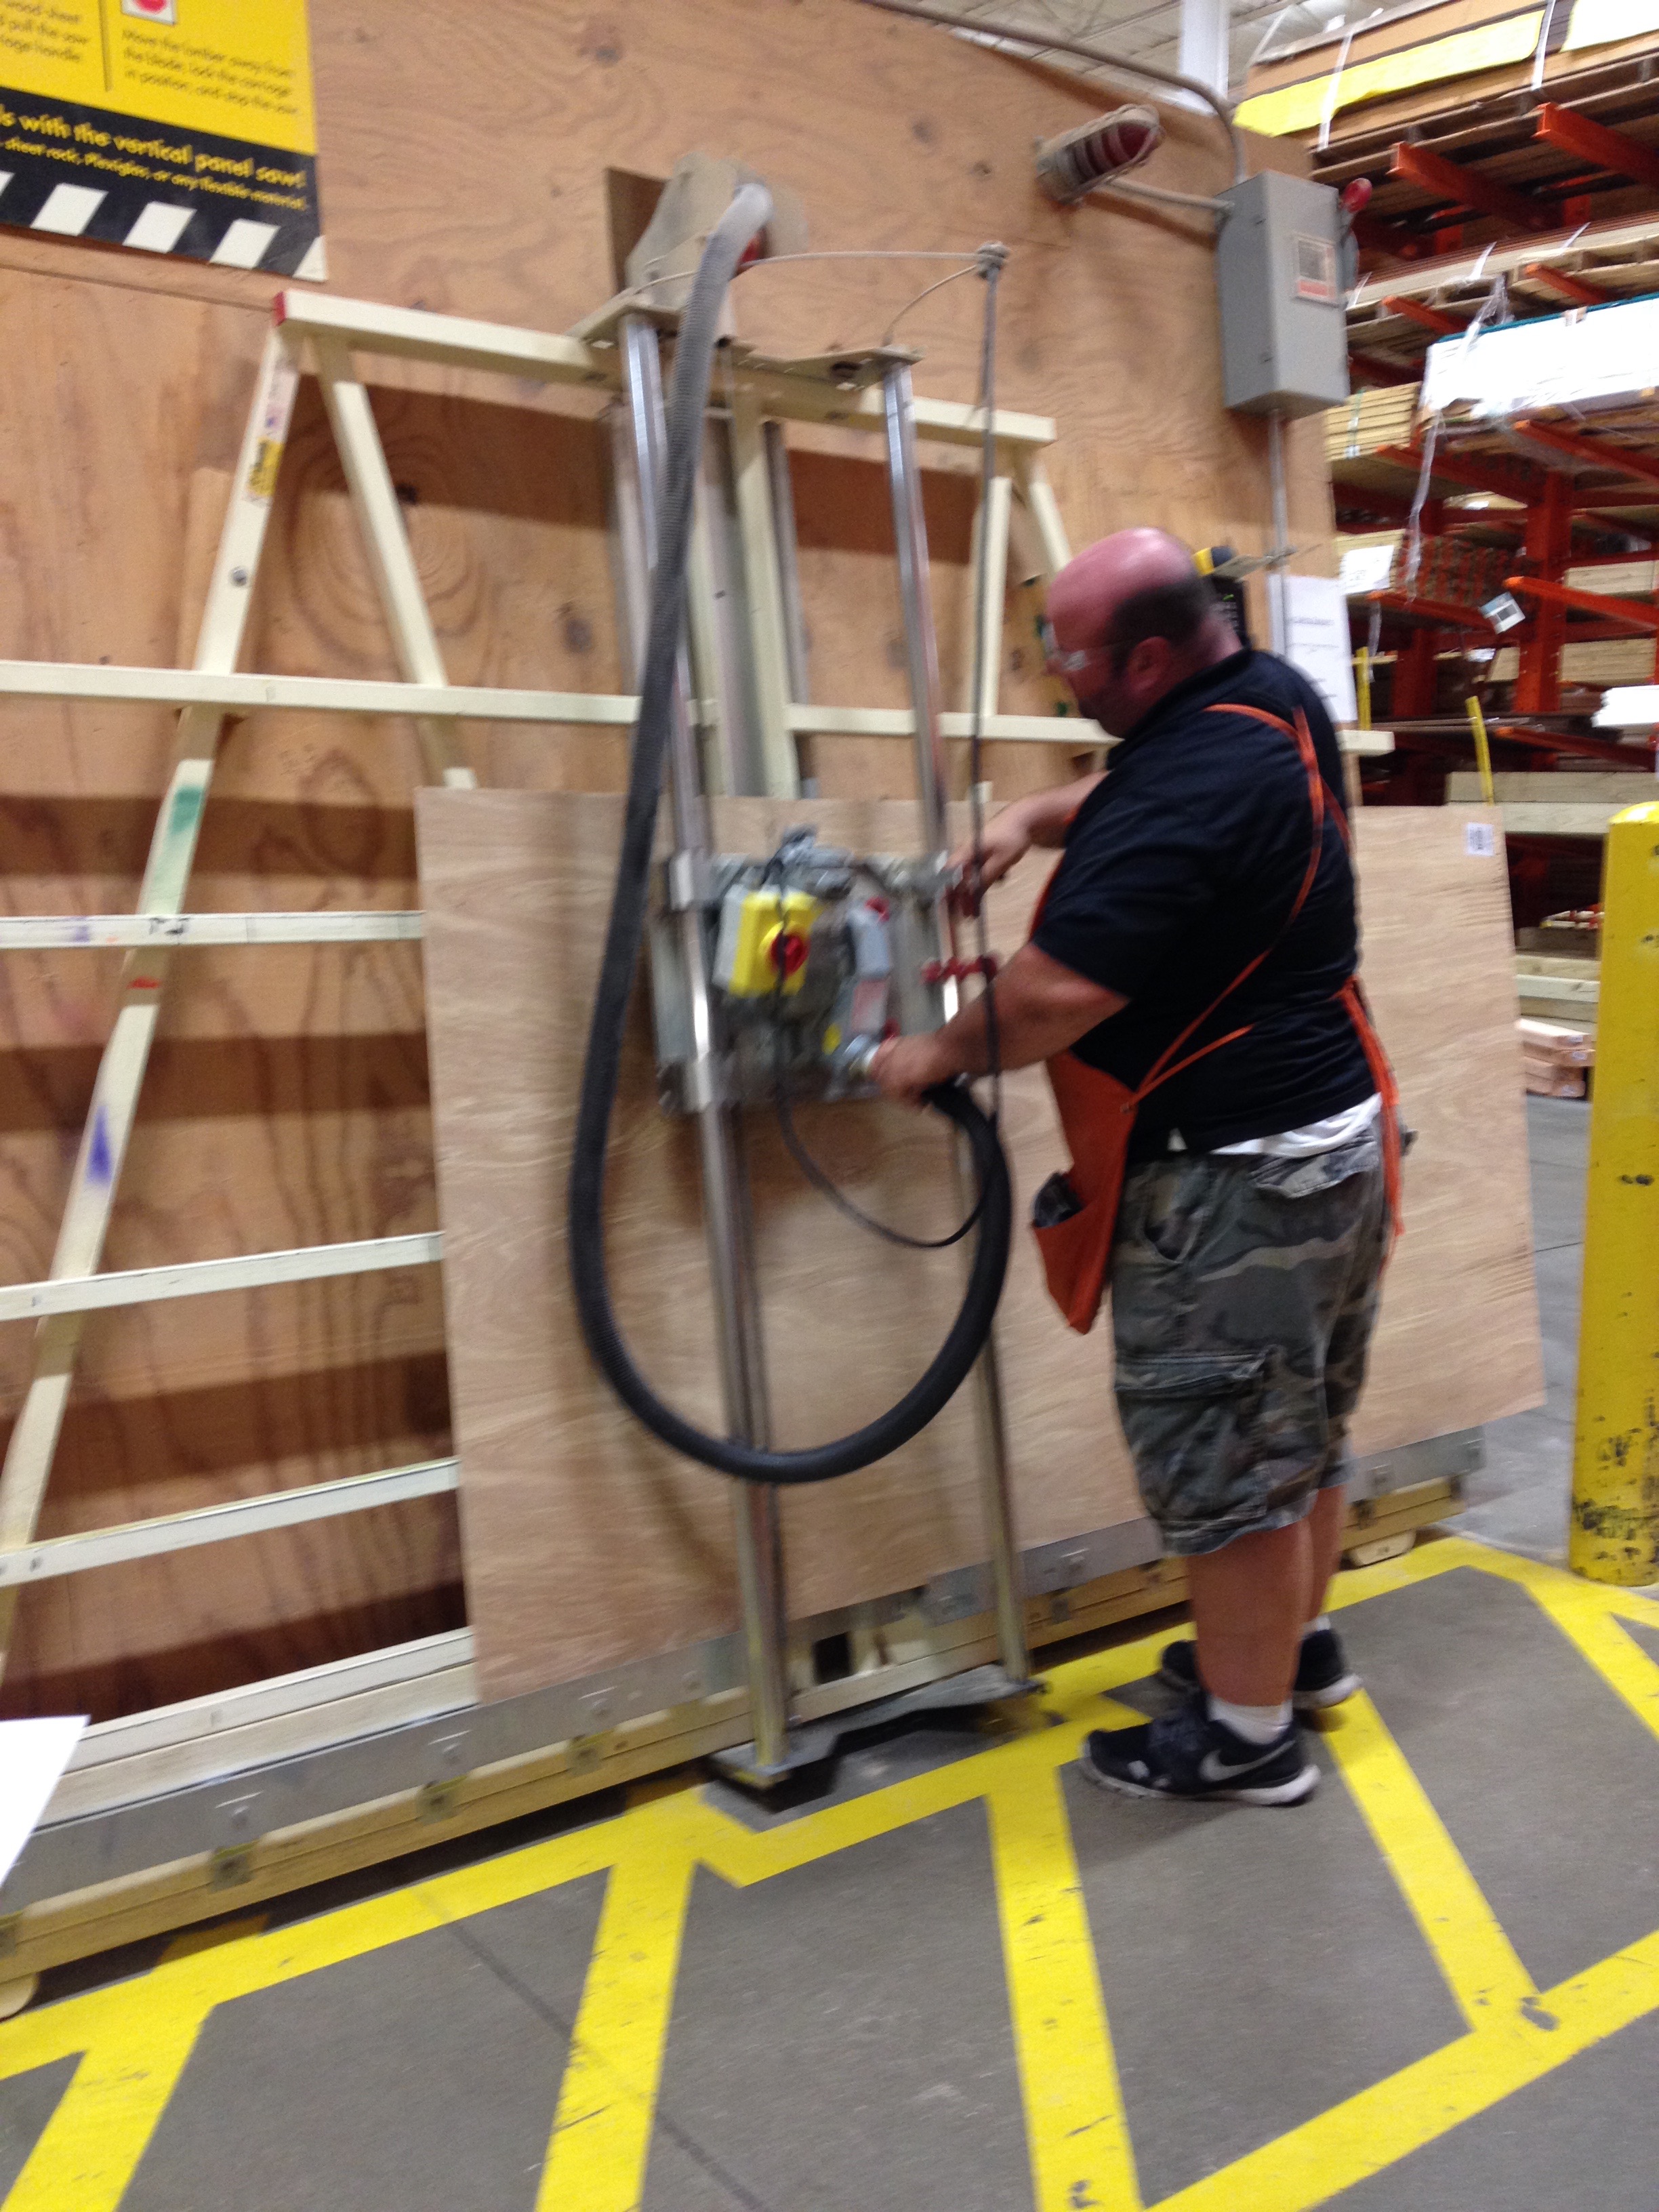
And, here’s Jared cutting the wood for me. I had my prints with me, so we cut them to size.
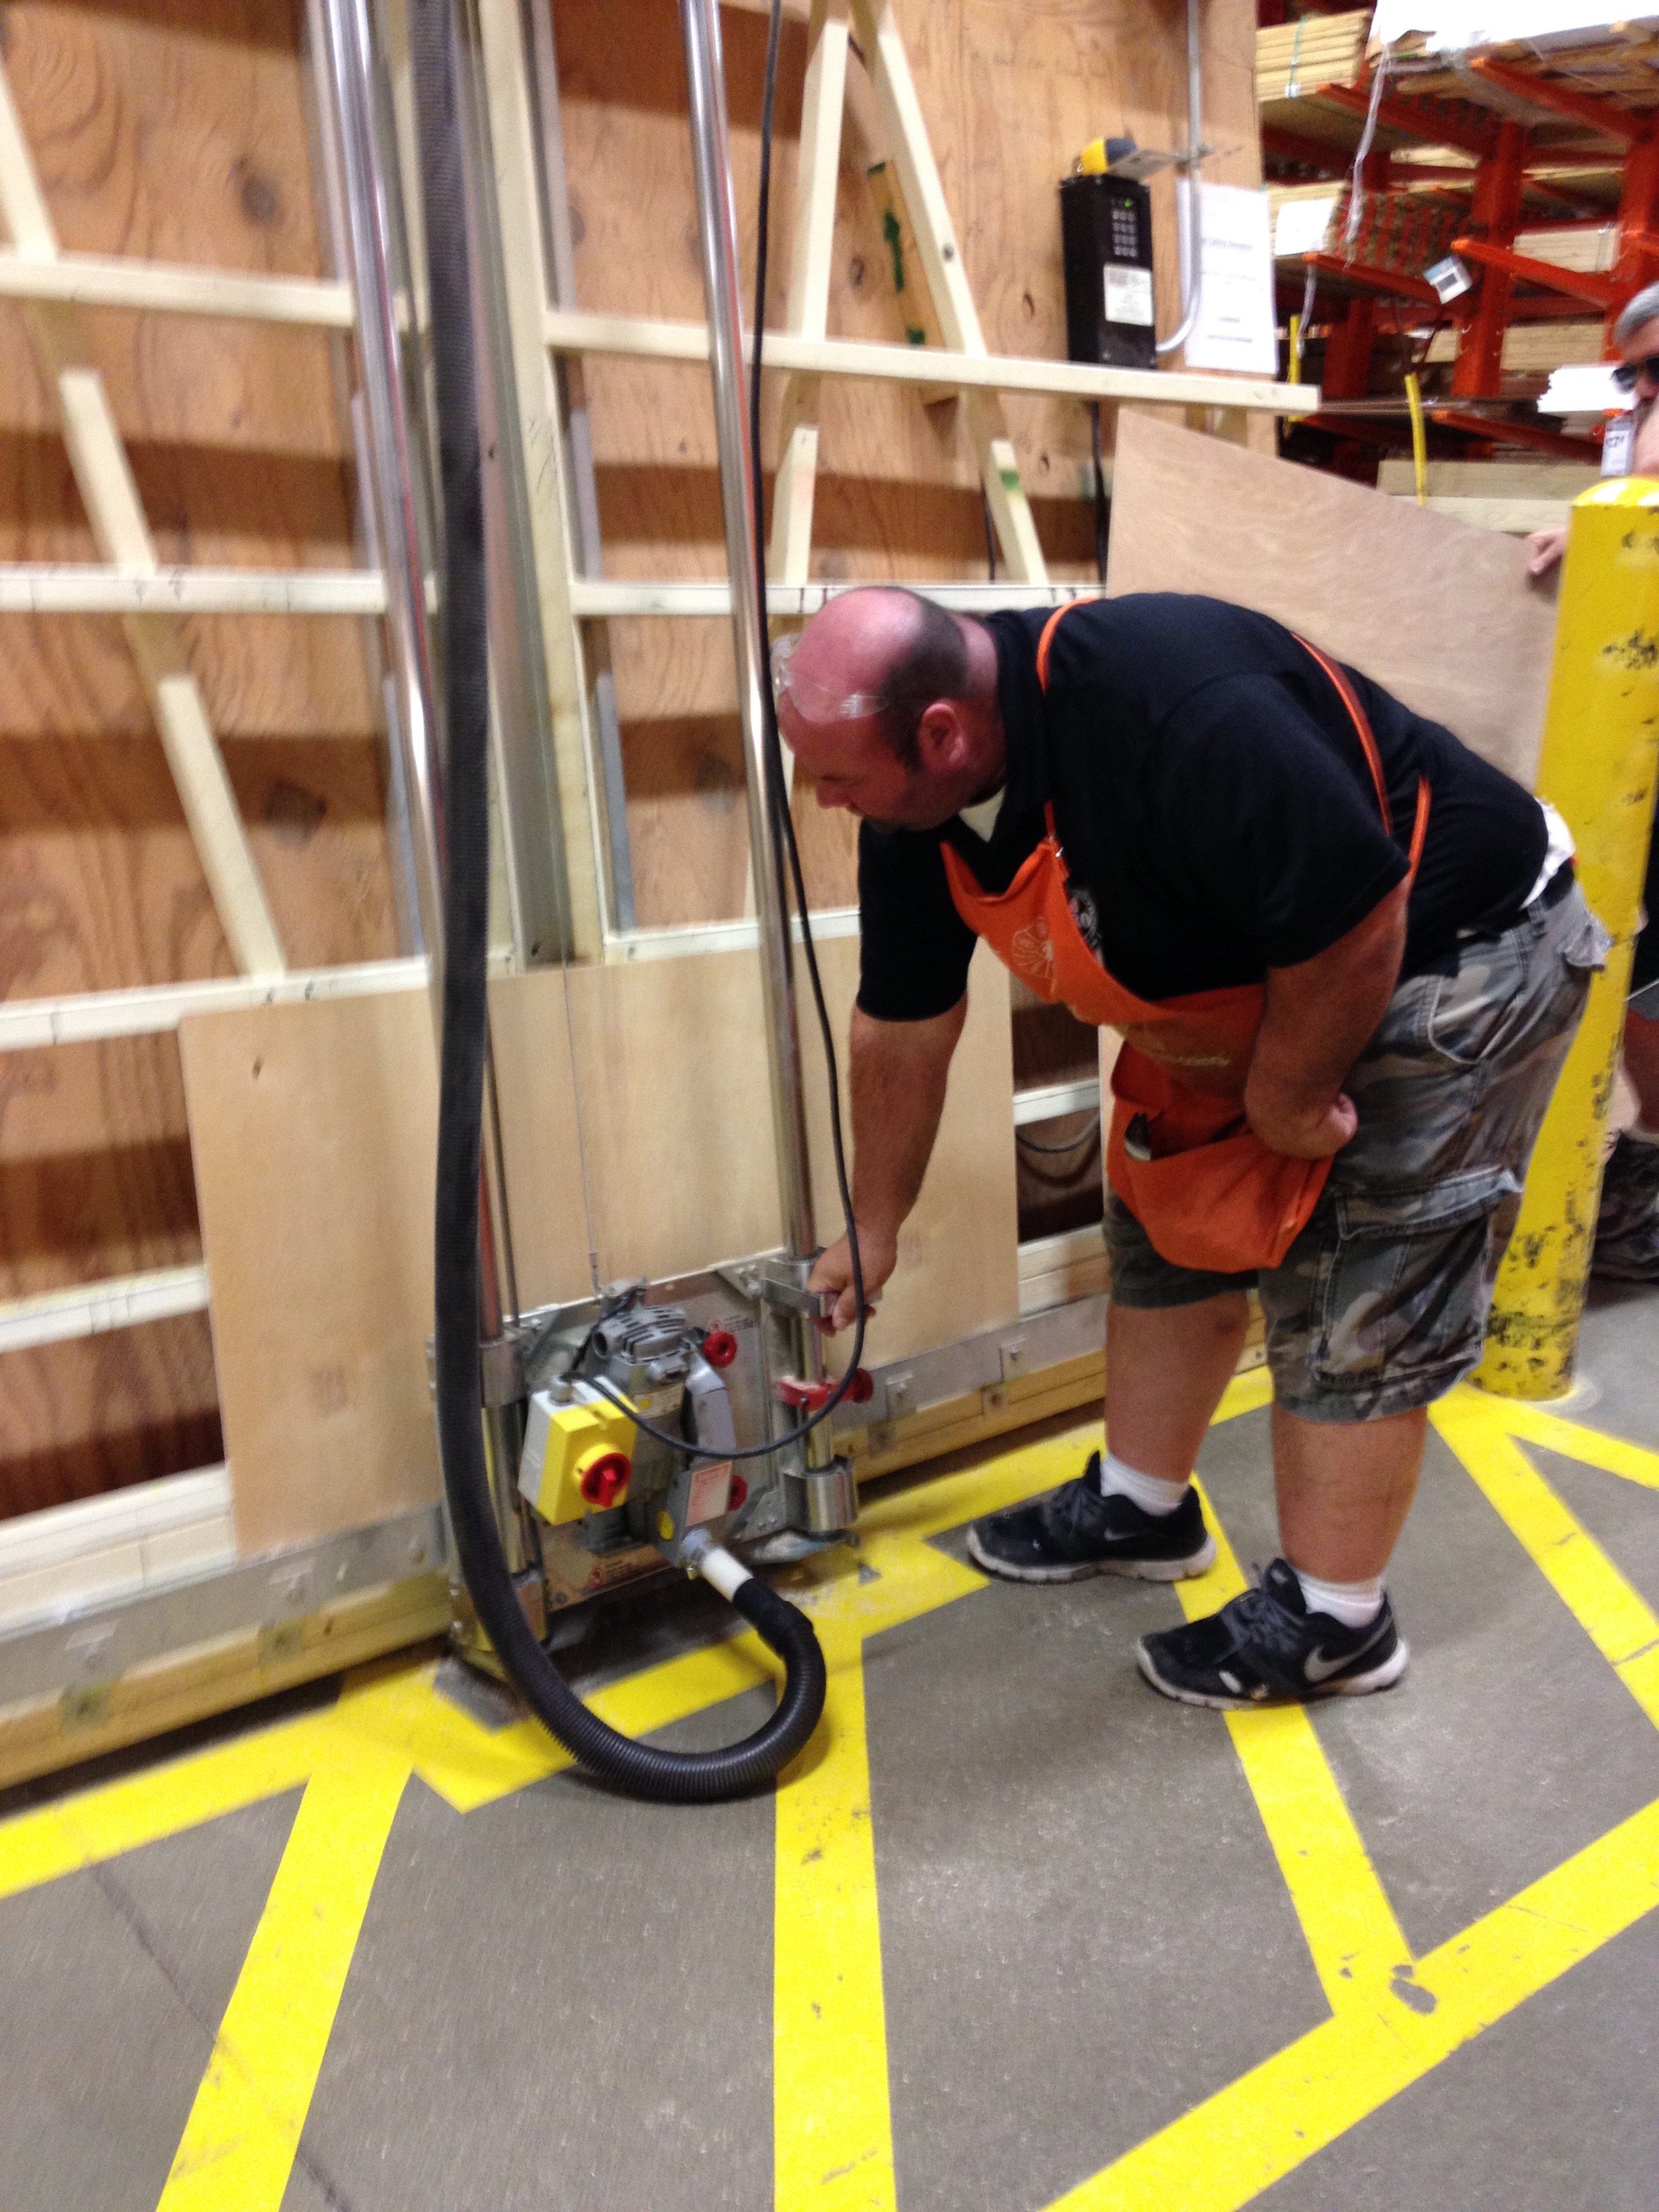
And, more.
One important thing that I am so glad I did. I left some room (4 inches or so) on the bottom of each piece of wood so that when I put my photo on, there would be plain wood on the bottom that wouldn’t show but prop the photos up a bit. Do that if you’re putting your prints up high so you can see the whole picture.
Phew, done with that, and now on my way home. So far, I’m down $28 and I have my materials to make 8 HUGE photos on wood planks. I am so excited as they’ll cost about $4 each – WHOA!
Photos on Wood DIY
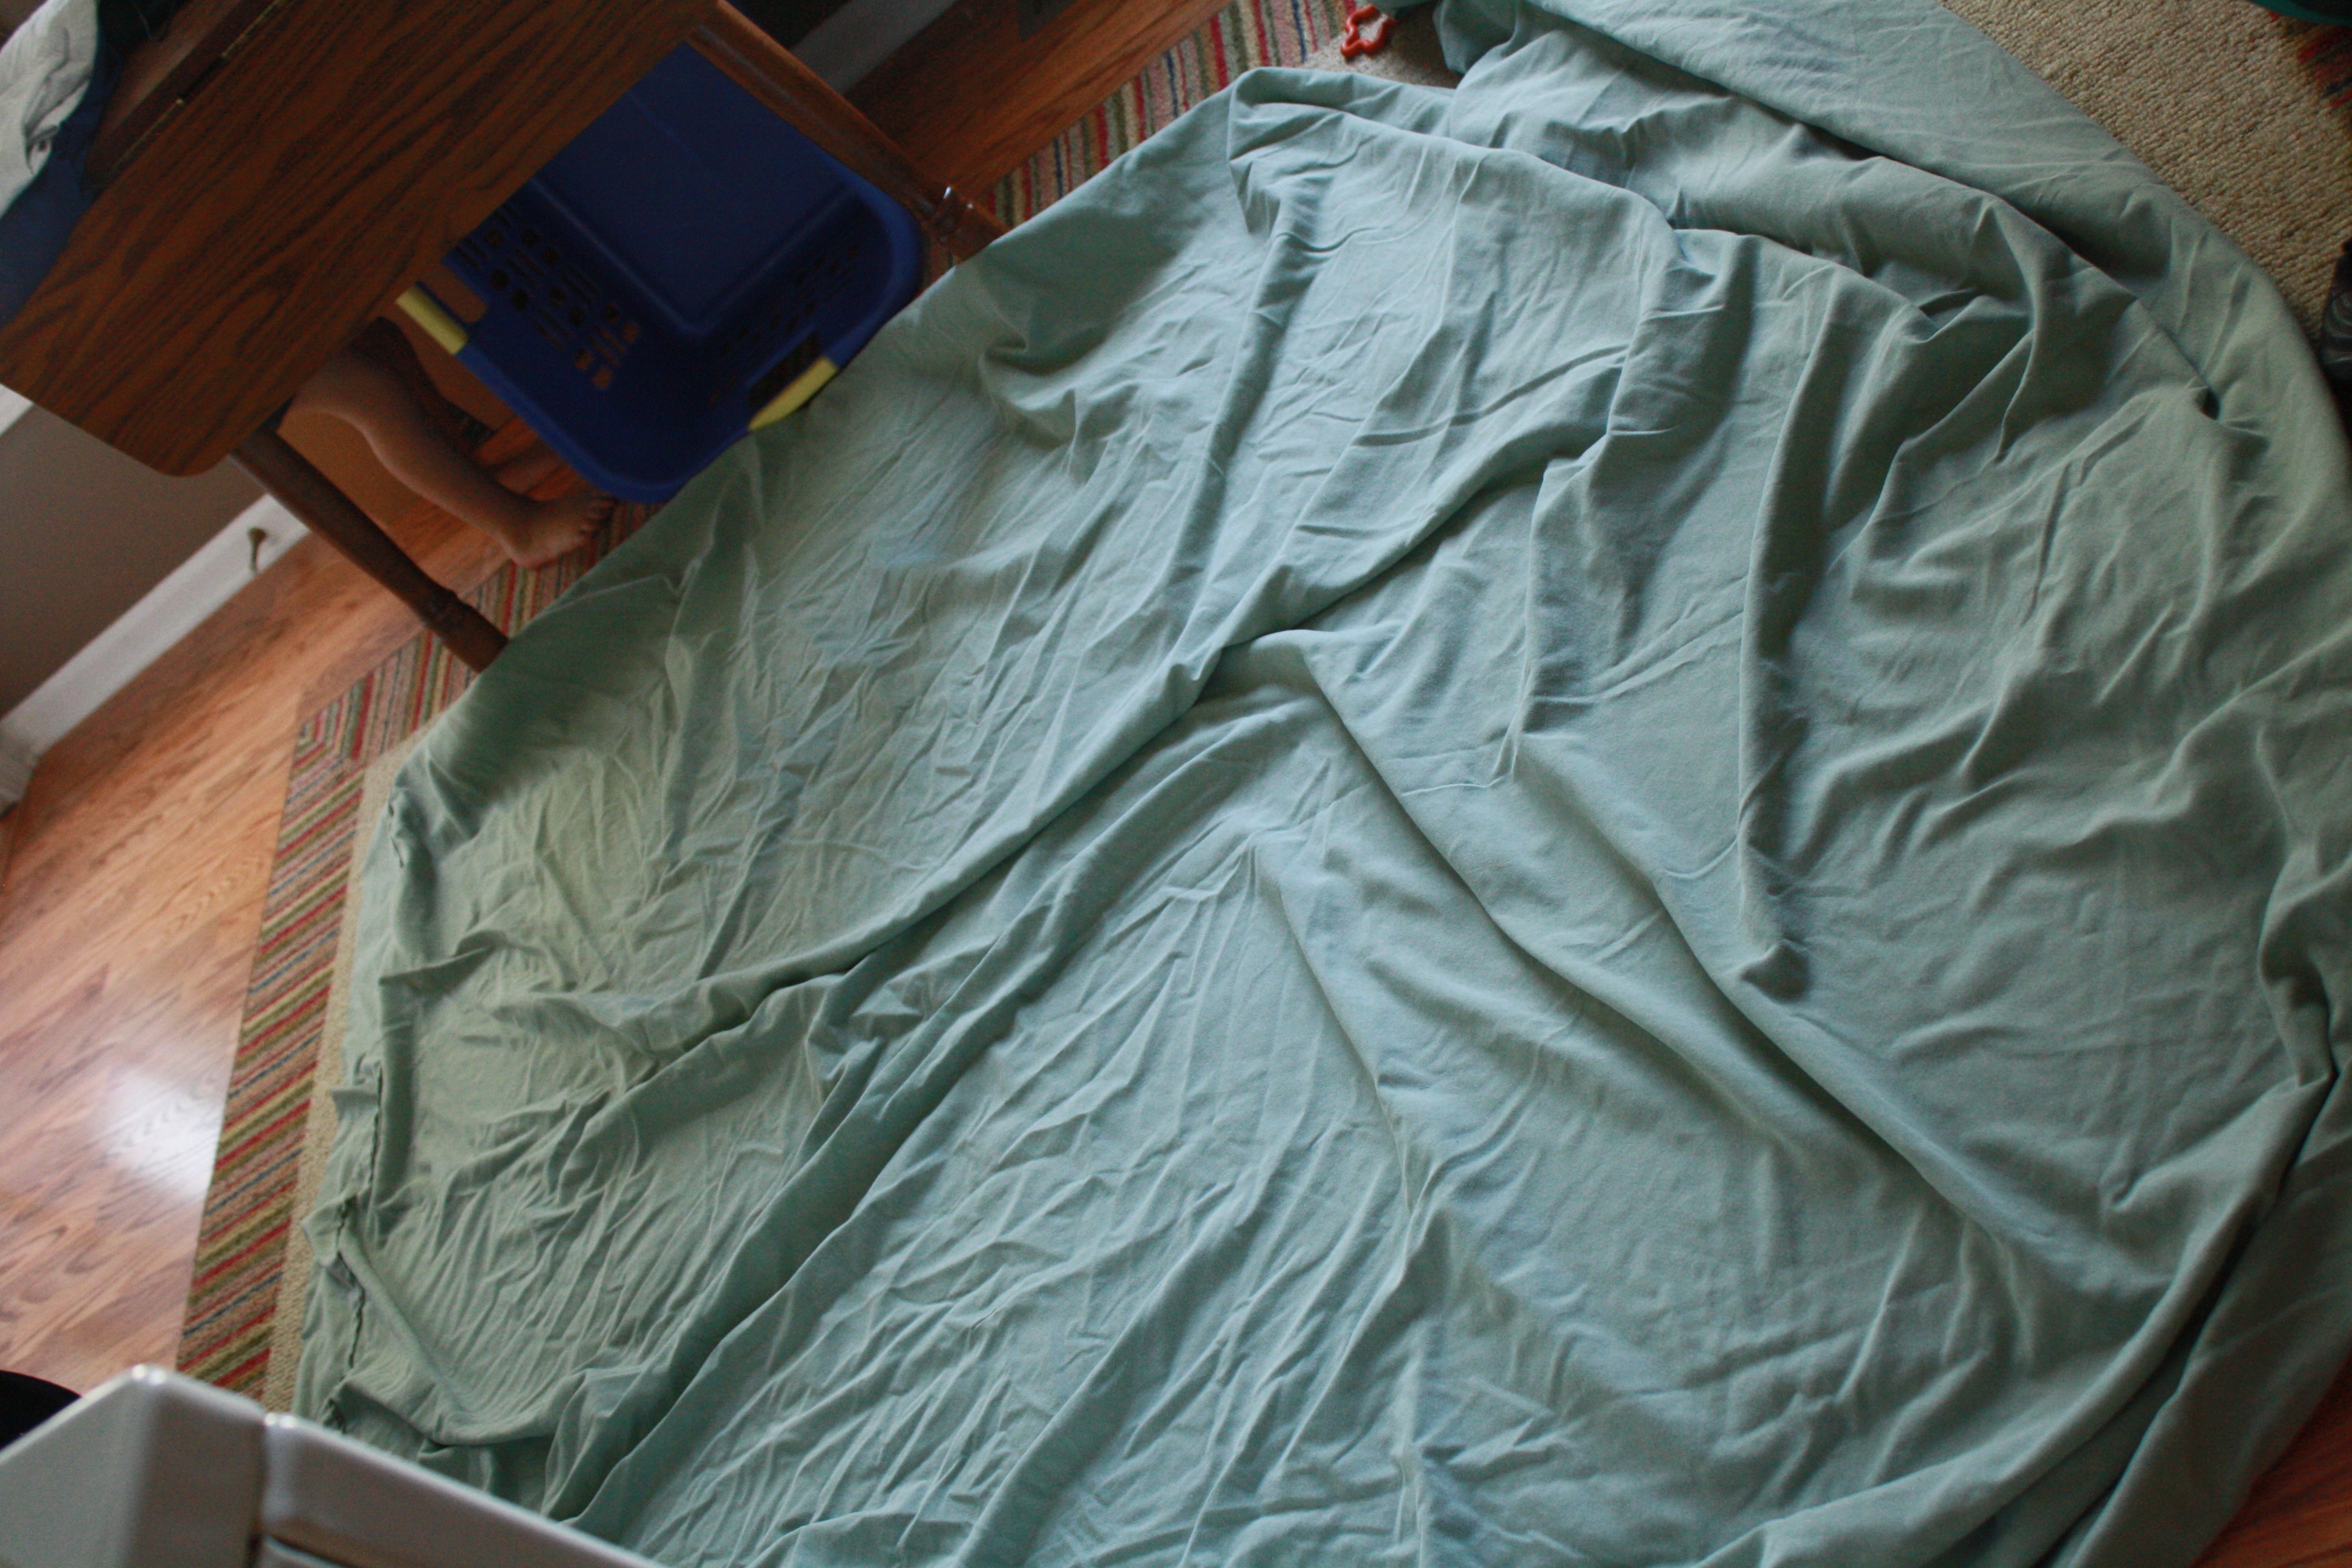
To start this project at home, I laid down my old yucky crafting sheet. Any old sheet will do, but I use this one for all of my painting projects, etc. It’s old and stinks and all painted up but it never fails me and I love that.
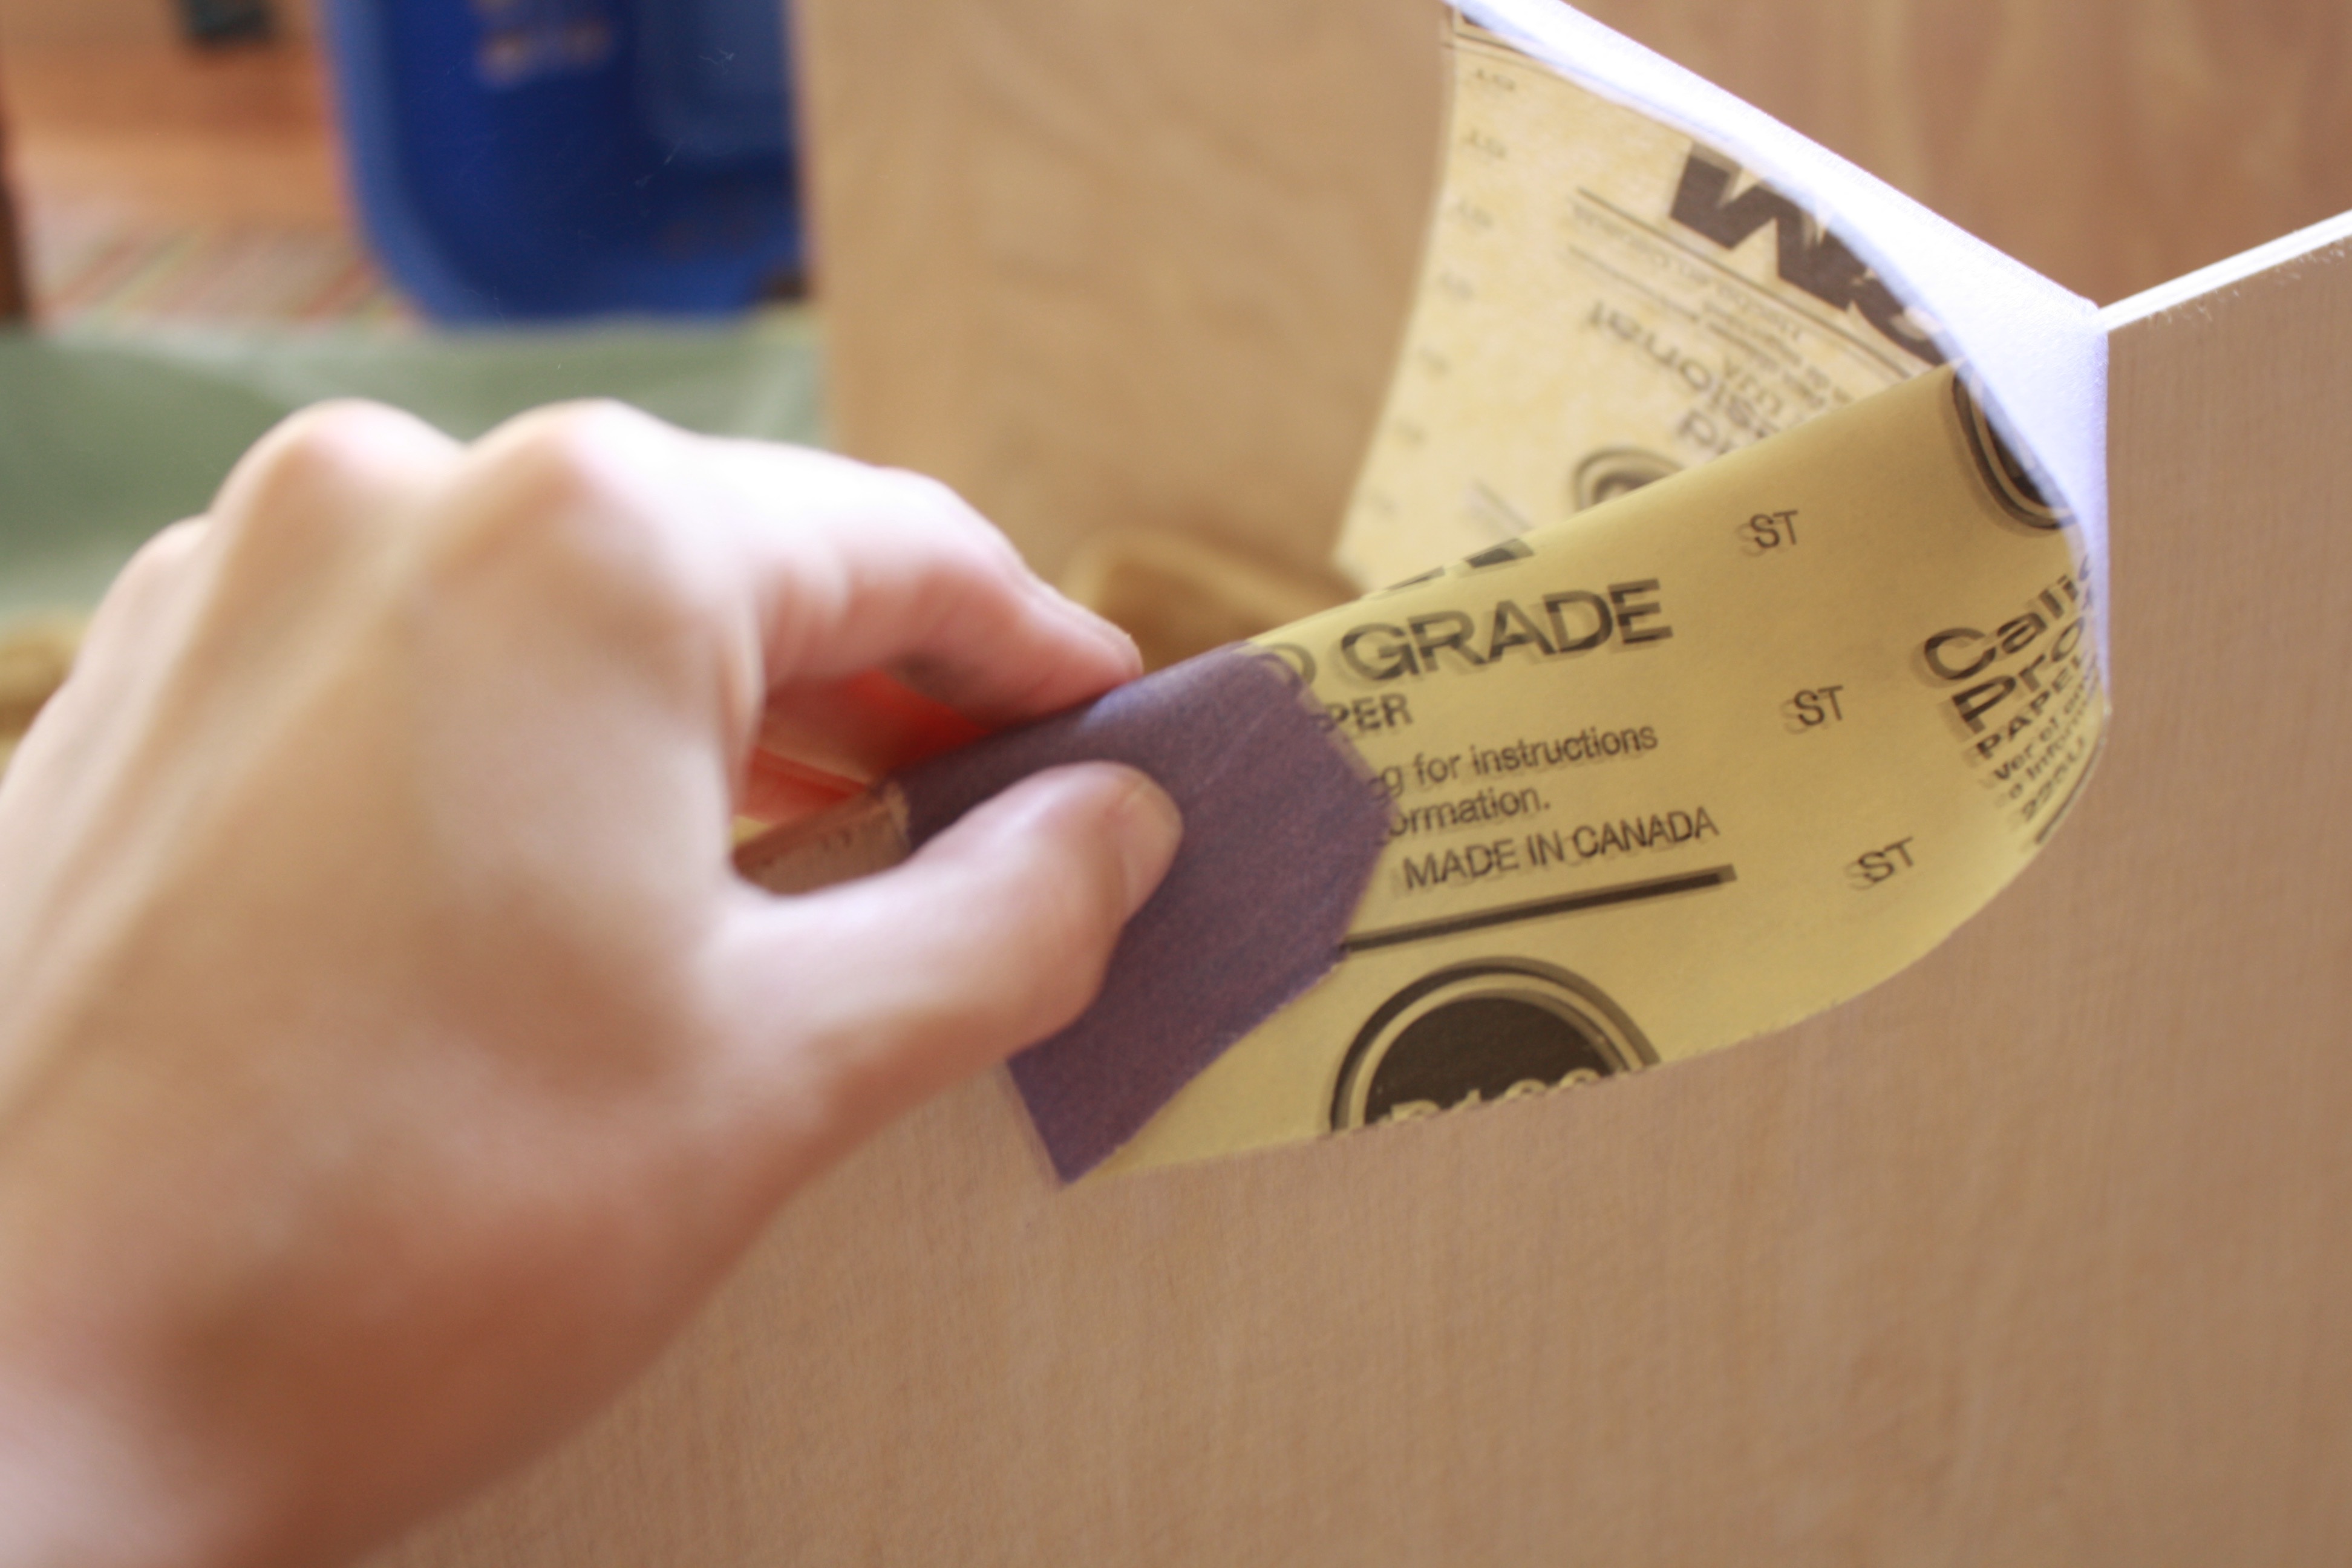
Next, lightly sand down the edges of each piece of wood or do them as you go. It takes just a minute.
Next spray a thin layer of spray adhesive (about $8 per can) onto the wood and lay you picture on using your hands to smooth the pictures out.
That’s it, you guys – and they look SO cool! If you don’t want to use pictures of your kids or pets, you could always do pictures of your favorite places, etc. Please note, the Staples engineering prints are a bit grainy, even if you’re using a DSLR camera (I have this one and LOVE it) but in my opinion, that’s what makes the prints, so I totally love the look. The Staples website says that the engineering prints are not good for photos, but the employees were so nice and helpful and had no problem with printing mine.
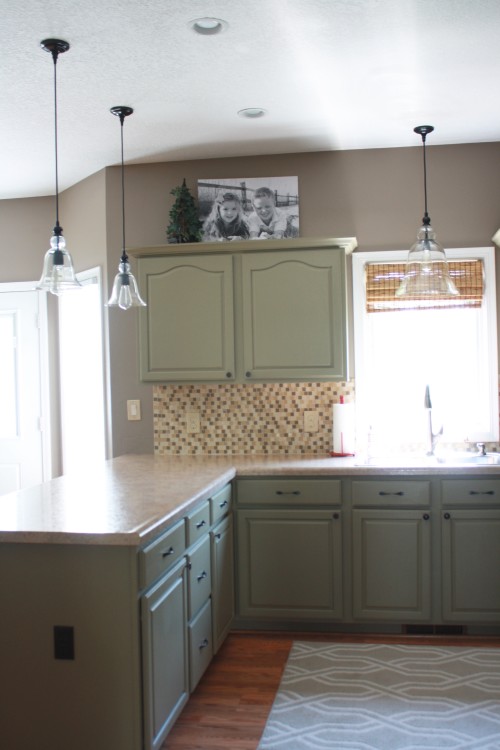
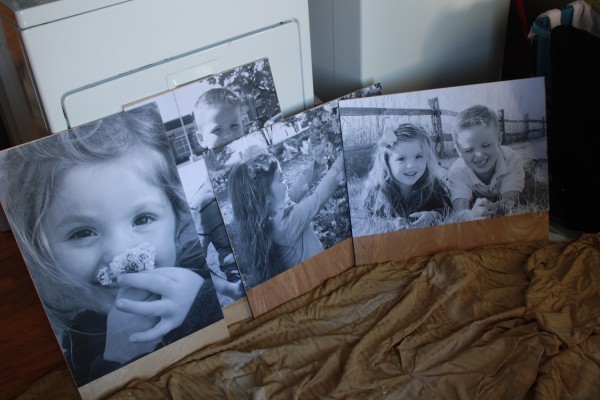
Photos on Wood
There you have it… my photos on wood that I am decorating my kitchen on a budget with… LOVE this look, do you?
Wood Transfer Photo
DIY Cozy Home did a fantastic tutorial on how to do a wood transfer photo, so head on over there if you’re thinking you want to take this project a step further, I may just try that next.
See more Home Decor ideas and deals.